Professional made-to-measure digital sewing patterns — PDF · PLT · DXF AAMA
A straight women's coat without a collar, with an edge-to-edge front, princess seams that turn across the chest to form a yoke above a narrow centre front panel, one-seam set-in sleeves and a centre back seam with darts. Drafted to your own measurements. Recommended fabric: suiting fabrics made of natural or blended fibres.
A straight women's coat without a collar, with an edge-to-edge front, princess seams that turn across the chest to form a yoke above a narrow centre front panel, one-seam set-in sleeves and a centre back seam with darts.
Silhouette: Straight, slightly shaped by the princess seams and back darts.
Length: Above the knee.
Neckline: Round collarless neckline, finished with front facings and a back neck facing; the front neckline is reinforced with fusible stay tape.
Front: Edge-to-edge, with no fastening. The side front extends over the chest as a yoke; the centre front panel starts below it with rounded upper corners and runs to the hem. Princess seam allowances are pressed towards the side front.
Sleeves: Long set-in sleeves cut in one piece with one seam, the cap eased into the armhole; shoulder pads.
Back: Centre back seam pressed open, with a waist dart on each back piece.
Finishing: Front edges and neckline stitched to the facings in one continuous seam; 3 cm hems on the body and sleeves, turned up and topstitched.
Lining: None in the pattern; the coat is finished with facings only.
Intermediate. A princess seam with a curved corner, facings joined in one seam along the front edges and neckline, eased sleeve caps and shoulder pads.
Suiting fabrics made of natural or blended fibres.
When stitching pieces, pay attention to the notches - they must match!
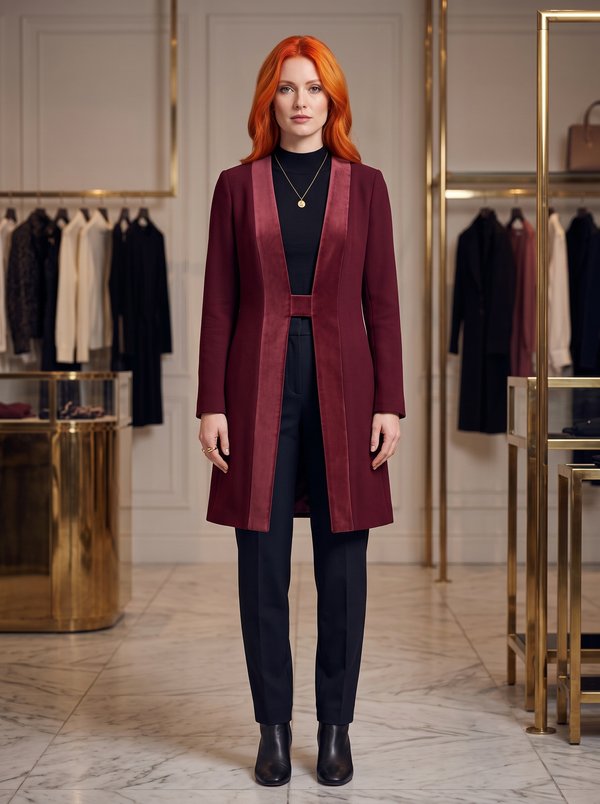
#2469
Mid-Thigh Open Jacket with Connecting Band
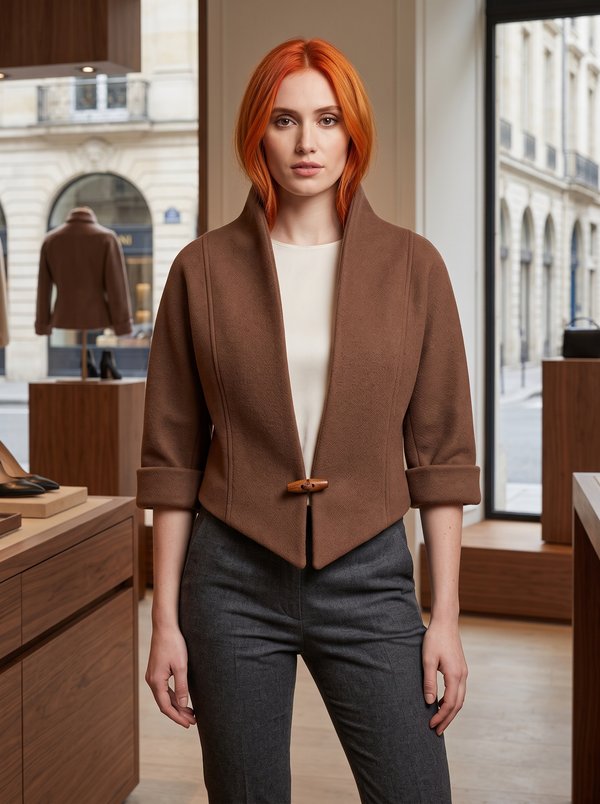
#2477
V-Front Stand Collar Cropped Jacket
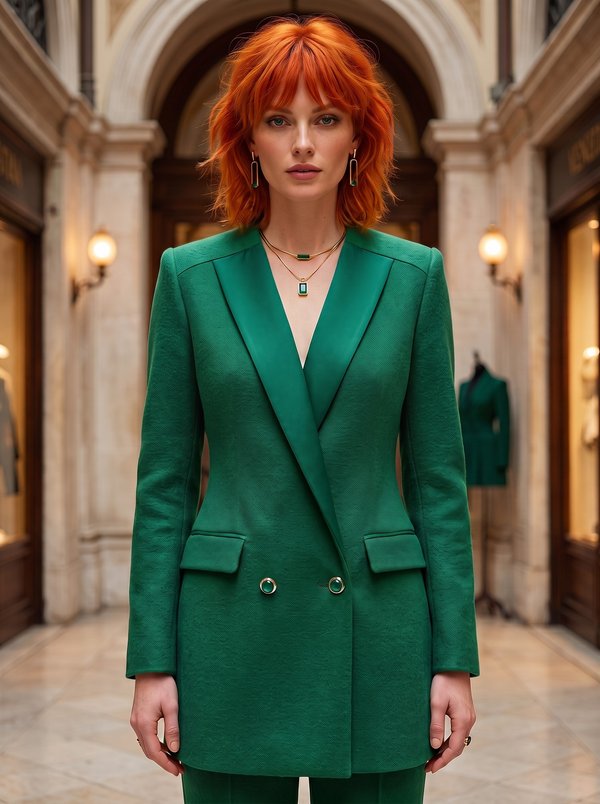
#2498
Tailored Double-Breasted Blazer
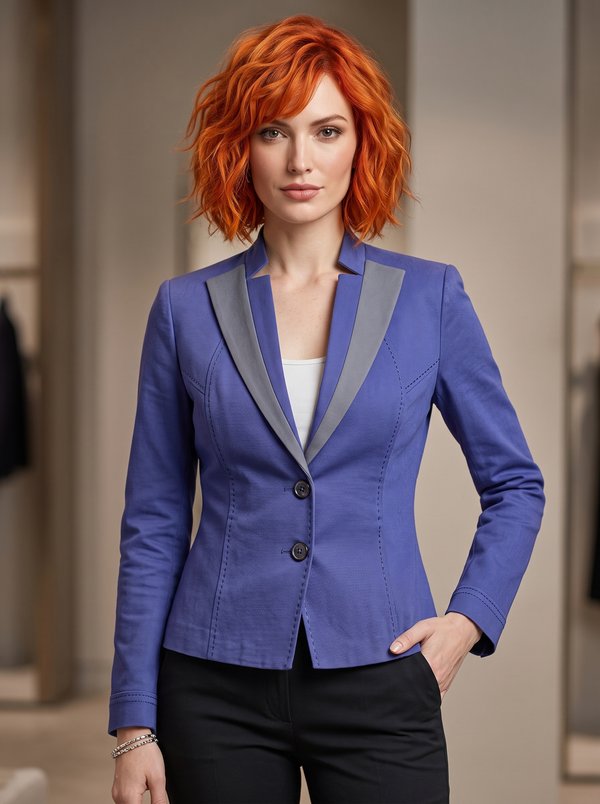
#2506
Tailored Blazer with Two-Tone Contoured Lapels
#2507
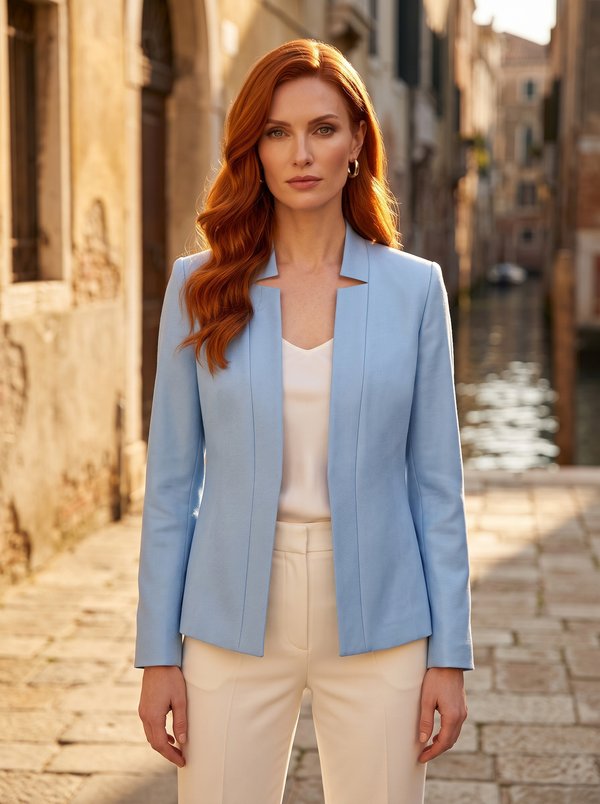
Tailored Stand Collar Open Front Blazer
#2510
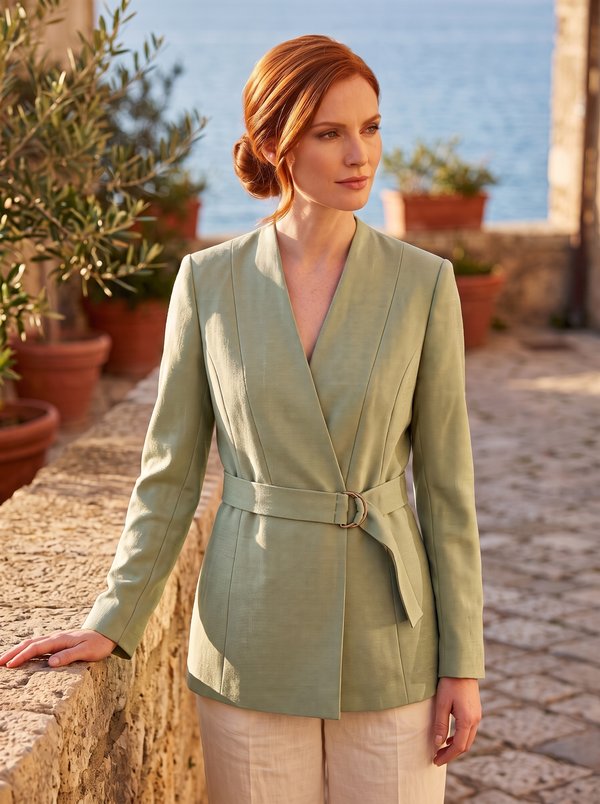
Wrap Blazer with Tie Belt
#2511
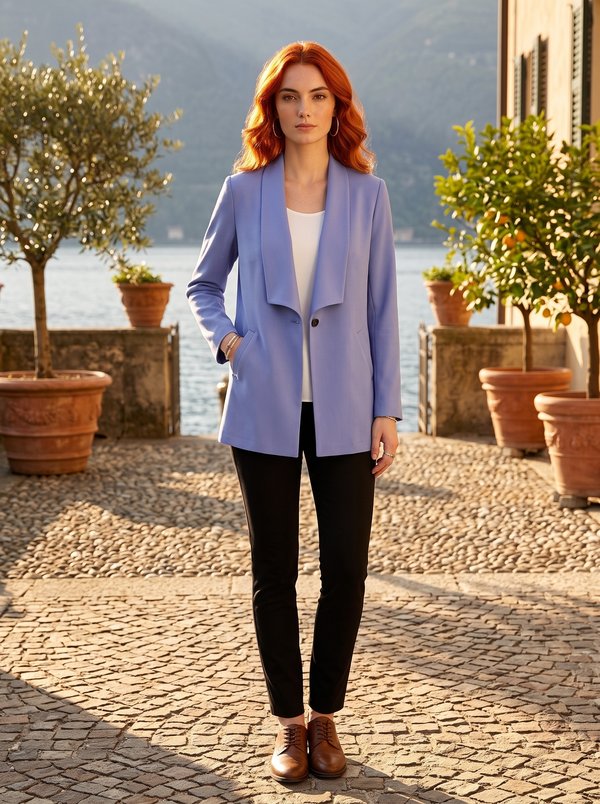
Straight Shawl Collar Single Button Blazer
#2419
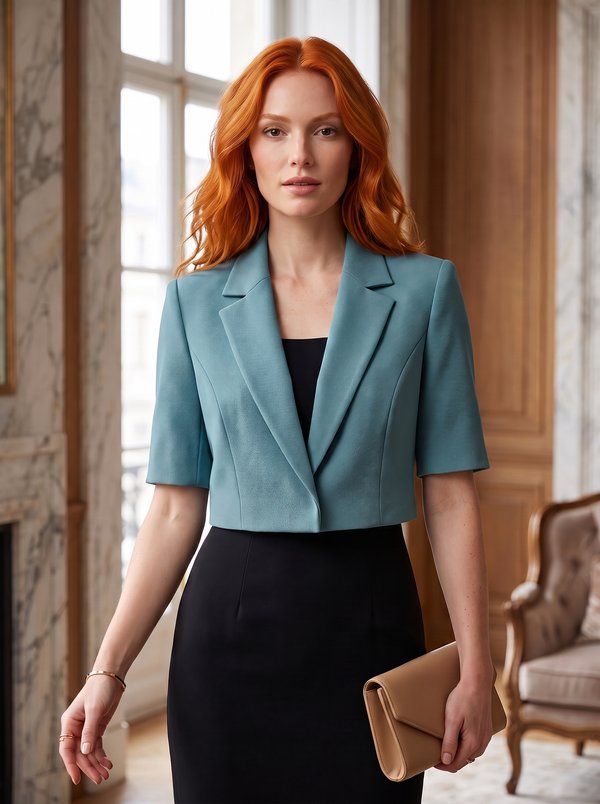
Cropped Short Sleeve Lapel Jacket

Minerva Support
Online