Professional made-to-measure digital sewing patterns — PDF · PLT · DXF AAMA
A women's knee-length dress with long set-in sleeves, princess seams on the front and back and an asymmetric front: a right front with a cut-on facing laps over the left, with a row of buttons along its edge. The dress opens with a concealed zipper in the centre back seam. Drafted to your own measurements. Recommended fabric: dress fabrics from natural or blended fibres.
A women's knee-length dress with long set-in sleeves, princess seams on the front and back and an asymmetric front: a right front with a cut-on facing laps over the left, with a row of buttons along its edge. The dress opens with a concealed zipper in the centre back seam.
Silhouette: Fitted through the bodice by curved princess seams from the armhole, gently flared to the hem.
Length: About knee length.
Neckline: Round, finished with interfaced front and back facings.
Sleeves: Long, one-piece, set in.
Front: Right and left centre fronts cut separately. The interfaced cut-on facing of the right front is stitched to the left front from the neckline down to a mark; below the mark the left front edge is turned under and topstitched. Buttons run down the right front edge, off centre.
Back: Princess seams and a centre back seam.
Closure: Concealed zipper in the centre back seam.
Finishing: Seam allowances overlocked; hems of the dress and sleeves turned up 2 cm and topstitched.
Intermediate. An asymmetric lapped front with a cut-on facing, princess seams, a concealed zipper and neckline facings.
Dress fabrics from natural or blended fibres.
If the patterns have a double contour, seam allowances are included. If the contour is single, seam allowances are not included. Seam allowances: all seams 1 cm; hem allowance for the bottom of the garment and sleeve hem – 2 cm. Attention! First of all, print out the paper patterns and lay them out on the fabric width (fabric width can be from 90cm to 150cm) to determine how much material you will need (do not forget to account for paired and symmetrical parts). When stitching pieces, pay attention to the notches - they must match!

#2651
Pleated Surplice Cap Sleeve Dress

#2653
V-Neck Split Bell Sleeve Tulip Hem Dress
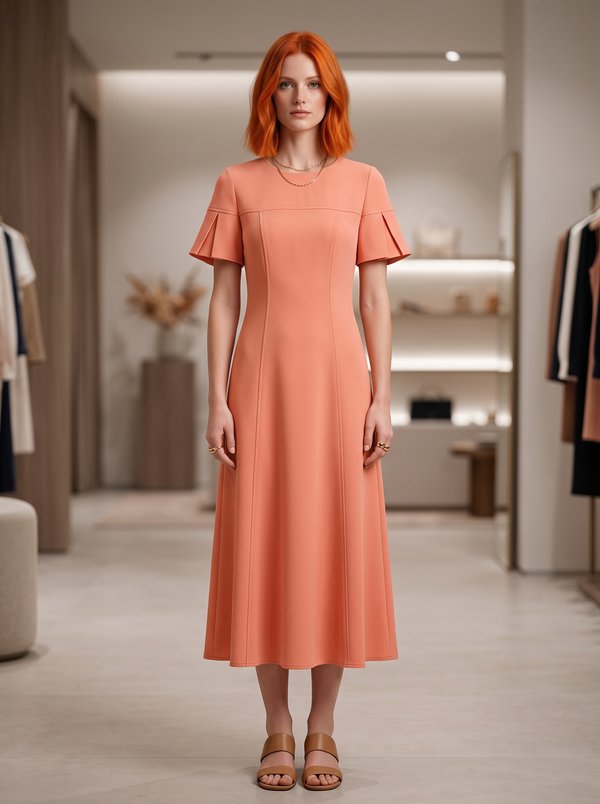
#2650
Flutter Sleeve Midi Dress

#2649
Pintuck Shirtdress with Cap Sleeves
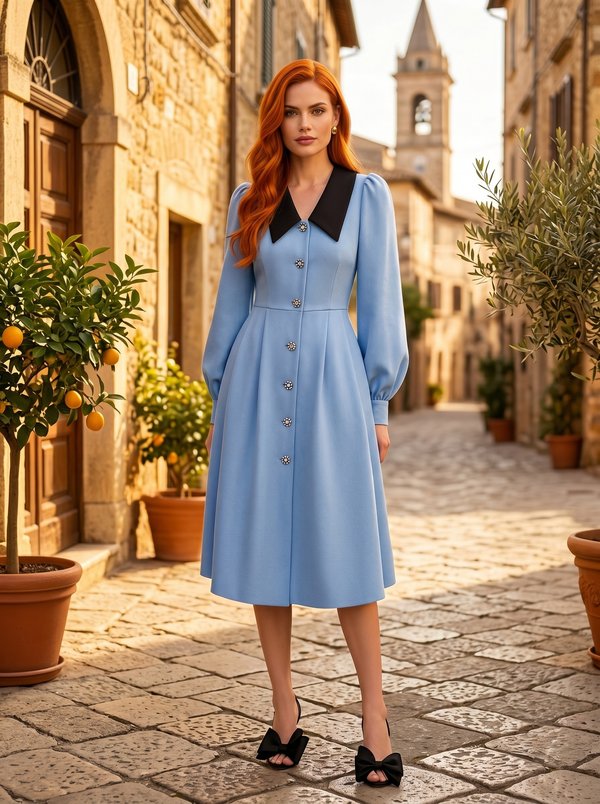
#2655
Pointed Collar Dress with Puffed Sleeves

#2659
Fit and Flare Crossover Shawl Collar Dress
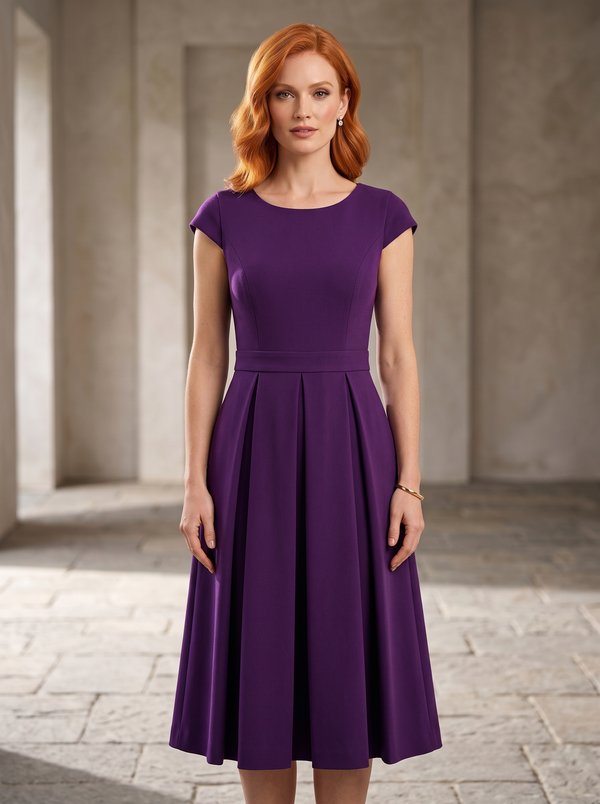
#2644
Cap Sleeve Round Neck Pleated Midi Dress

#2663
V-Yoke Color Block Dress with Balloon Sleeves

Minerva Support
Online