Professional made-to-measure digital sewing patterns — PDF · PLT · DXF AAMA
A mid-thigh women's jacket with wide front bands in a second fabric, cut in one with a shawl-type collar joined at the centre back, and a short horizontal tab at the waist that joins the two fronts with hooks. Drafted to your own measurements. Recommended fabric: suiting fabrics made of natural or blended fibres, in two contrasting or coordinating colours: one for the body and sleeves, one for the front bands, collar and tab.
A mid-thigh women's jacket with wide front bands in a second fabric, cut in one with a shawl-type collar joined at the centre back, and a short horizontal tab at the waist that joins the two fronts with hooks.
Silhouette: Semi-fitted, shaped by back darts and widening slightly to the hem.
Length: Mid-thigh.
Collar: Cut in one with the centre front bands; the collar ends are joined at the centre back and stitched into the back neckline.
Front: The centre front bands are cut double from the second fabric, interfaced, and stitched along the front edge, collar and lower corner, then joined to the side fronts. The fronts meet edge to edge.
Closure: A tab (bridge) set into the left front edge at waist level crosses to the right front and fastens with sew-on hooks into thread loops.
Sleeves: Long set-in sleeves cut in one piece with one seam, the cap eased into the armhole; shoulder pads.
Back: Centre back seam pressed open, with a vertical dart on each back piece.
Finishing: 3 cm hems on the body and sleeves, turned up and topstitched; fusible stay tape along the front neckline.
Intermediate. A cut-on collar joined at the centre back, double-layer bands with an inserted tab, eased sleeve caps and shoulder pads.
Suiting fabrics made of natural or blended fibres, in two contrasting or coordinating colours: one for the body and sleeves, one for the front bands, collar and tab.
If the patterns have a double contour, seam allowances are included. If the contour is single, seam allowances are not included. Seam allowances: all seams 1 cm. Hem allowance for front, back, and sleeve bottom - 3.0 cm. Attention! First, print out the paper patterns and lay them out on the fabric width (fabric width can be from 90 cm to 150 cm) to determine how much material you will need (do not forget to account for paired and symmetrical pieces). When stitching pieces, pay attention to the notches - they must match!

#2467
Collarless Straight Coat Front Yoke
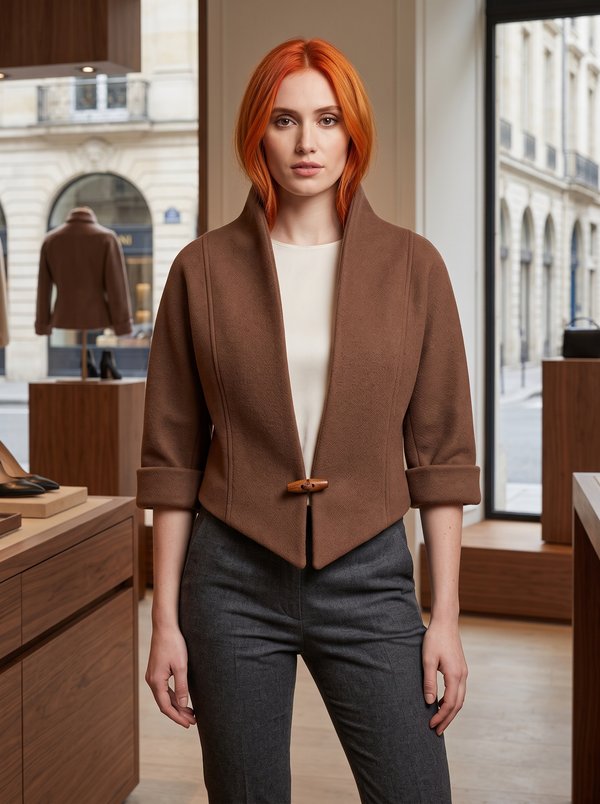
#2477
V-Front Stand Collar Cropped Jacket
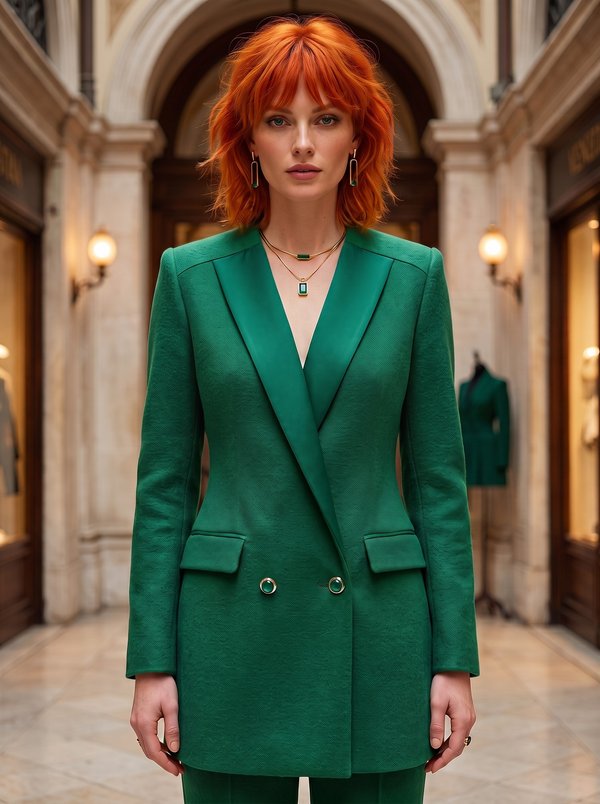
#2498
Tailored Double-Breasted Blazer
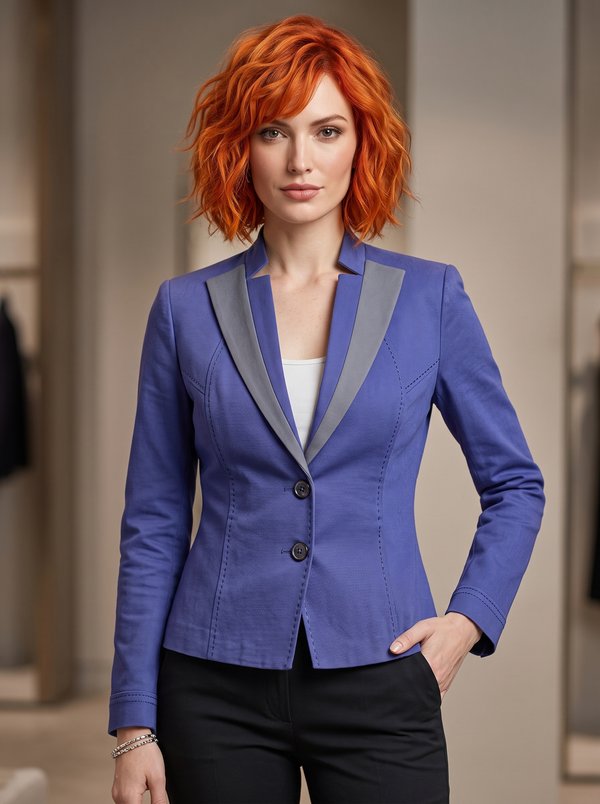
#2506
Tailored Blazer with Two-Tone Contoured Lapels
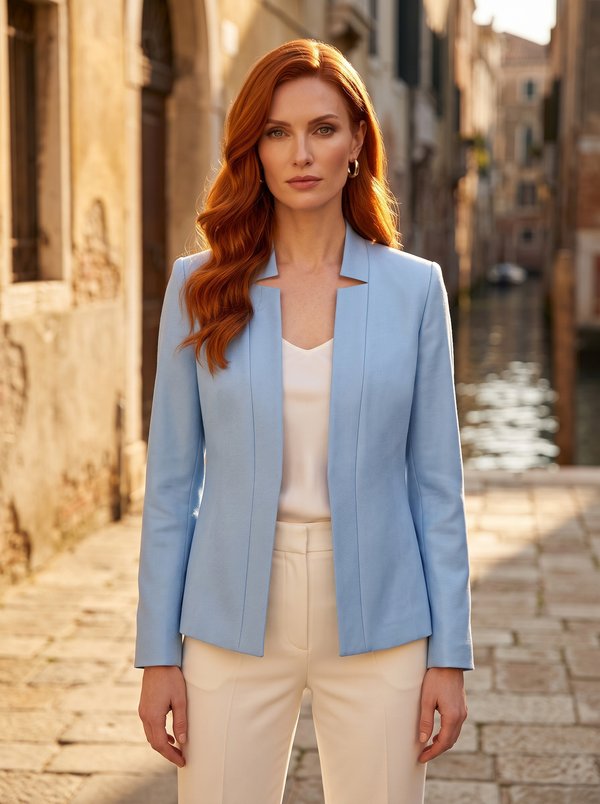
#2507
Tailored Stand Collar Open Front Blazer
#2510
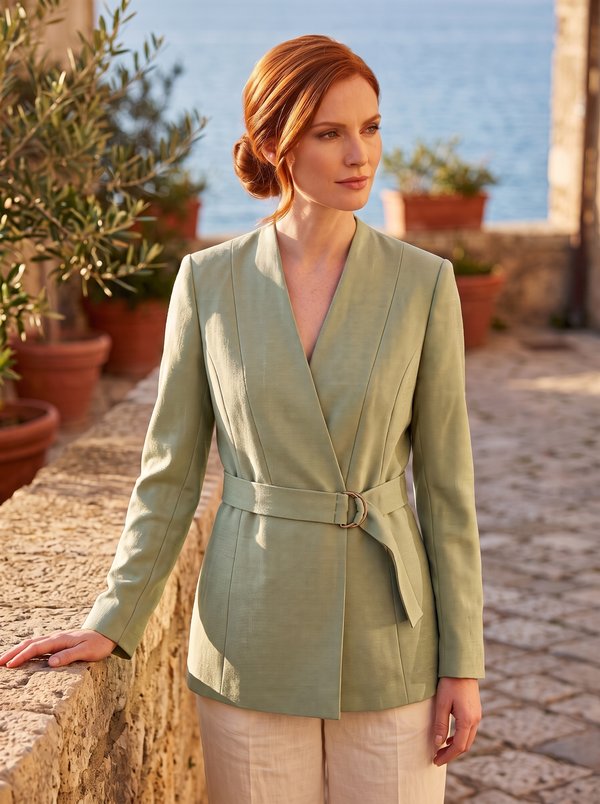
Wrap Blazer with Tie Belt
#2511
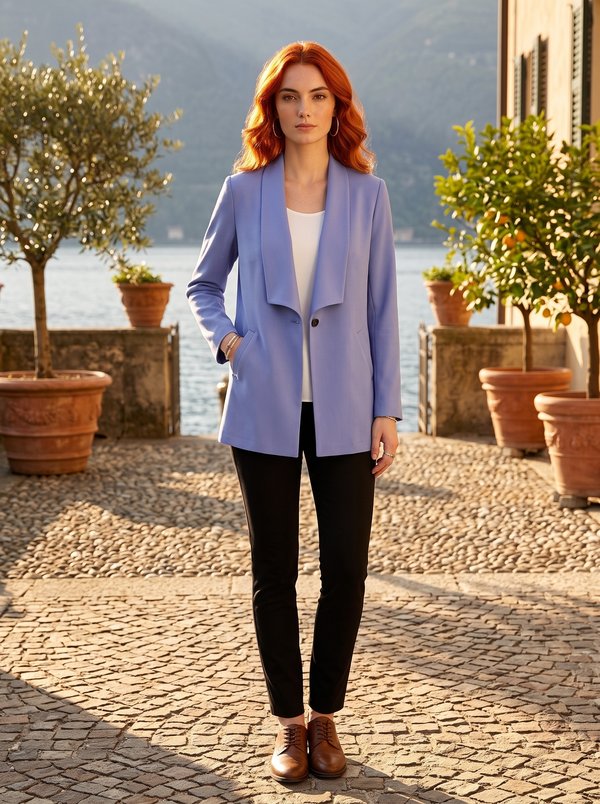
Straight Shawl Collar Single Button Blazer
#2419
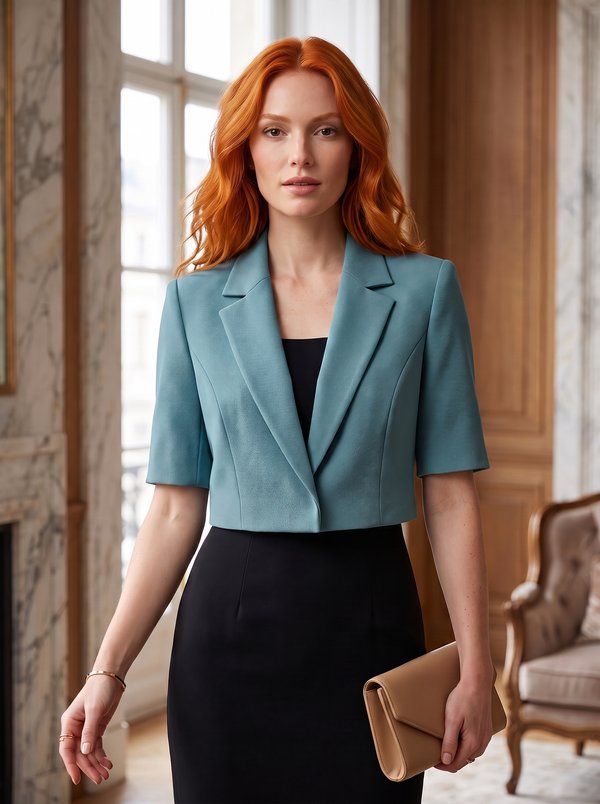
Cropped Short Sleeve Lapel Jacket

Minerva Support
Online