Professional made-to-measure digital sewing patterns — PDF · PLT · DXF AAMA
A sleeveless women's wrap jacket with extended shoulders, a crossover V-neck and soft released darts on the front. A narrow waist inset with two decorative buttons joins the bodice to a peplum; fully lined, with the lining cut from the same pieces. Drafted to your own measurements. Recommended fabric: fine suiting fabrics with elastane, from natural or blended fibres.
A sleeveless women's wrap jacket with extended shoulders, a crossover V-neck and soft released darts on the front. A narrow waist inset with two decorative buttons joins the bodice to a peplum; fully lined, with the lining cut from the same pieces.
Silhouette: Fitted bodice, narrow waist inset and a peplum flaring over the hips.
Length: Hip length.
Neckline: Deep crossover V-neck formed by the wrapped fronts; front edges and neckline faced with the lining.
Sleeves: Sleeveless, with the shoulder line extended over the top of the arm; armholes faced with the lining in two stages.
Front: The upper fronts have darts pressed towards the side seam and stitched only up to a crosswise mark, so the fullness is released above the bust. The front insets are interfaced.
Closure: Buttonholes on both fronts: the right front fastens with a decorative button outside and an inner button on the wrong side; a second decorative button on the left front. Buttons 2 cm in diameter.
Back: Upper back with a centre back seam and darts; the back inset and the back peplum are each cut in one piece.
Waist: Narrow inset seamed between the bodice and the peplum, front and back, with the seams pressed onto the inset and stitched through all layers.
Lining: Full lining cut from the main pattern pieces; the main fabric is recommended as lining. Turned through an opening in the left side seam.
Intermediate. Released darts, a wrapped front with an inner button, a waist inset and a lining stitched to the neckline, front edges, hem and armholes and turned through the side seam.
Fine suiting fabrics with elastane, from natural or blended fibres.
If the patterns have a double contour, they include seam allowances. If the contour is single, the patterns do not include seam allowances. Seam allowances: all seams 1 cm. Attention! First, print out the paper patterns and lay them out on the fabric width (fabric width can be from 90 cm to 150 cm) to determine how much material you will need (do not forget to account for paired and symmetrical pieces).
Attention: lining pieces are cut using the main fabric patterns. It is recommended to use the main fabric as lining.

#4303
Wrap Front Jacket with Pleats
#4304
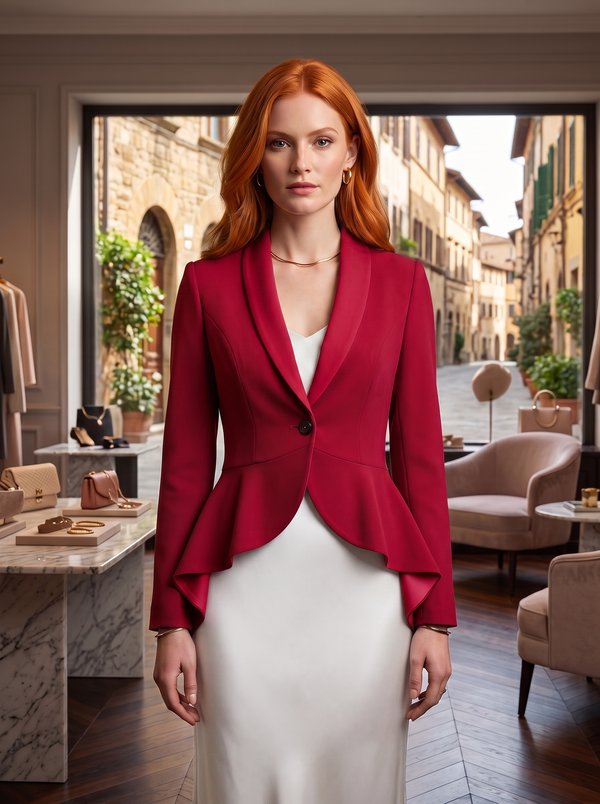
Jacket with High-Low Peplum
#4305
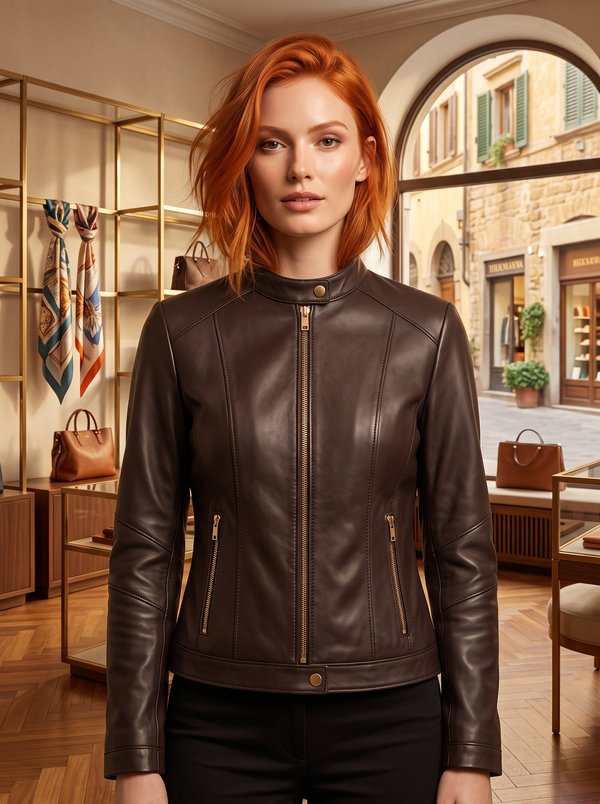
Leather Jacket with Front Zip
#4296
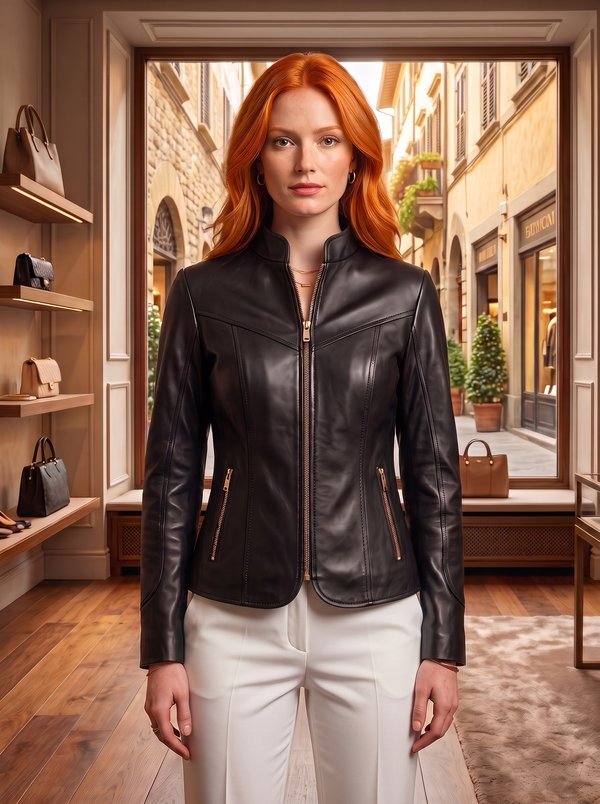
Stand Collar Zippered Leather Jacket
#4308
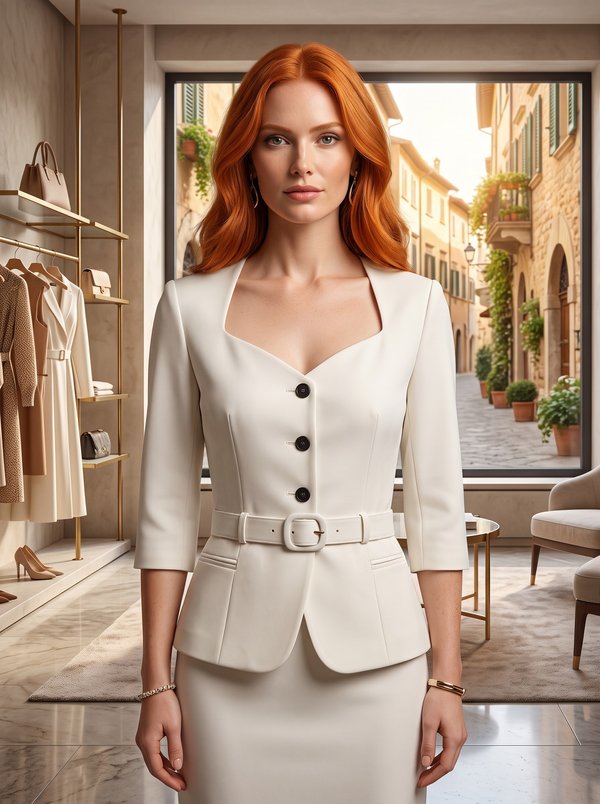
Tailored Jacket with Mock Double Welt Pockets
#4309
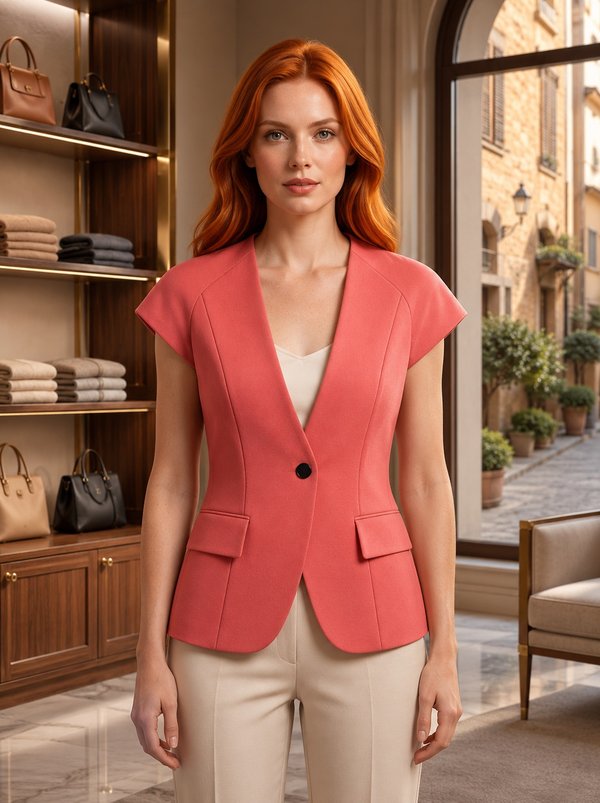
Fitted Paneled Jacket with Flap Pockets
#4328
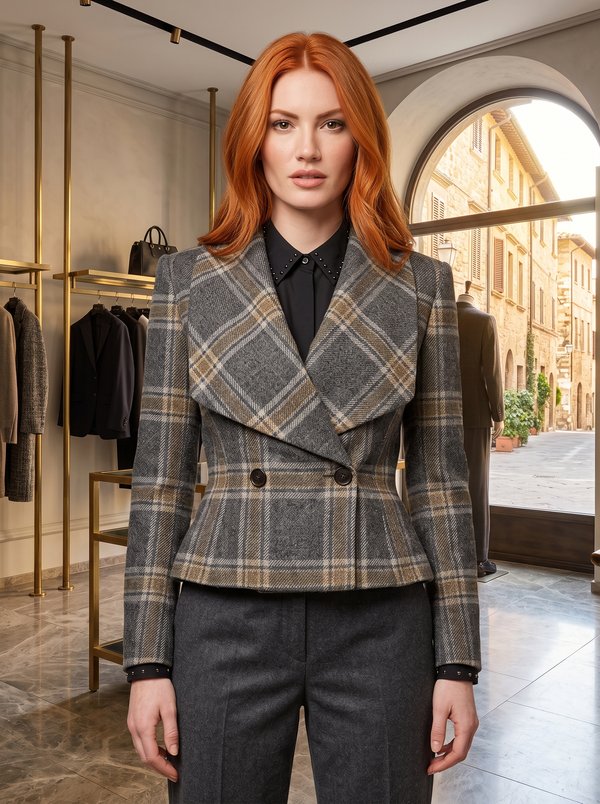
Double Breasted Jacket with Wide Lapels
#4329
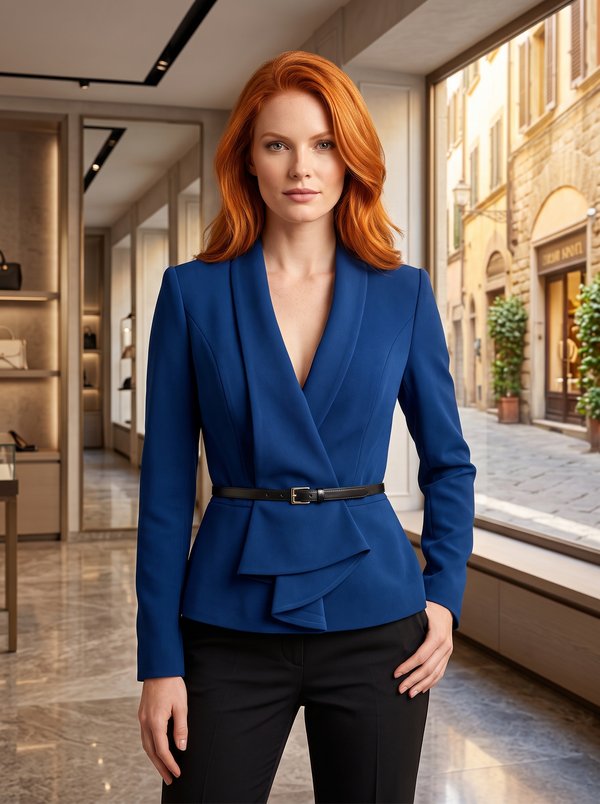
Fitted Collared Jacket With Sleeves

Minerva Support
Online