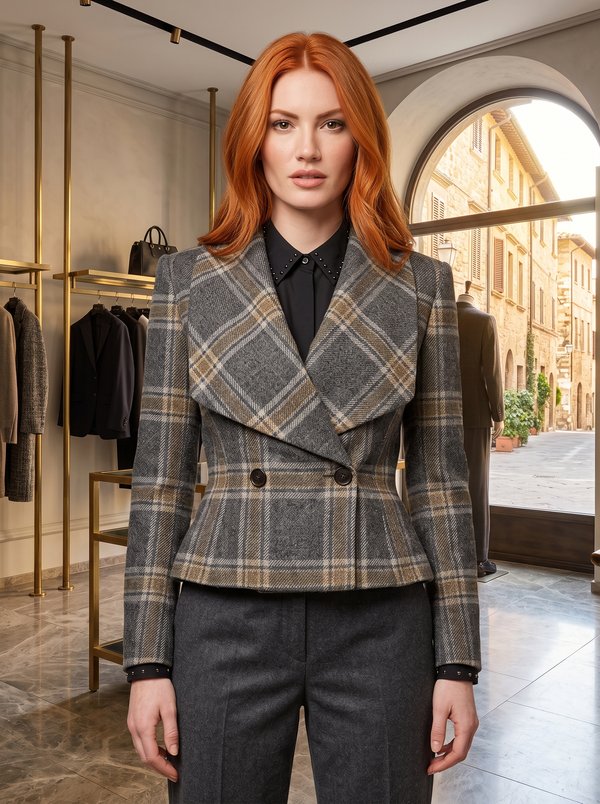
Stand Collar Zippered Leather Jacket
A hip-length fitted women's jacket for leather or faux leather, with a stand collar, a separating zipper at the centre front, a pointed front yoke, princess seams and zipped pockets. Fully lined.
When To Wear
- As a light outer layer in spring and autumn.
- Over T-shirts, knit tops or dresses, with jeans or trousers.
Key Design Features
Silhouette: Fitted, shaped by princess seams at the front and back.
Length: Hip length, straight hem.
Collar: Stand collar cut in two layers (outer and inner stand), topstitched.
Sleeves: Two-piece set-in sleeves: the lower sleeve has its own seam, and the upper sleeve is set into it with a curved seam; both seams topstitched 0.5 cm from the seam. Shoulder pads.
Front: A yoke with a point at the centre front, joined to the front with a topstitched seam; princess seams from the yoke to the hem, topstitched 0.5 cm from the seam. Separating zipper closure.
Pockets: Vertical zipped pockets cut into the lower fronts, the zipper teeth showing in the opening, with lining pocket bags and an underlay piece.
Back: Centre back seam, darts and curved princess seams from the armhole to the hem, topstitched 0.5 cm from the seam.
Finishing: Two parallel rows of topstitching along the front edges and the hem, 0.2 and 0.5 cm from the edge.
Lining: Full lining with sleeves, sewn to front facings, a back neck facing and front and back hem facings; the jacket is turned through an opening left in the left lining side seam.
Level Of Difficulty
Intermediate. Zipped slash pockets, a separating zipper set between the jacket and the facings, a bagged lining with hem facings and a lot of topstitching on leather.
Fabric Recommendations
Faux or natural leather.
Additional Supplies
- Lining fabric
- 1 separating zipper for the front
- 2 zippers for the pockets
- Shoulder pads
Cutter's Must
If the patterns have a double contour, they include seam allowances. If the contour is single, the patterns do not include seam allowances. Seam allowances: all seams 1 cm. Sleeve hem allowance 4 cm. Attention! First, print out the paper patterns and lay them out on the fabric width (fabric width can be from 90 cm to 150 cm) to determine how much material you will need (do not forget to account for paired and symmetrical pieces).
- From main fabric:
- Center Back – 2 pieces
- Side Back – 2 pieces
- Center Front – 2 pieces
- Side Front – 2 pieces
- Front Yoke – 2 pieces
- Stand Collar – 2 pieces
- Upper Sleeve – 2 pieces
- Lower Sleeve – 2 pieces
- Back Neckline Facing – 1 piece
- Center Front Facing – 2 pieces
- Back Facing – 1 piece
- Front Facing – 2 pieces
- Underlay Piece – 2 pieces
- From lining fabric:
- Center Front Lining – 2 pieces
- Side Front Lining – 2 pieces
- Center Back – 2 pieces
- Side Back – 2 pieces
- Upper Sleeve – 2 pieces
- Lower Sleeve – 2 pieces
- Bigger Pocket Bag – 2 pieces
- Smaller Pocket Bag – 2 pieces
Attention: The back lining pieces are cut from the Center Back and Side Back patterns minus the Back Neckline Facing and the Back Facing.
Sewing Instructions
- On the back, stitch the darts. Press the dart depths towards the center. Stitch the princess seams joining the Center Back and Side Back. Press the seam allowances towards the center. Topstitch 0.5 cm from the seam. Stitch the center back seam. Press the seam allowance open.
- Stitch the Underlay Piece to the Bigger Pocket Bag. Mark the pocket placement on the front. Check the pocket opening line. Cut the pocket opening, making diagonal cuts 1-1.5 cm from the ends of the pocket. Turn the opening allowances through to the wrong side and straighten the edges. Secure the pocket ends from the wrong side. Stitch the pocket bag, right side down, to the wrong side of the zipper tape. Place the zipper under the edges of the pocket opening so that the teeth are visible. Stitch the zipper in place, folding back the pocket bag. Stitch the pocket bag edges together.
- On the front, stitch the princess seams joining the Center Front and Side Front. Press the seam allowances towards the center. Topstitch 0.5 cm from the seam. Stitch the Front Yoke to the front. Press the seam allowance towards the yoke and topstitch 0.5 cm from the seam.
- Stitch the side and shoulder seams of the jacket and press them open.
- Stitch the seam of the Lower Sleeve. Press the seam allowance towards the back. Topstitch 0.5 cm from the seam. Stitch the Upper Sleeve to the Lower Sleeve. Clip the seam allowances and press them towards the Lower Sleeve. Topstitch 0.5 cm from the seam. Set the sleeves into the jacket. Attach the shoulder pads.
- Stitch the outer Stand Collar to the jacket neckline. Press the seam allowances open.
- Insert the separating zipper.
- Assemble the lining pieces, leaving an opening in the left side seam for turning. Set in the lining sleeves. Stitch the shoulder seams of the Center Front Facings and the Back Neckline Facing. Press the seam allowances open. Stitch the lining to the Center Front Facings and the Back Neckline Facing. Stitch the side seams of the lower facings (Front Facing and Back Facing). Press the seam allowances open. Stitch the lower facings to the lower edge of the lining. Stitch the inner Stand Collar to the neckline. Press the seam allowance open.
- Place the Center Front Facing on the right side of the front, right sides together, pin and stitch along the front edge and the stand collar. Stitch along the hem of the jacket. Stitch the lining to the bottom of the sleeves. Tack the upper edge of the lower facings to the seams of the main garment. Tack the stand collar attachment allowances together. Turn the jacket right side out through the opening. Close the opening.
- Topstitch two parallel rows along the front edges and the hem, 0.2 and 0.5 cm from the edge. Topstitch along the stand collar.