Professional made-to-measure digital sewing patterns — PDF · PLT · DXF AAMA
A women's sleeveless pull-on top in knit fabric, with a square neckline finished by a double-layer band, short pintucks on the front and an off-centre front pleat held by five buttons. Drafted to your own measurements. Recommended fabric: soft knit fabric with medium stretch, made from natural or blended fibres.
A women's sleeveless pull-on top in knit fabric, with a square neckline finished by a double-layer band, short pintucks on the front and an off-centre front pleat held by five buttons.
Silhouette: Straight, slightly widening towards the hem; pulls on over the head.
Length: Hip length, with a softly curved hem.
Neckline: Square at the front and rounded at the back, finished with a folded, interfaced neckline band sewn into the neckline seam and visible on the outside.
Sleeves: Sleeveless; armholes bound with 4 cm bias binding, folded to the inside and topstitched.
Front: Cut as one asymmetric piece. A row of pintucks is stitched 10 cm down from the neckline, and a vertical pleat to one side of centre is secured by five buttons sewn through it. The buttons are decorative; there are no buttonholes.
Back: One piece cut on the fold, with no centre back seam.
Finishing: Seams sewn with a stretch stitch or on a 3- or 4-thread overlocker; hem topstitched with a twin needle or a coverstitch machine.
Beginner. Few pieces and no closure. The care points are sewing knit fabric with stretch stitches, keeping the pintucks even and turning the square corners of the neckline band.
Soft knit fabric with medium stretch, made from natural or blended fibres.
Tip: Cut pieces from knit fabrics are stitched with a special elastic or narrow zigzag stitch. When serging, trim seam allowances to 0.8 cm. The hem allowance is topstitched with a twin needle or on a coverstitch machine to maintain elasticity. You can also stitch pieces directly on a 3- or 4-thread overlock machine.
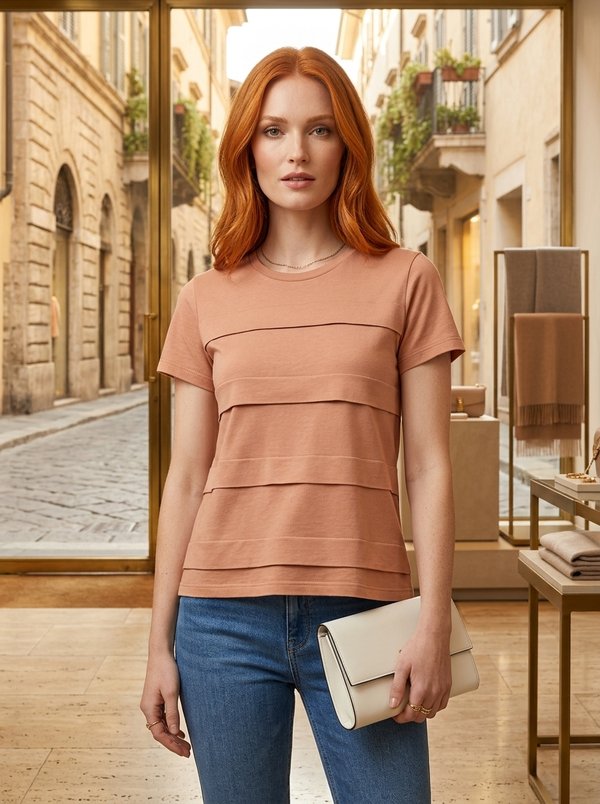
#2822
Crew Neck Layered Short Sleeve T-Shirt
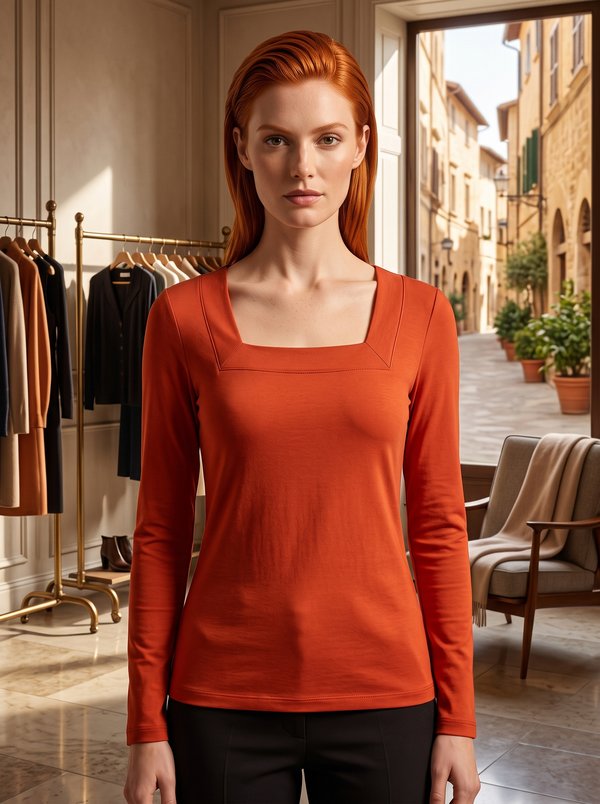
#2740
Square Neck Long Sleeve Knit Top
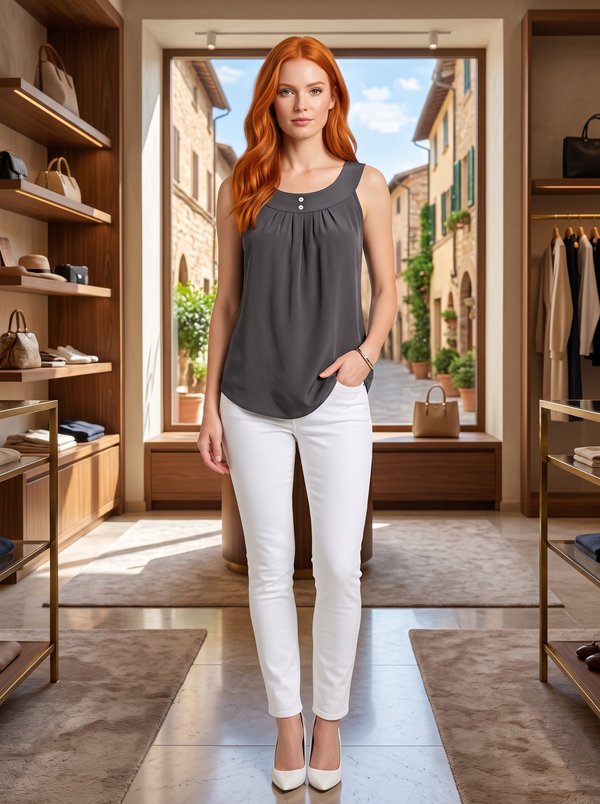
#2911
Sleeveless Gathered Yoke Top
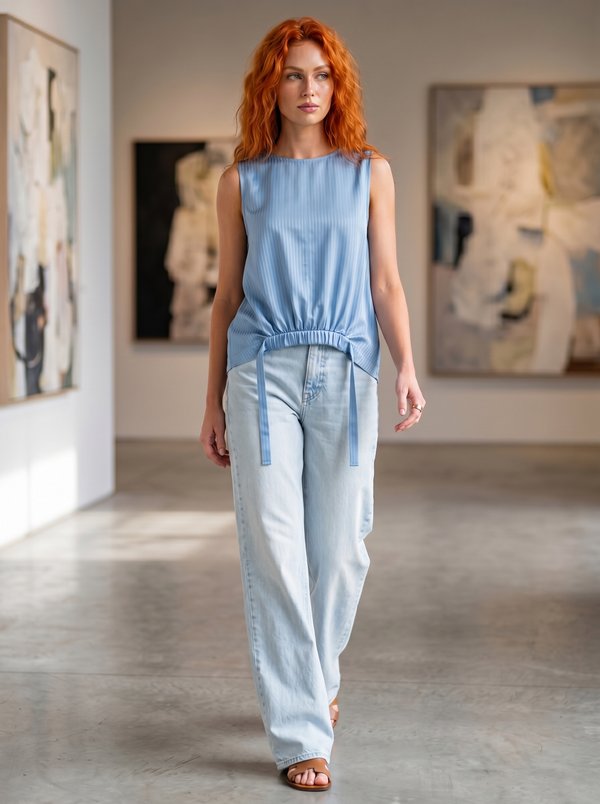
#2705
Blouson with Decorative Front Panel
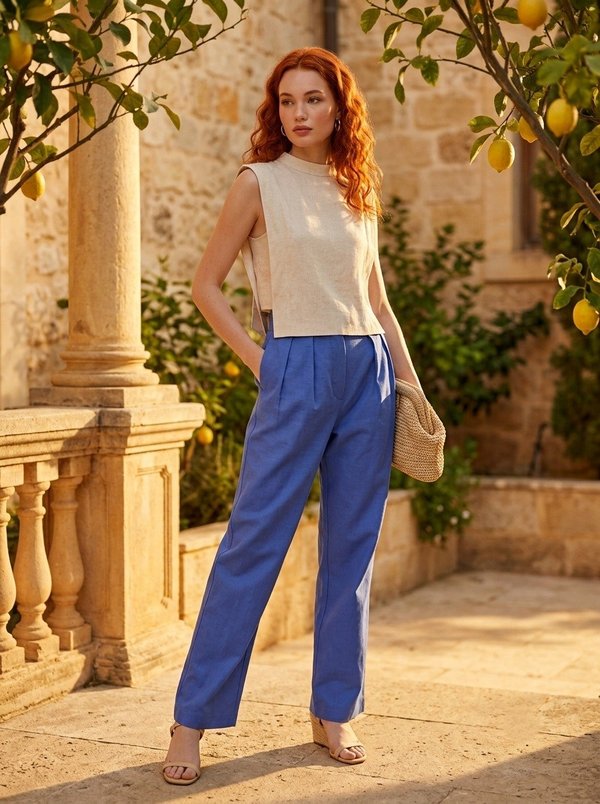
#2465
Sleeveless Stand Collar Side Split Blouse
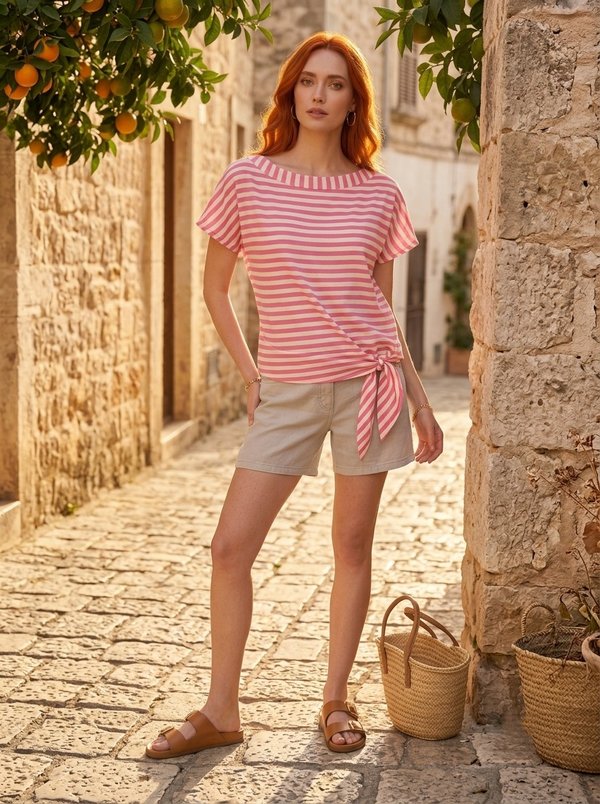
#2462
Boat Neck Tie Front Top

#2288
Sleeveless Blouse with V-Notch Yoke

#4018
Gathered High Neck Blouson Top

Minerva Support
Online