Professional made-to-measure digital sewing patterns — PDF · PLT · DXF AAMA
A women's fitted, fully lined vest with a notched collar and lapels, a double-breasted two-button front and an asymmetric lower edge: the right front extends into an angled point. Princess seams front and back. Drafted to your own measurements. Recommended fabric: suiting fabrics of natural or blended fibres.
A women's fitted, fully lined vest with a notched collar and lapels, a double-breasted two-button front and an asymmetric lower edge: the right front extends into an angled point. Princess seams front and back.
Silhouette: Fitted, shaped by princess seams running from the armholes on the front and the back; waist to high-hip length.
Collar: Notched collar with an upper and an under collar; a 1 cm stay tape cut from fusible interfacing is applied along the lapel roll line.
Closure: Double-breasted, with 2 visible buttons and a buttonhole on the right front, and an inner button and buttonhole holding the underlap.
Front: Separate right and left centre fronts; the right centre front is cut longer and ends in a point below the hem. Right and left front facings are interfaced.
Sleeves: Sleeveless; the armholes are faced with the lining.
Back: Centre back seam and side back panels joined by princess seams; back neck facing.
Lining: Full lining cut from the front and back pieces minus the facings, attached by machine and turned through an opening in the left side seam.
Intermediate. A notched collar set between the vest and the facings, a stay-taped lapel, and bagging out the lining including the armholes.
Suiting fabrics of natural or blended fibres.
From Main Fabric:
From Lining Fabric:
For drafting the lining pattern pieces, use main patterns with the following modifications:
From Fusible Interfacing:
For drafting the lining pattern pieces, use main patterns
Apply fusible interfacing to the required pieces.
Apply a 1 cm wide stay tape (from fusible interfacing) along the lapel fold line on the Right Center Front and Left Center Front.
Stitch the center back seam of the Center Back, press the seam allowances open.
Stitch the princess seams of the Center Back and Side Back.
Press the seam allowances toward the center.
Stitch the princess seams of the Right Center Front, Left Center Front, and Side Front.
Press the seam allowances toward the center.
Stitch the shoulder and side seams.
Press the seam allowances open.
Place the Upper Collar and Lower Collar right sides together and stitch the collar ends and outer edge.
Begin and end stitching exactly at the marked collar attachment line.
Trim seam allowances at the corners and clip at the marking.
Turn the collar right side out, shape, and press.
Stitch and press open the shoulder seams of the Back Neckline Facing, Left Front Center Facing, and Right Front Center Facing.
Place the facings onto the Right Center Front and Left Center Front right sides together, pin, and stitch along the front edges.
Stitch upward to the notch marking the end of the collar attachment.
Attach the Lower Collar to the neckline of the vest, and the Upper Collar to the neckline of the Back Neckline Facing and front facings.
Press the collar seam allowances open and secure close to the seams.
Press the lower edge of the vest to the wrong side.
Stitch the lining seams, leaving an opening in the left side seam.
Attach the lining to the front facings and neckline facing.
Finish the armholes with the lining in two steps: first the front armhole, then the back armhole.
Clip seam allowances, turn right side out, and press.
Attach the lining to the lower edge of the vest.
Turn the vest right side out through the opening.
Sew the opening closed.
Work a buttonhole on the right front.
Work the inner buttonhole.
Sew on the buttons.

#2806
Vest with Asymmetric Closure and Pleats

#2804
Double-Breasted Stand Collar Sleeveless Tunic
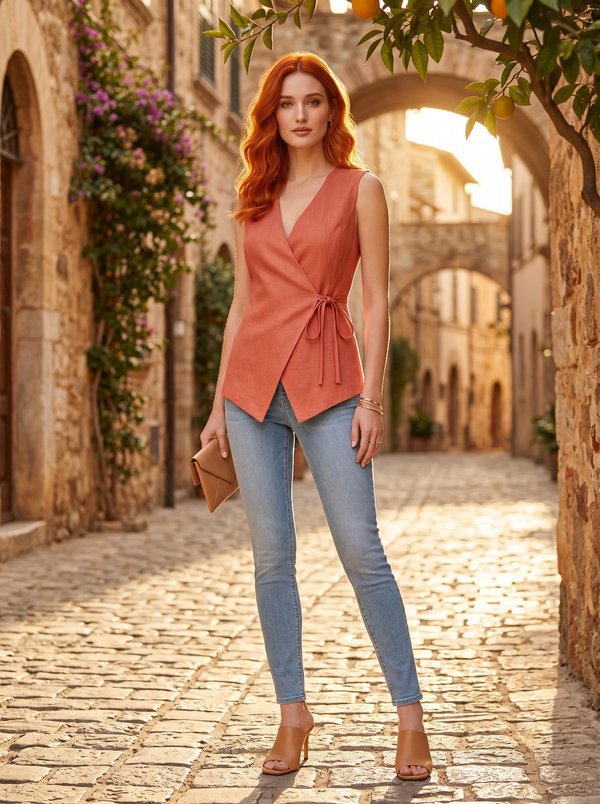
#2823
Sleeveless Wrap Tie Waistcoat

#2802
Peplum Vest with Shawl Collar

#2756
Fitted Asymmetrical Crossover Vest
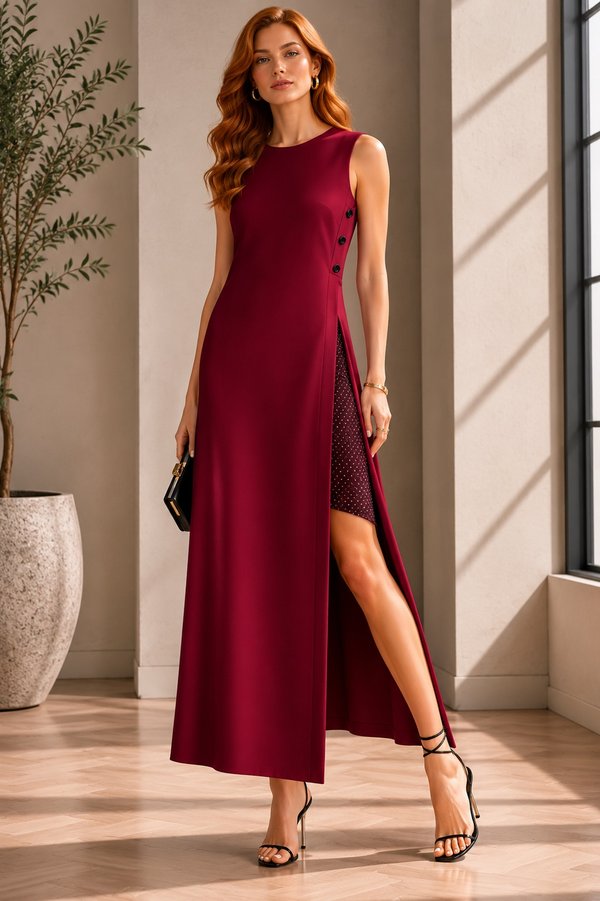
#2747
Sleeveless Maxi Vest with Buttoned Side Tabs
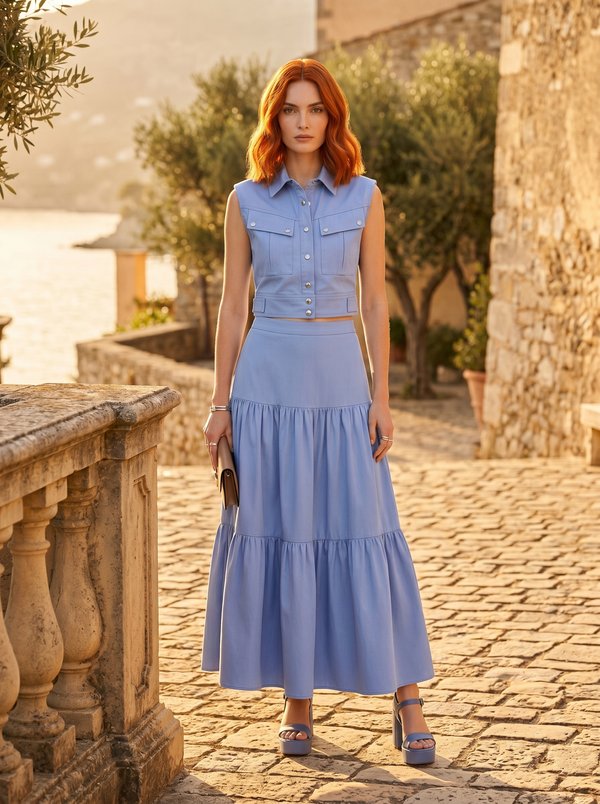
#2735
Cropped Collared Snap Front Vest

#2713
V-Neck Wrap Vest With Tie Belt

Minerva Support
Online