Professional made-to-measure digital sewing patterns — PDF · PLT · DXF AAMA
A short, lined women's cape with a pointed collar and faced front edges, flaring over the arms to below the waist. A separate band, cut in one piece on the fold, is sewn to the lower edge and fastens at centre front with one button. Drafted to your own measurements. Recommended fabric: fine wool fabrics.
A short, lined women's cape with a pointed collar and faced front edges, flaring over the arms to below the waist. A separate band, cut in one piece on the fold, is sewn to the lower edge and fastens at centre front with one button.
Silhouette: Cape shape with no sleeves, falling in soft folds from the shoulders.
Length: Cropped, ending just below the waist band.
Collar: Pointed collar cut double, set between the cape and the facings.
Front: Front edges finished with interfaced facings, meeting edge to edge above the band.
Closure: One button and buttonhole on the band.
Back: One piece, with a back neck facing.
Waist: Interfaced band folded in half lengthwise and attached to the lower edge of the cape; the lower edge is faced with the lining between marks.
Lining: Front and back lining sewn to the facings; lining pieces are cut without the width of the facings.
Intermediate. A collar set between garment and facing, a bagged lining and a band with a buttonhole.
Fine wool fabrics.
If the patterns have a double contour, seam allowances are included. If the contour is single, seam allowances are not included. Seam allowances: all seams 1.0 cm. Attention! First, print out the paper patterns and lay them out on the fabric width (fabric width can be from 90 cm to 150 cm) to determine how much material you will need (do not forget to account for paired and symmetrical pieces). When stitching pieces, pay attention to the notches - they must match!
Attention: front and back pieces from lining are cut without considering the width of the front facings and back neckline facing, respectively.
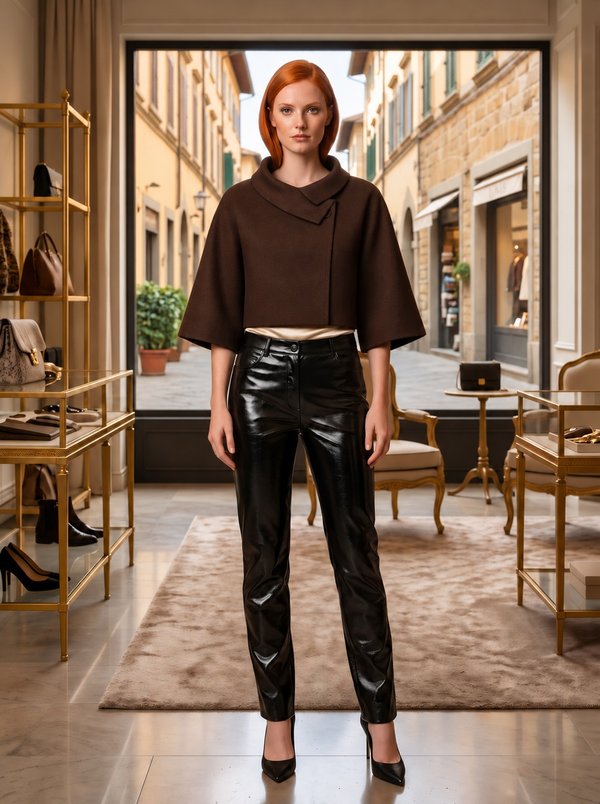
#5721
Cropped Stand Collar Jacket
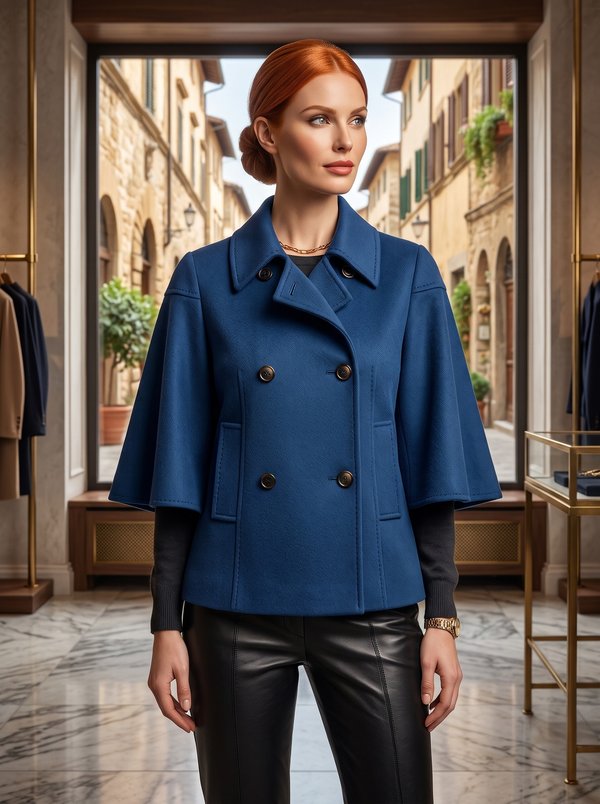
#5729
Double-Breasted Jacket with Flared Sleeves

#2805
Summer Jacket

#2784
Raglan Sleeve Zippered Stand Collar Jacket
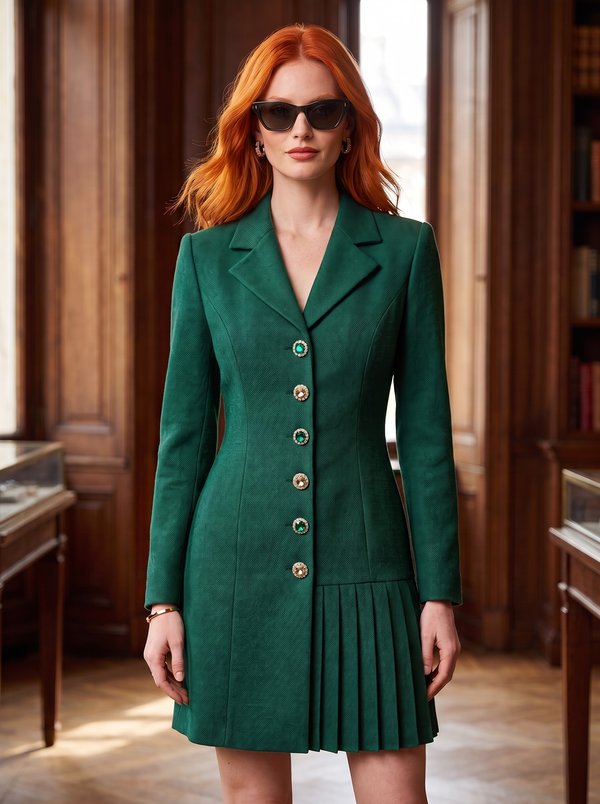
#2774
Blazer Dress Asymmetric Pleated Hem
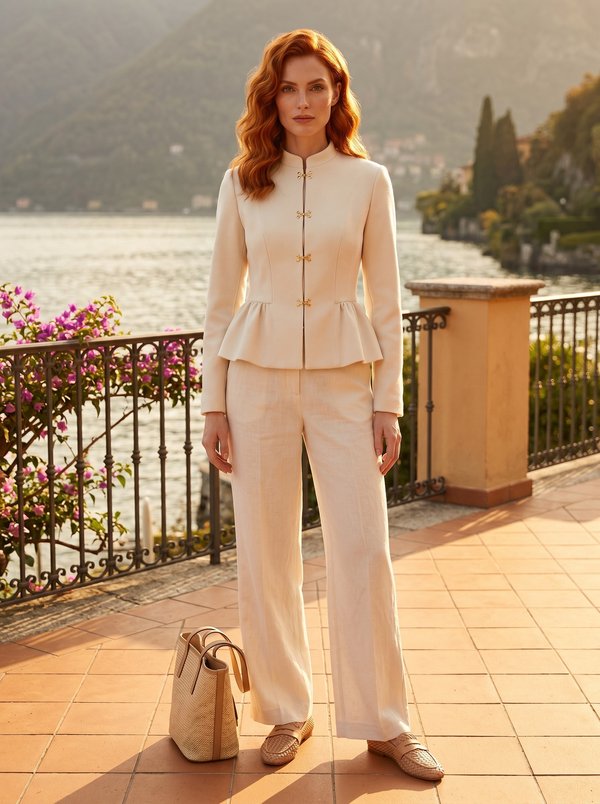
#2850
Jacket with Gathered Peplum
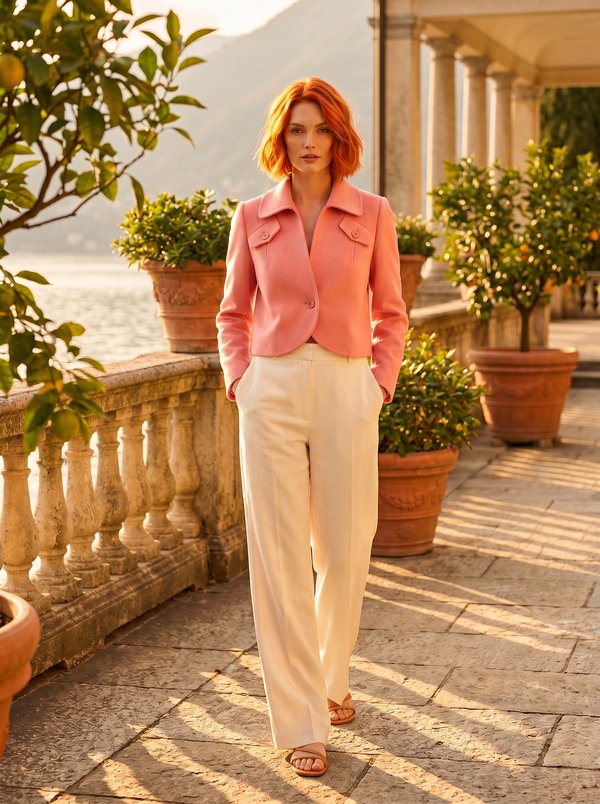
#2854
Cropped Jacket with Yoke & Mock Flap Pockets
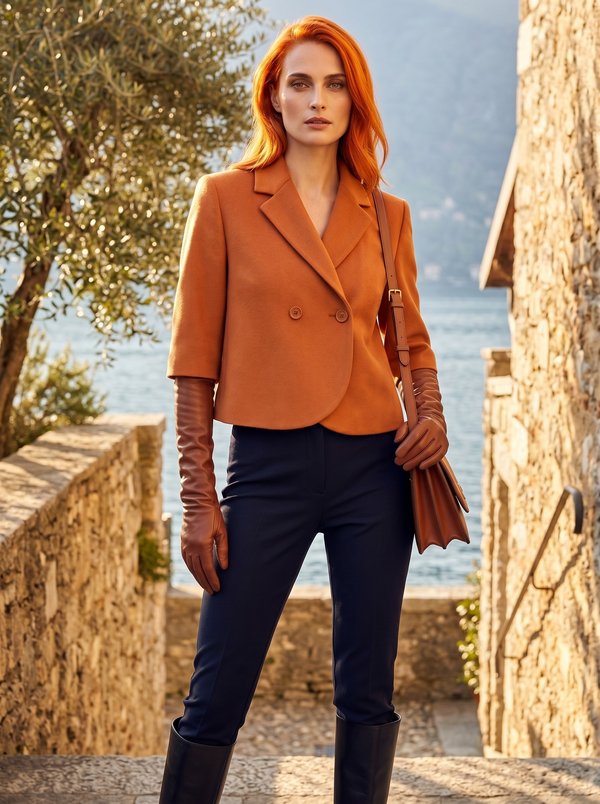
#2863
Cropped Double Breasted 3/4 Sleeve Blazer

Minerva Support
Online