Professional made-to-measure digital sewing patterns — PDF · PLT · DXF AAMA
A women's loose blouse with dolman sleeves cut in one with the bodice, front yokes with gathers below them, a shirt collar on a stand and a full-length button placket. The sleeves end in band cuffs. Drafted to your own measurements. Recommended fabric: blouse fabrics of natural or blended fibres: chiffon, silk.
A women's loose blouse with dolman sleeves cut in one with the bodice, front yokes with gathers below them, a shirt collar on a stand and a full-length button placket. The sleeves end in band cuffs.
Silhouette: Loose and wide through the body and sleeves, narrowing to a straight hem at the hip.
Collar: Shirt collar on a stand, the collar topstitched 0.1 cm from the edge; one button on the stand.
Front: Each front is gathered along its upper edge between marks and stitched to a front yoke; the seam is pressed towards the yoke.
Closure: Separate placket stitched to each front and finished by stitching in the ditch; 6 buttons on the placket plus 1 on the stand.
Sleeves: Dolman sleeves cut in one with the front and back, about elbow length; shoulder and underarm seams are sewn together with the sleeve edges. Folded band cuffs whose ends meet at the shoulder seam line.
Back: One piece cut on the fold, without a yoke.
Finishing: Seams overlocked; hem overlocked, turned up and topstitched.
Intermediate. Gathering into a yoke seam, a two-piece collar and stand, sewn-on plackets and 7 buttonholes.
Blouse fabrics of natural or blended fibres: chiffon, silk.
Fabric recommendations: blouse fabrics made of natural or blended fibers. Chiffon, silk. Also needed: fusible interfacing, 7 buttons.
If the patterns have a double contour, then the patterns include seam allowances. If the contour is single, then the patterns do not include seam allowances. Seam allowances: all seams 1 cm. Hem allowance for the bottom edge of the garment – 2 cm. Attention! First of all, print out the paper patterns and lay them out on the fabric width (fabric width can be from 90cm to 150cm) to determine how much material you will need (do not forget to consider paired and symmetrical parts). When stitching pieces, pay attention to the notches - they must match!

#2812
Princess Seam Segmented Back Blouse
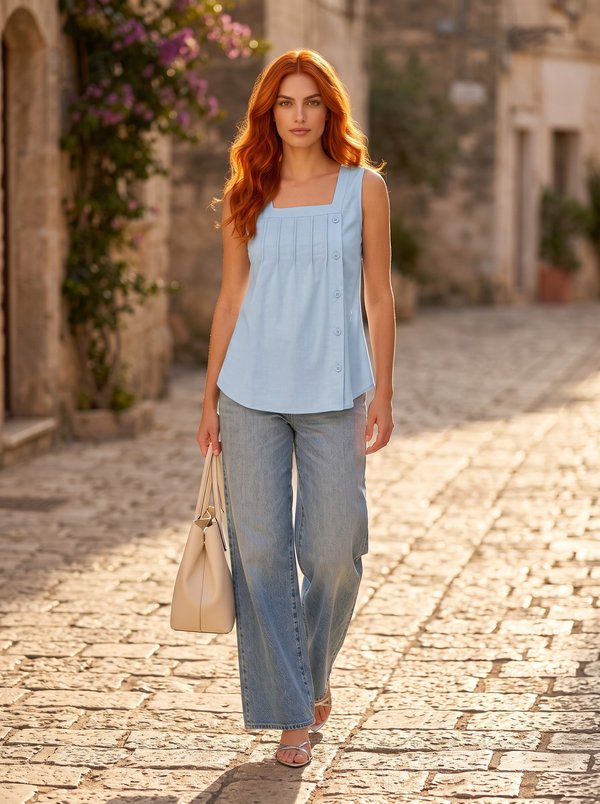
#2814
Square Neck Pintuck Button Top
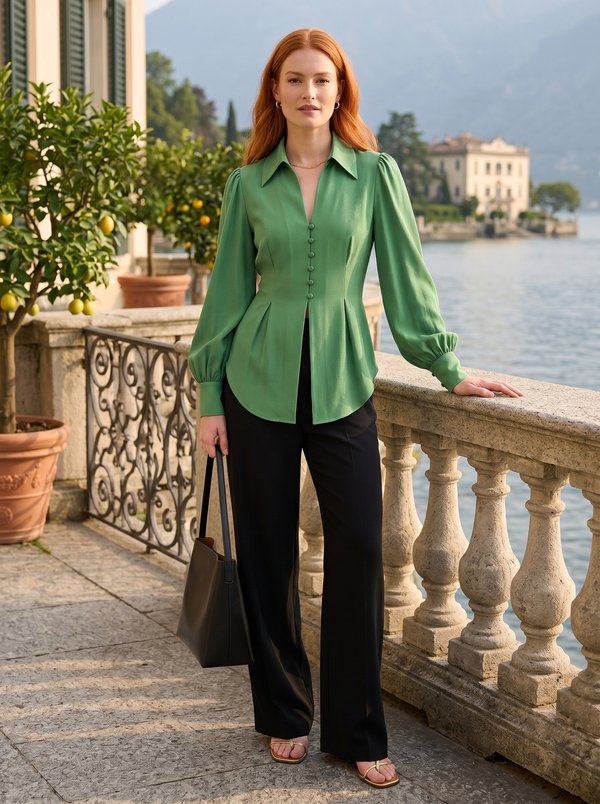
#2807
Collared V-Neck Blouse with Decorative Buttons
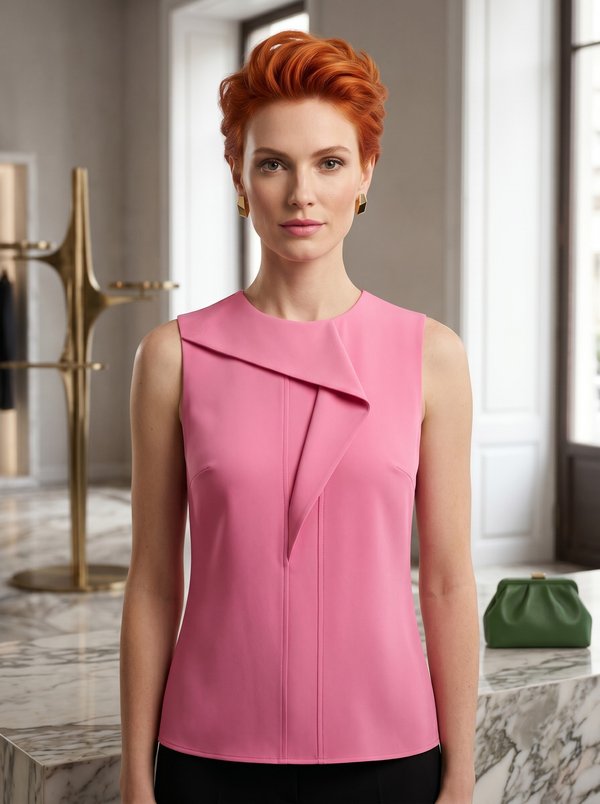
#2815
Sleeveless Asymmetric Panel Blouse
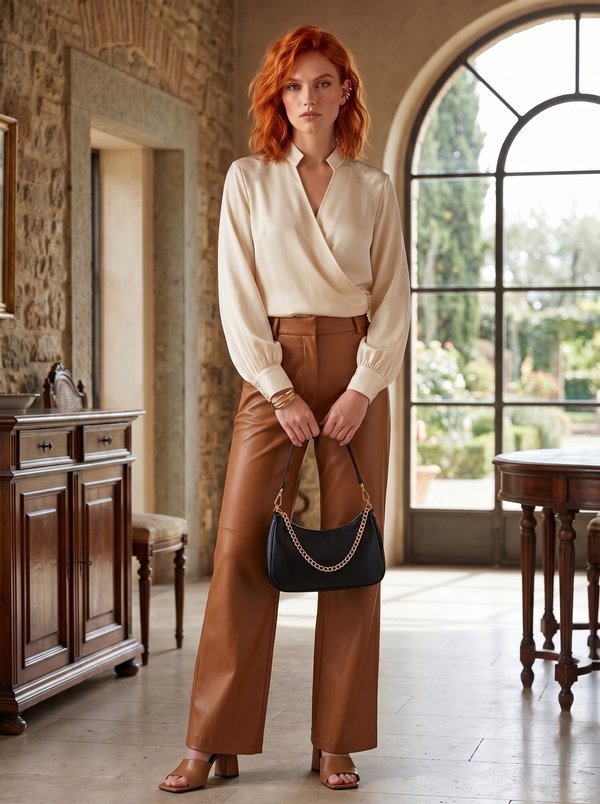
#2816
Wrap Front Blouse Gathered Sleeves
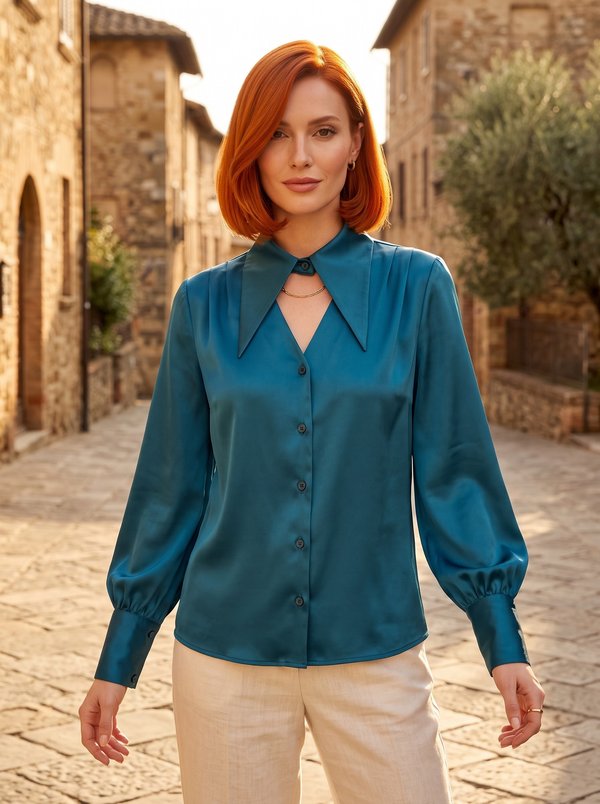
#2817
Keyhole Collar Bishop Sleeve Blouse
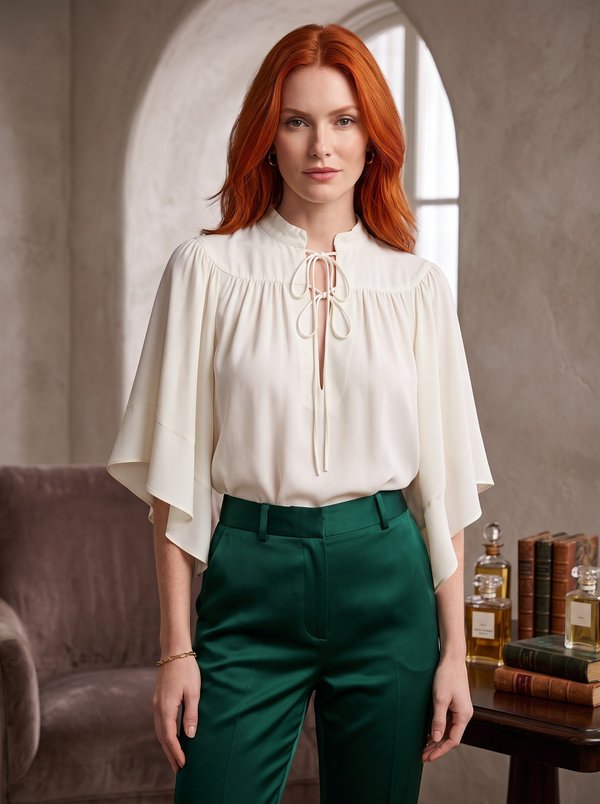
#2800
Fantasy Sleeve Blouse
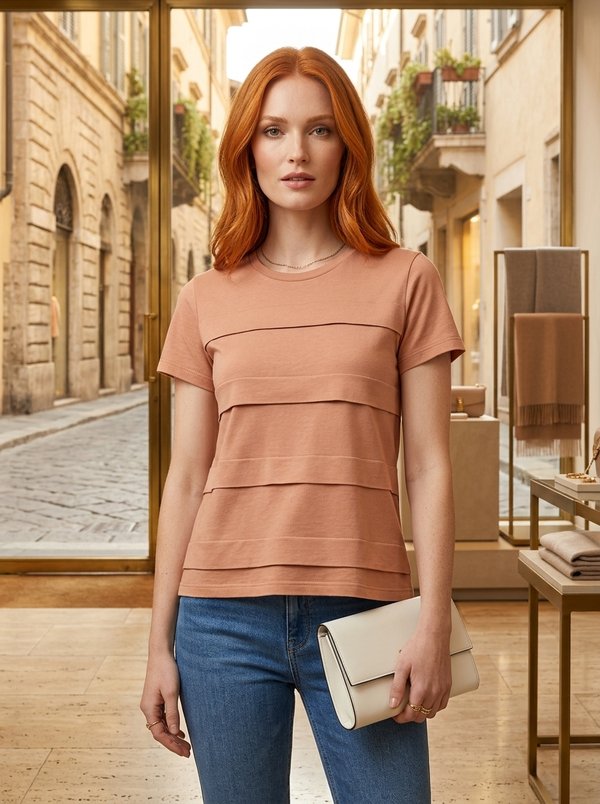
#2822
Crew Neck Layered Short Sleeve T-Shirt

Minerva Support
Online