Professional made-to-measure digital sewing patterns — PDF · PLT · DXF AAMA
A women's cropped jacket with gathers below front and back yokes, drawn into a buttoned band at the lower edge. Stand collar, button front, two-piece sleeves with gathered caps and buttoned cuffs, single-welt pockets. Drafted to your own measurements. Recommended fabric: corduroy from natural or blended fibres.
A women's cropped jacket with gathers below front and back yokes, drawn into a buttoned band at the lower edge. Stand collar, button front, two-piece sleeves with gathered caps and buttoned cuffs, single-welt pockets.
Silhouette: Cropped and blousy: the fullness from the yokes is gathered again into the lower band.
Collar: Interfaced stand collar in two layers, closed with a button.
Front: Button front with buttonholes on the right front and separate front facings; the front fastening runs through the stand collar and the lower band.
Back: Back yoke and a back cut on the fold, gathered into the yoke seam.
Sleeves: Two-piece set-in sleeves with a gathered cap. The elbow seam is topstitched 0.5 cm from the cap down to a mark; below the mark it is left open above the cuff, pressed open and edgestitched 0.1 cm on both sides. Interfaced cuffs closed with buttons.
Pockets: Single-welt pockets on the fronts, set slightly at an angle, with both pocket bags cut from lining and a self-fabric pocket underlay on the bigger bag.
Waist: The lower edge of the jacket is gathered into an interfaced band (placket) folded in half, its ends stitched closed.
Finishing: Yoke seams pressed upwards and topstitched 0.5 cm; inner layers of collar, band and cuffs stitched in the ditch of the attaching seam.
Advanced. Even gathering in three places (yokes, lower band, sleeve caps), single-welt pockets, a two-piece sleeve with an opening, a stand collar.
Corduroy from natural or blended fibres.
From Main Fabric:
From Lining Fabric:
From Fusible Interfacing:
Before cutting your fabric:
Apply fusible interfacing to the required pattern pieces.
Mark and apply fusible interfacing to the pocket placement area on the Front.
Fold the Welt lengthwise, wrong sides together, and press.
Topstitch the Smaller Pocket Bag onto the inner side of the Welt.
Attach the Welt to the Front along the lower marked pocket line.
Place the pocket underlay wrong side down on the right side of the Bigger Pocket Bag, aligning the upper raw edges; turn under its lower edge and edgestitch; baste the remaining edges.
Attach the Bigger Pocket Bag (with the pocket underlay) to the Front along the upper marked pocket line.
Finish stitching exactly at the short marking lines.
Cut the pocket opening.
Make angled cuts 1–1.5 cm from the pocket ends.
Turn the Welt and Bigger Pocket Bag to the wrong side through the opening.
Secure the pocket ends from the wrong side with double backstitching at the base of the corners.
Stitch the pocket bag edges together and overlock.
Sew a gathering stitch along the upper edge of the Back with reduced upper thread tension and gather.
Attach the Back to the Back Yoke, press the seam allowances upward and overlock.
Topstitch along the seam at 0.5 cm.
Sew a gathering stitch along the upper edge of the Front with reduced upper thread tension and gather.
Attach the Front to the Front Yoke, press the seam allowances upward and overlock.
Topstitch along the seam at 0.5 cm.
Overlock the outer edge of the Center Front Facing.
Place the Center Front Facing and the Front right sides together and stitch along the front edge.
Press the seam allowances, turn the Center Front Facing to the wrong side, and secure it to the garment along the neckline and hem edges.
Stitch the shoulder and side seams, press the seam allowances toward the Back, and overlock.
Place the Stand Collar pieces right sides together and stitch along the outer edge.
Begin and end stitching exactly at the marked collar attachment line.
Clip the seam allowances.
Turn the Stand Collar right side out, shape, and press.
Attach the outer Stand Collar to the neckline, press the seam allowances toward the collar.
Turn the seam allowance of the inner side to the wrong side and topstitch in the seam of attachment.
Fold the Waistband (Placket) lengthwise, right sides together, and stitch the short edges.
Start and finish stitching exactly at the marked line for attaching the placket.
Turn the Waistband (Placket) right side out, shape, and press.
Sew a gathering stitch along the lower edge of the garment with reduced upper thread tension and gather.
Attach the outer side of the Waistband (Placket) to the garment, press the seam allowances toward the placket.
Turn the seam allowance of the inner side to the wrong side and topstitch in the seam of attachment.
Overlock the elbow edges of the Upper Sleeve and Lower Sleeve separately.
Stitch the elbow seam from the sleeve cap to the marking, clip the seam allowances at the marking.
From the sleeve cap to the marking, press the seam allowances and topstitch along the seam at 0.5 cm.
From the marking to the hem, press the seam allowances open and topstitch along both edges at 0.1 cm.
Stitch and press open the front seam of the sleeve.
Sew a gathering stitch along the sleeve cap with reduced upper thread tension and gather.
Set the sleeves into the armholes, matching notches.
Fold the Cuff pieces lengthwise, right sides together, and stitch the short edges.
Begin and end stitching exactly at the marked cuff attachment line.
Turn the Cuff right side out, shape, and press.
Attach the outer side of the Cuff to the sleeve hem, press the seam allowances toward the cuff.
Turn the seam allowance of the inner side to the wrong side and topstitch in the seam of attachment.
Work buttonholes on the right Front, sew buttons on the left Front.
Work buttonholes and sew buttons on the Cuff and Stand Collar.

#2601
Fitted Jacket with Rounded Collar
#2642
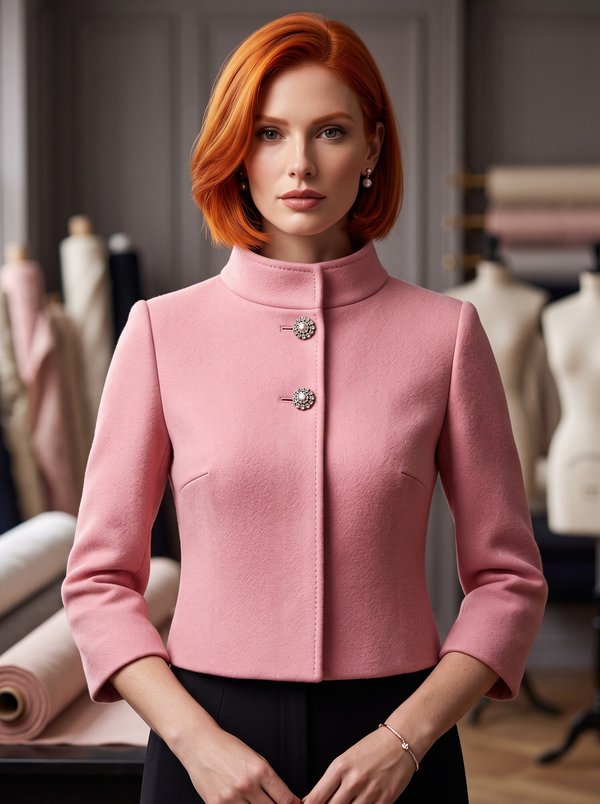
Cropped Fitted Stand Collar Jacket

#2643
Asymmetrical Wrap Tie Jacket with Pleated Collar

#2586
Fitted Asymmetrical Contrasting Panel Blazer

#2646
Asymmetrical Peplum Jacket with Buckle
#2573
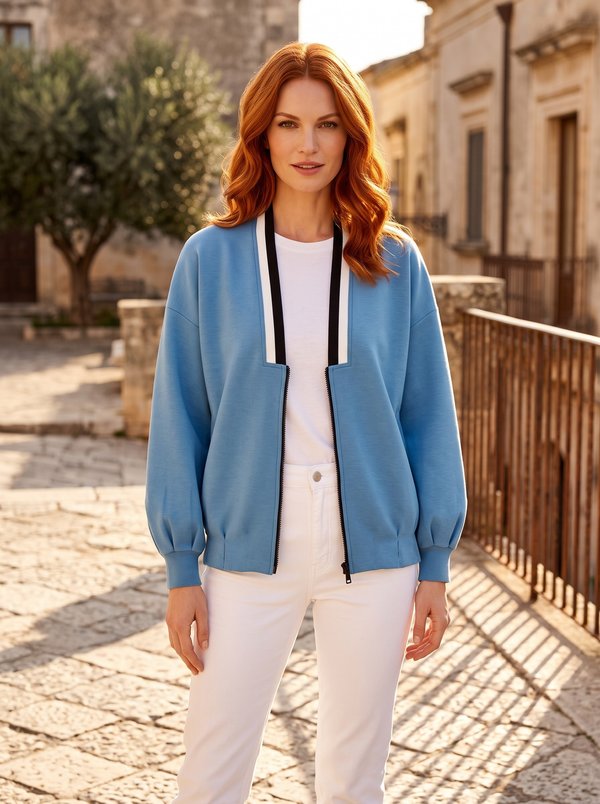
Relaxed Zippered V-Neck Puff Sleeve Jacket

#2568
Asymmetric Wrap Blazer with Belt

#2671
Stand Collar Peplum Jacket

Minerva Support
Online