Professional made-to-measure digital sewing patterns — PDF · PLT · DXF AAMA
A women's hip-length blouse with a V-neck filled by a lace insert, stitched pleats at the waist and elbow-length sleeves with a chiffon base under overlapping front and back panels. Buttoned cuffs and a concealed zip at the centre back. Drafted to your own measurements. Recommended fabric: blouse fabrics of natural or blended fibres, with chiffon in a matching or contrasting colour.
A women's hip-length blouse with a V-neck filled by a lace insert, stitched pleats at the waist and elbow-length sleeves with a chiffon base under overlapping front and back panels. Buttoned cuffs and a concealed zip at the centre back.
Silhouette: Semi-fitted, shaped by pleats on the front and the back.
Length: To the hip, with a straight hem.
Neckline: V-neck with a lace insert caught into the facing seam; front and back neckline finished with interfaced facings.
Sleeves: Set in and gathered at the cap. The chiffon sleeve is covered by a front and a back part in the main fabric with hemmed edges, so the chiffon shows between them. Interfaced cuffs in two parts, front overlapping back, fastened with a button.
Front: Cut on the fold, with pleats pressed towards the centre and secured by hand.
Back: Two halves with a centre back seam and pleats like the front.
Closure: Concealed zip in the centre back seam; the back facings are attached to the zip tape.
Finishing: Hem overlocked, turned and topstitched.
Intermediate. Layering a chiffon sleeve with shaped overlays, a lace insert in a faced V-neck, a concealed zip and two-part cuffs.
Blouse fabrics of natural or blended fibres, with chiffon in a matching or contrasting colour.
If the patterns have a double contour, seam allowances are included. If the contour is single, seam allowances are not included. Seam allowances: Hem allowance - 2 cm; other seams - 1 cm. Attention! First, print out the paper patterns and lay them out on the fabric width (fabric width can be from 90 cm to 150 cm) to determine how much material you will need (do not forget to account for paired and symmetrical pieces). When stitching pieces, pay attention to the notches - they must match!

#2614
Flutter Sleeve V-Yoke Blouse

#2613
Ruched Wrap Blouse with Puff Sleeves

#2621
Pleated Blouse Ruffled Collar and Cuffs
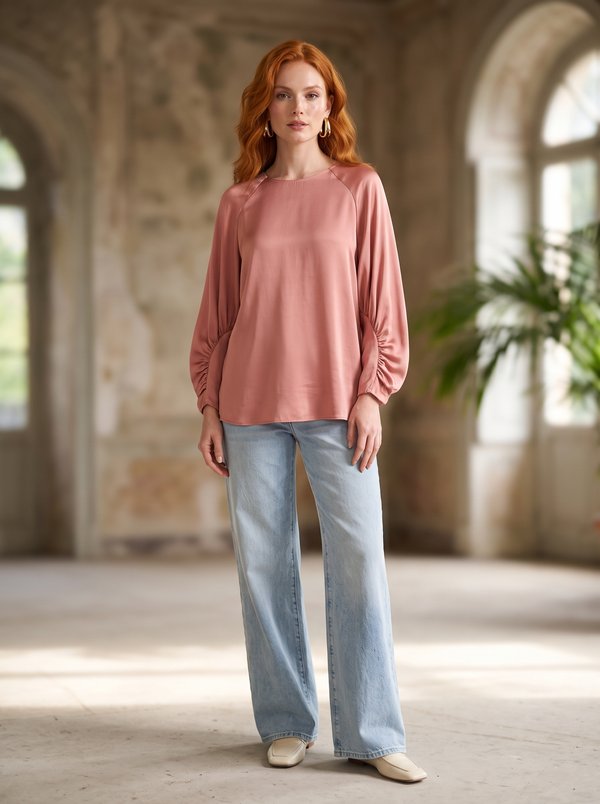
#2622
Raglan Sleeve Gathered Blouse

#2611
Relaxed Asymmetric Collar Dolman Blouse
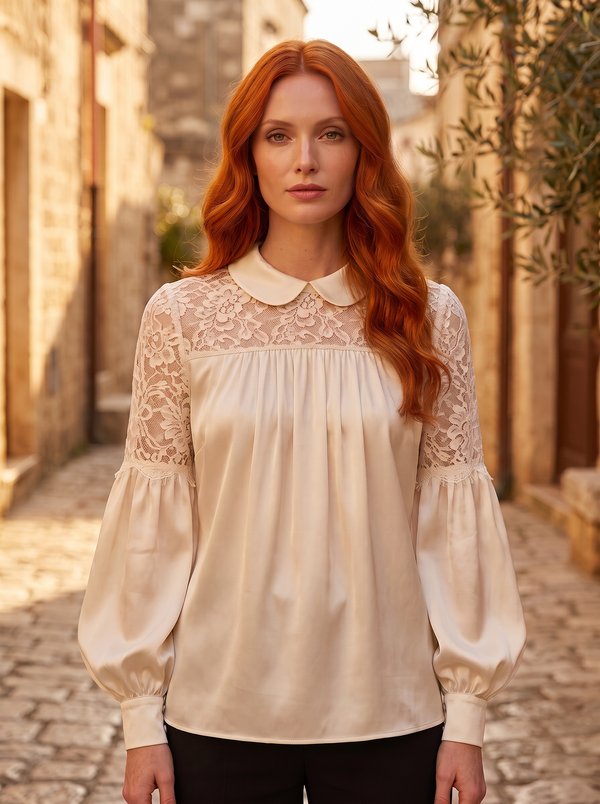
#2610
Rounded Collar Lace Yoke Balloon Sleeve Blouse
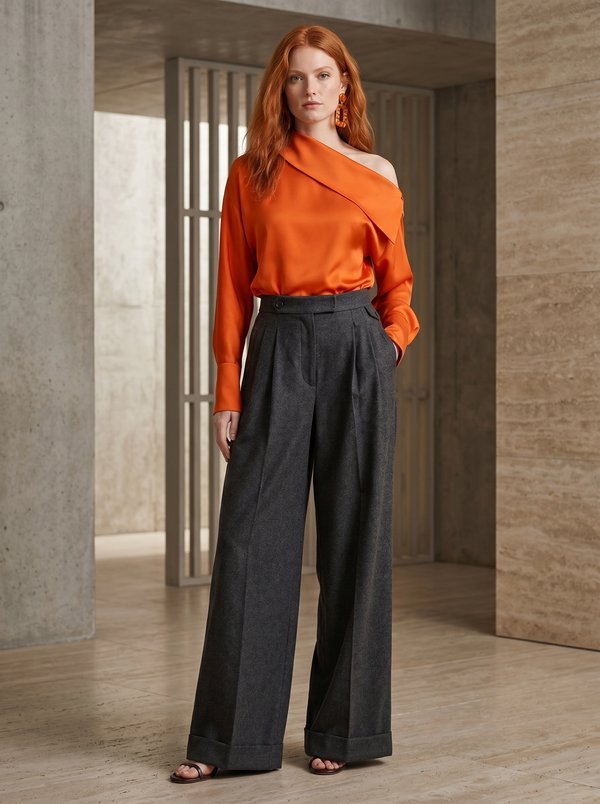
#2624
Tailored Collared Button-Up Shirt

#2608
Short Sleeve V-neck Gathered Blouse

Minerva Support
Online