Peter Pan Collar Coat
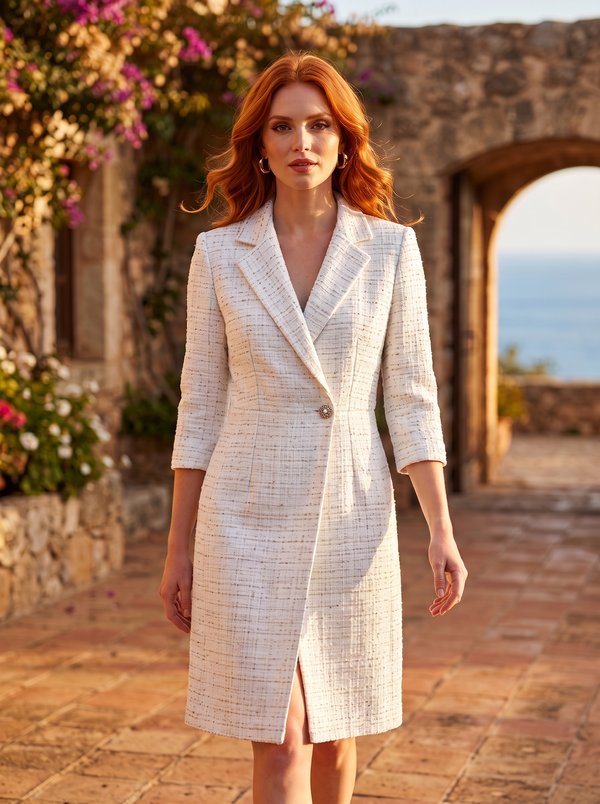
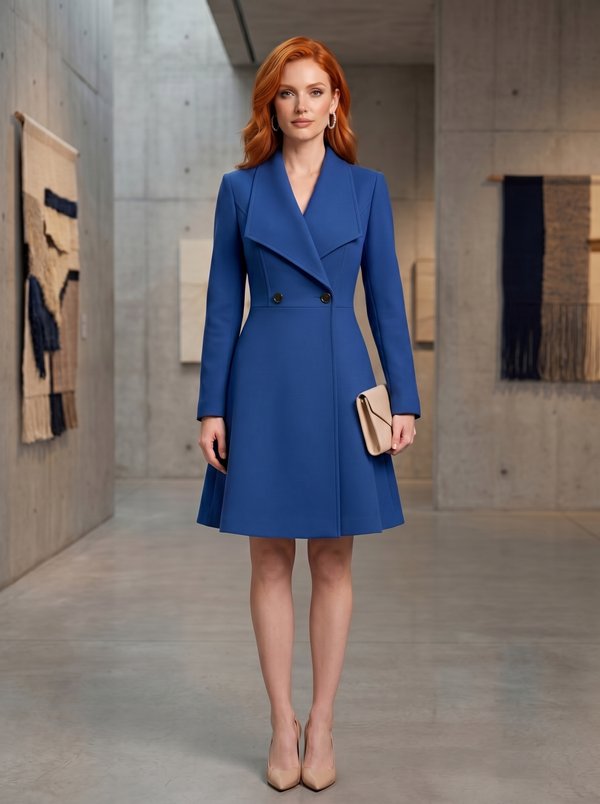
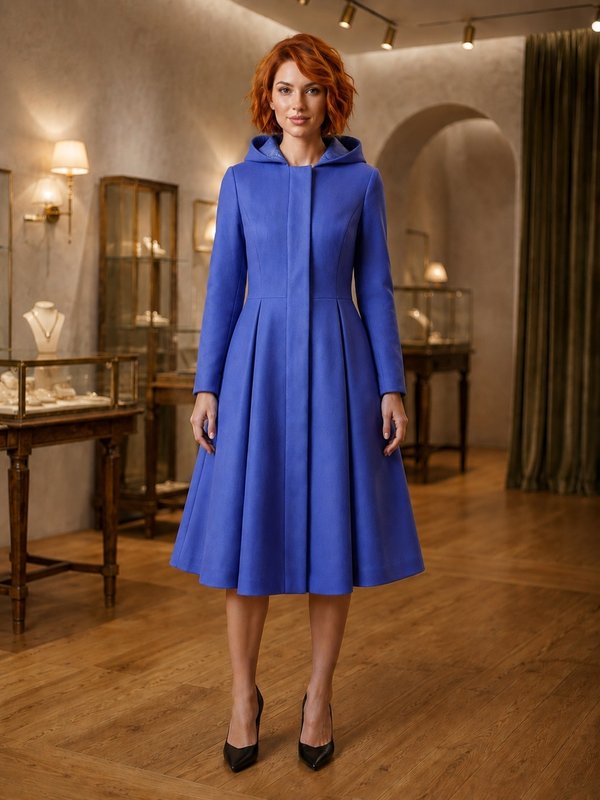
A women's single-breasted A-line coat, above the knee, with a rounded Peter Pan collar, three-quarter set-in sleeves with buttoned cuffs and vertical single-welt pockets. Fully lined, with shoulder pads.
When To Wear
- Spring and early autumn, over dresses and skirts of a similar or shorter length.
- As a light top layer for the office or town, over a blouse and straight trousers.
Key Design Features
Silhouette: A-line, widening from the bust to the hem; side and shoulder seams only, no darts.
Length: Above the knee.
Collar: Flat collar with rounded ends, cut in two layers, interfaced on one layer, stitched into the neckline.
Front: Single-breasted with buttons and buttonholes on the right front; separate front facings, edge topstitched 0.7 cm from the front edge and the collar.
Sleeves: Three-quarter length, set-in with the cap eased at the top. Each cuff is made of two interfaced layers stitched round, attached with the front corner overlapping the back one and held with a button.
Pockets: Vertical single-welt pockets on the fronts, with an underlay piece and lining pocket bags.
Back: One piece cut on the fold, with a back neck facing.
Lining: Full lining in the body and sleeves, cut minus the facings and attached to them; the lining hem is turned twice and stitched separately.
Level Of Difficulty
Intermediate. Single-welt pockets, a rounded collar, a sleeve cap with ease, lining bagged to the facings.
Fabric Recommendations
Lightweight coating from natural or blended fibres.
Additional Supplies
- Lining fabric
- Fusible interfacing (front facings, collar, welts, underlay pieces, cuffs, pocket area)
- Shoulder pads
- 6 buttons
Cutter's Must
When stitching pieces, pay attention to the notches - they must match!
- From main fabric:
- Back – 1 piece on fold
- Front – 2 pieces
- Back Neckline Facing – 1 piece
- Center Front Facing – 2 pieces
- Sleeve – 2 pieces
- Collar – 2 pieces
- Off-Set Welt – 2 pieces
- Underlay Piece – 2 pieces
- Cuff – 4 pieces
- From lining fabric:
- Back – 1 piece on fold
- Front – 2 pieces
- Sleeve – 2 pieces
- Big Pocket Bag – 2 pieces
- Smaller Pocket Bag – 2 pieces
- From fusible interfacing:
- Center Front Facing – 2 pieces
- Collar – 1 piece
- Off-Set Welt – 2 pieces
- Underlay Piece – 2 pieces
- Cuff – 2 pieces
Attention: the Front and Back lining pieces are cut minus the Center Front Facing and the Back Neckline Facing respectively.
Sewing Instructions
- Fuse the pieces with fusible interfacing.
- Press the Off-Set Welt in half lengthwise, right side out. Fuse the pocket placement area with fusible interfacing. Mark the finished welt width on the welt. Stitch the Smaller Pocket Bag to the inner side of the welt. Place the welt right side down on the right side of the Front along the marking line closer to the center, and stitch. Stitch the Underlay Piece to the Big Pocket Bag, turning under its long edge. Stitch the Big Pocket Bag along the other pocket marking line. Cut the pocket opening in the middle between the marking lines, making diagonal cuts into the corners. Turn the pocket pieces to the wrong side, straighten the seam allowances and press. Stitch the pocket bag edges together, securing the pocket corners.
- Stitch the side and shoulder seams, press allowances open. Overlock the side seam allowances from the hem up to the waist.
- Place the Collar pieces right sides together and stitch along the ends and outer edge. Trim allowances at the corners, clip the curves, turn the collar right side out and press. Stitch the collar into the neckline.
- Stitch the sleeve seam, press allowances open. Set the sleeves into the armholes, easing the upper part of the sleeve cap and matching notches. Attach the shoulder pads.
- Place the Cuff pieces right sides together and stitch along the lower and side edges. Trim allowances at the corners, clip the curves, turn the cuff right side out and press. Stitch the cuff to the lower edge of the sleeve, overlapping the front corner onto the back one.
- Stitch the shoulder seams of the Back Neckline Facing and the Center Front Facings, press allowances open.
- Sew the lining pieces in the same way as the main fabric pieces. Turn under the lining hem allowance twice by 1 cm and stitch. Stitch the lining to the Center Front Facings and the Back Neckline Facing. Press the allowances towards the facing and overlock.
- Overlock the hem allowance and press it to the wrong side. Place the Center Front Facing on the right side of the Front, right sides together, pin and stitch along the front edge and the back neckline. Stitch the lower edges of the facings to the Front exactly along the marked hemline. Trim the seam allowances at the lower front corners. Turn the coat right side out and straighten the seams. Topstitch 0.7 cm from the edge of the front and the collar.
- Stitch the lining to the lower edge of the sleeves. Turn the coat right side out.
- Make buttonholes on the right front and sew buttons on the left front. Sew the buttons on the cuffs.