Professional made-to-measure digital sewing patterns — PDF · PLT · DXF AAMA
A women's long-sleeved hip-length top for low-stretch knit fabric, with a centre front seam, princess seams that run into front shoulder yokes, and a high stand-up collar whose right end overlaps the left and is held with three buttons sewn through both layers. Drafted to your own measurements. Recommended fabric: low-stretch knit fabrics of natural or blended fibres.
A women's long-sleeved hip-length top for low-stretch knit fabric, with a centre front seam, princess seams that run into front shoulder yokes, and a high stand-up collar whose right end overlaps the left and is held with three buttons sewn through both layers.
Silhouette: Semi-fitted, shaped by front princess seams, widening slightly towards the hem.
Length: Hip length, straight hem.
Collar: High stand-up collar cut in two layers, interfaced. The right end is stitched and turned to a mark, laid over the left part at the centre front marks and set into the neckline in one with it.
Front: Two centre fronts joined by a centre front seam; side fronts with yokes at the shoulder, joined to the centre fronts by princess seams.
Closure: No opening; three buttons on the collar fix the overlapping right end in place.
Sleeves: Long, one-piece set-in sleeves.
Back: One piece cut on the fold, with no seams.
Finishing: Hem and sleeve hems turned up 2 cm and topstitched, with a twin needle or coverstitch machine to keep the stretch.
Intermediate. Sewing knit fabric with stretch stitches or an overlocker, yokes and princess seams on the front, and an overlapping collar turned to a mark and set as one piece.
Low-stretch knit fabrics of natural or blended fibres.
If the patterns have a double contour, seam allowances are included. If the contour is single, the patterns are without seam allowances. Seam allowances: hem allowance for the garment and sleeves – 2 cm, other allowances - 1.0 cm. Attention! First, print out the paper patterns and lay them out on the fabric width (fabric width can be from 90 cm to 150 cm) to determine how much material you will need. When stitching pieces, pay attention to the notches - they must match!
From main fabric:
From fusible interfacing:
Tip: Cut pieces from knit fabrics are stitched with a special elastic or narrow zigzag stitch. The hem allowance is topstitched with a twin needle or on a coverstitch machine to maintain elasticity. You can also stitch pieces directly on a 3- or 4-thread overlocker.

#2530
Sleeveless Asymmetrical Wrap Blouse

#2569
Draped Flounce Blouse

#2513
Asymmetric Collar Knit Top with Elbow-Length Sleeves
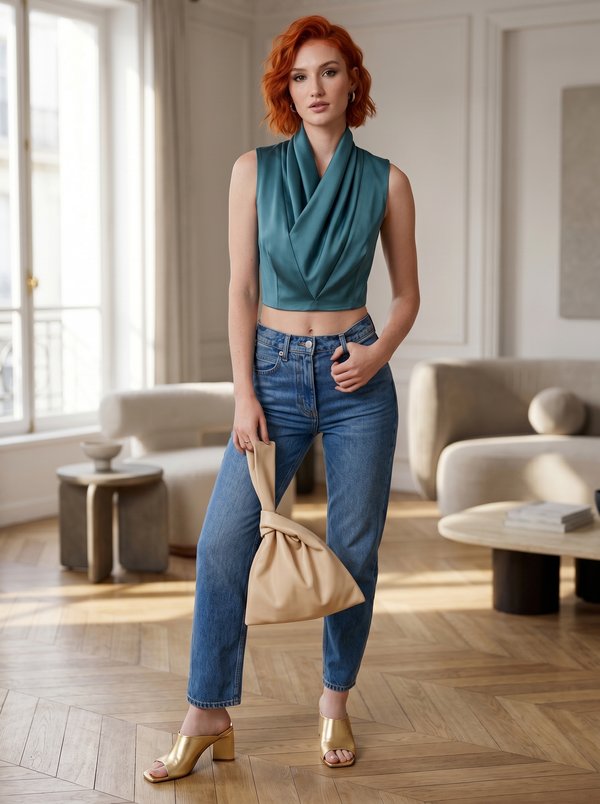
#2501
Cropped Sleeveless Draped Neck Top
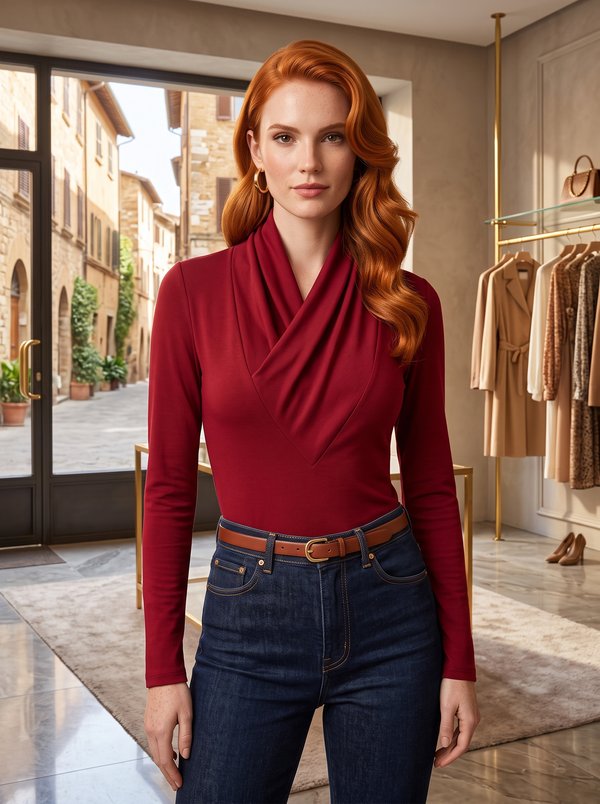
#2483
Long Sleeve Draped Crossover V-Neck Top
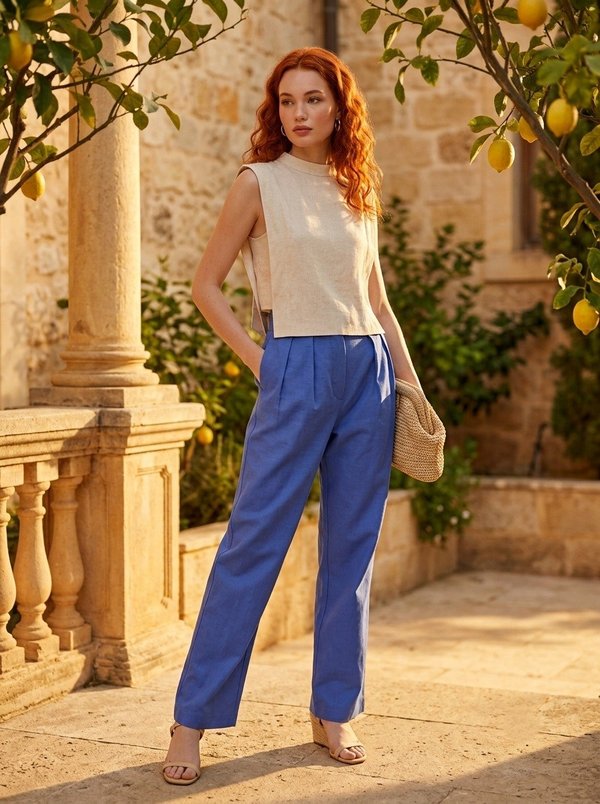
#2465
Sleeveless Stand Collar Side Split Blouse
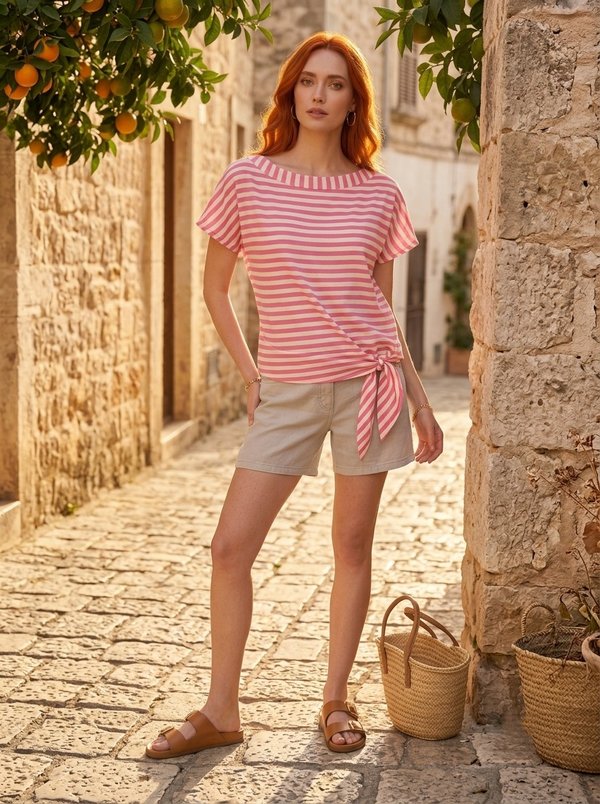
#2462
Boat Neck Tie Front Top

#2460
Asymmetrical Blouse with Ruffled Strap Trim

Minerva Support
Online