Professional made-to-measure digital sewing patterns — PDF · PLT · DXF AAMA
A women's straight blouse with long set-in sleeves, a pointed front yoke and a rounded back yoke, a gathered ruffle set into the yoke seam, and a bound back slit closed with one button and a rouleau loop. Drafted to your own measurements. Recommended fabric: blouse fabrics of natural or blended fibres.
A women's straight blouse with long set-in sleeves, a pointed front yoke and a rounded back yoke, a gathered ruffle set into the yoke seam, and a bound back slit closed with one button and a rouleau loop.
Silhouette: Straight and slightly loose, shaped with bust darts at the front pressed upwards.
Length: Hip length, straight hem with a 2.5 cm hem allowance.
Neckline: Round neckline finished by the self-lined yokes: outer and inner yokes are stitched together around the neckline, turned and then treated as one piece.
Front: One piece cut on the fold; the front yoke comes down to a V-point at the centre.
Sleeves: Long, narrow set-in sleeves, hemmed with a 2 cm allowance.
Closure: Slit at the centre back, bound with a bias strip; one button and a bias rouleau loop at the back neck.
Back: Back cut on the fold, with a rounded yoke cut in four pieces (outer and inner, left and right).
Finishing: The ruffle (Placket piece) is gathered along its upper edge and set into the seam joining the yokes to the front and back; its lower edge is overlocked, turned and topstitched, or bound with ready-made bias binding.
Intermediate. Self-lined yokes, a gathered ruffle set into a seam, a bias-bound slit and a turned rouleau loop.
Blouse fabrics of natural or blended fibres.
From Main Fabric:
Before cutting your fabric:
Stitch the shoulder seams of the outer and inner yokes (Front Yoke and Back Yoke).
Press the seam allowances open.
Place the yokes right sides together and stitch the neckline.
Clip the seam allowances, turn right side out, and press.
Treat the yokes as one piece for further construction.
Stitch the darts on the Front.
Press the dart intake upward.
The Placket is the ruffle. Overlock its outer (lower) edge, turn the seam allowance to the wrong side, and topstitch.
Alternatively, finish the edge with ready-made bias binding, trimming off the seam allowance beforehand.
Sew a gathering stitch along the upper edge of the Placket with reduced upper thread tension and gather it.
Make a slit on the Back from the top to the marking.
Stitch the Front Yoke and Back Yokes to the Front and Back, inserting the gathered Placket (ruffle) into the seam.
Stitch the side seams.
Overlock the seam allowances and press toward the Back.
Cut a bias strip 2.5 cm wide and 10 cm long for the loop.
Fold the strip lengthwise, right sides together, and stitch 0.3 cm from the fold.
Trim the seam allowances close to the stitching, turn right side out, and shape the rouleau loop.
Adjust the loop length.
Sew the loop to the left Back Yoke.
Cut a bias strip for finishing the back opening with a length equal to twice the opening length + 4 cm and width 5 cm.
Fold the strip in half lengthwise, wrong sides together, and press.
Spread the Back open so that the slit forms a straight line, place the binding on the right side aligning the raw edges, and stitch.
Seam allowance along the slit is 0.5–0.7 cm, reducing to 0.2 cm at the bottom of the slit.
Turn the binding to the wrong side, wrapping it around the seam, and stitch in the ditch of the seam.
Stitch the Sleeve seams.
Overlock the seam allowances and press toward the back of the sleeve.
Set the sleeves into the armholes.
Overlock the seam allowances and press.
Overlock the hem of the garment and sleeves.
Press the seam allowances to the wrong side and topstitch.
Sew a button at the back neckline.
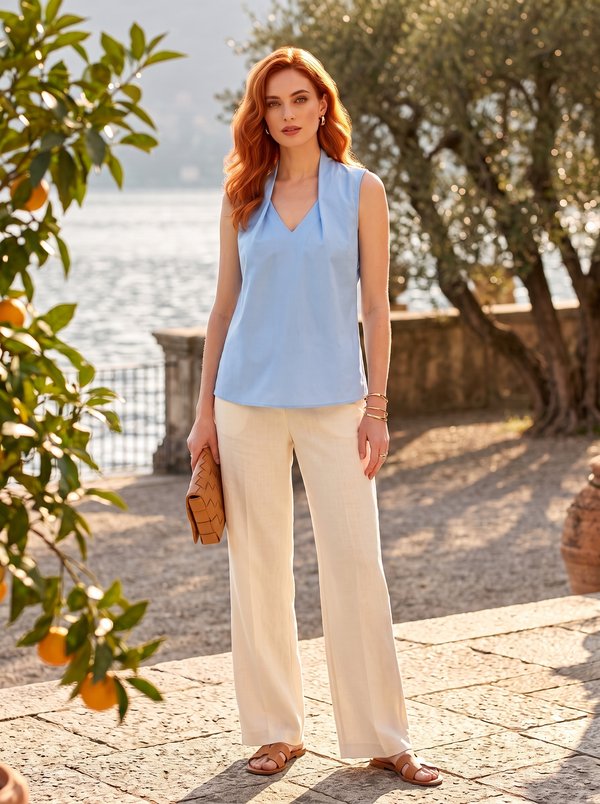
#2475
Sleeveless Draped V-neck Blouse
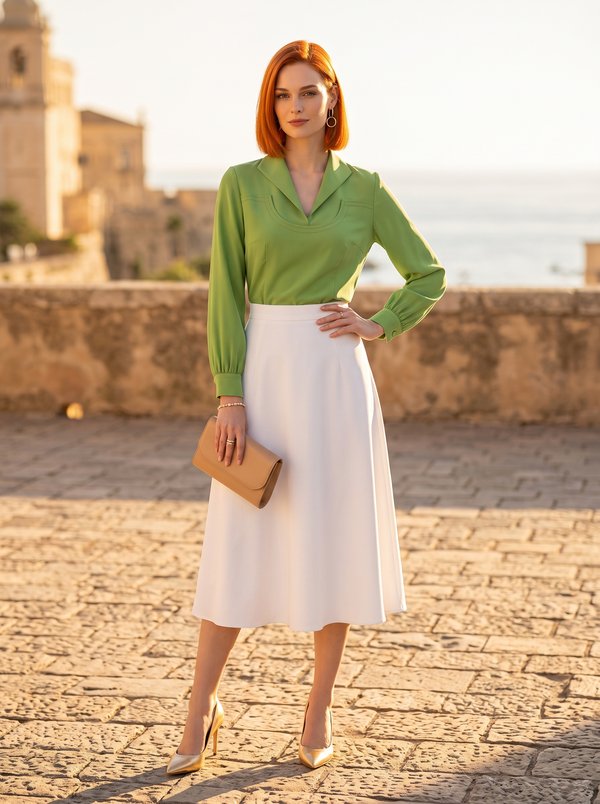
#2472
Blouse with Front Yoke and Bishop Sleeves
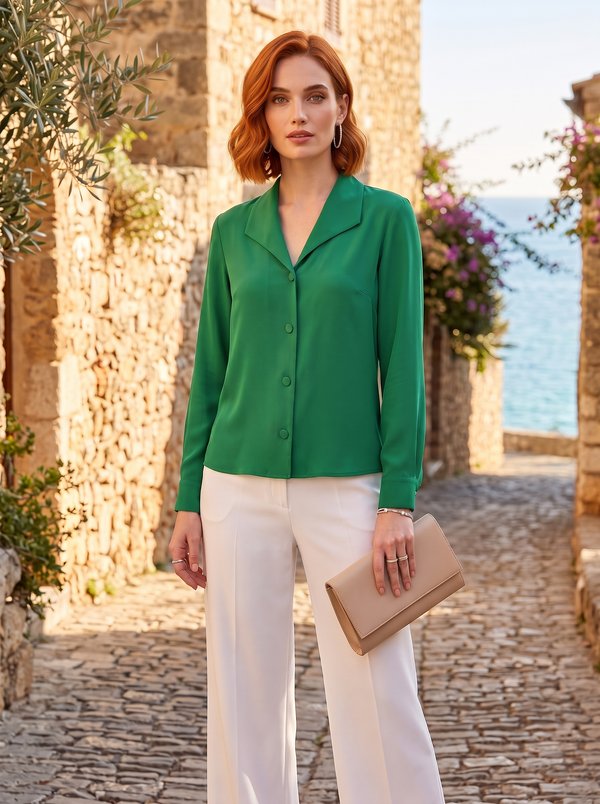
#2471
Revere Collar Button Front Blouse
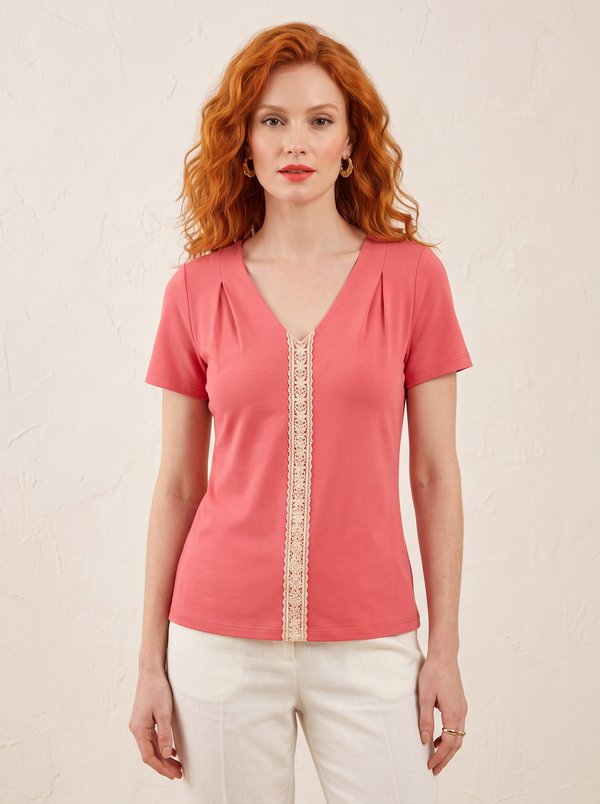
#2479
V-Neck Short Sleeve Knit Top with Decorative Trim
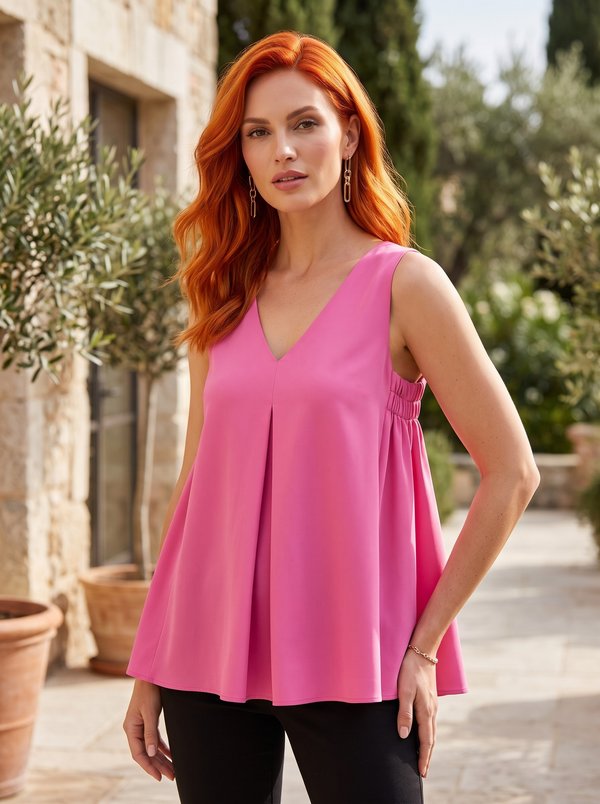
#2468
Sleeveless V-Neck Pleated Swing Top
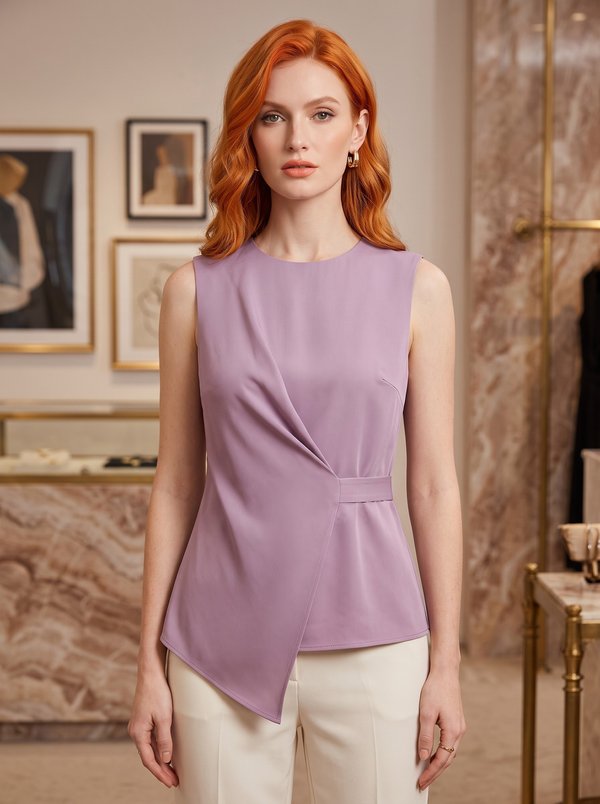
#2481
Asymmetrical Draped Sleeveless Pointed Hem Top
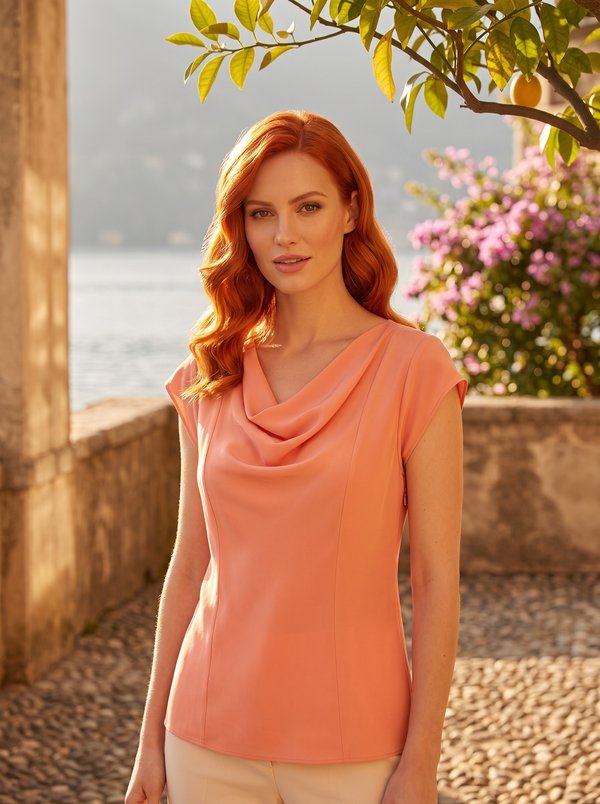
#2482
Shaped Cowl Neck Cap Sleeve Blouse
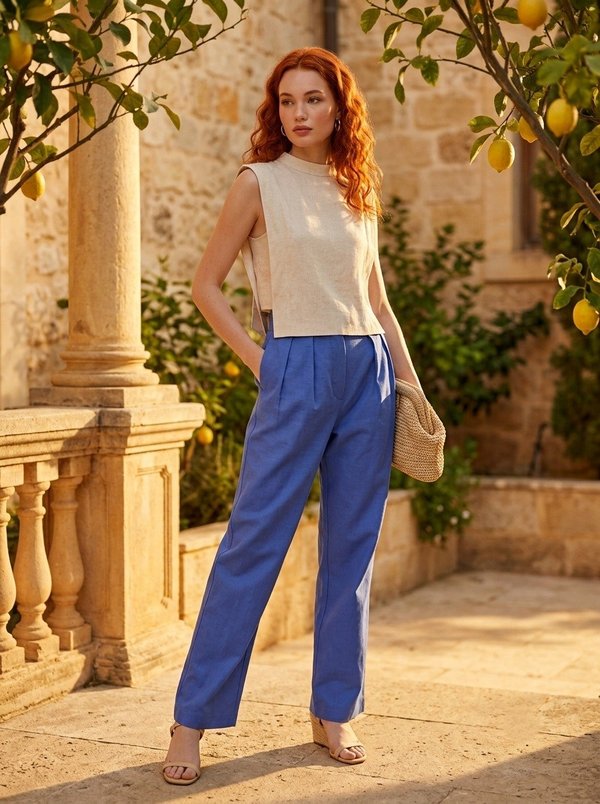
#2465
Sleeveless Stand Collar Side Split Blouse

Minerva Support
Online