Professional made-to-measure digital sewing patterns — PDF · PLT · DXF AAMA
A women's A-line skirt below the knee with a mock-wrap front: one deep pleat, stitched down from the waist to a mark, forms an off-centre overlap that opens at the hem. Straight waistband with a button and a concealed zipper in the left side seam. Drafted to your own measurements. Recommended fabric: firm skirt fabrics of natural or blended fibres.
A women's A-line skirt below the knee with a mock-wrap front: one deep pleat, stitched down from the waist to a mark, forms an off-centre overlap that opens at the hem. Straight waistband with a button and a concealed zipper in the left side seam.
Silhouette: A-line, flaring from the waist to the hem.
Length: Below the knee.
Front: One piece with a single pleat placed off-centre; the pleat is stitched from the waist to a horizontal mark on the right side, then falls free, so the folded edge looks like a wrap overlap at the hem.
Closure: Concealed zipper in the left side seam and one button with a buttonhole on the waistband.
Back: One piece cut on the fold, with no centre back seam.
Waist: Straight interfaced waistband, the inner edge folded under and stitched in the ditch of the attaching seam.
Finishing: Hem finished, pressed 2 cm to the wrong side and topstitched.
Beginner. Three pattern pieces, one stitched pleat, a concealed zipper, a waistband and a buttonhole.
Firm skirt fabrics of natural or blended fibres.
If the patterns have a double contour, seam allowances are included. If the contour is single, seam allowances are not included. Seam allowances: all seams 1 cm. Hem allowance 2 cm. Attention! First, print out the paper patterns and lay them out on the fabric width (fabric width can be from 90cm to 150cm) to determine how much material you will need. When stitching pieces, pay attention to the notches - they must match! Note! Markings on the patterns are made on the right side.
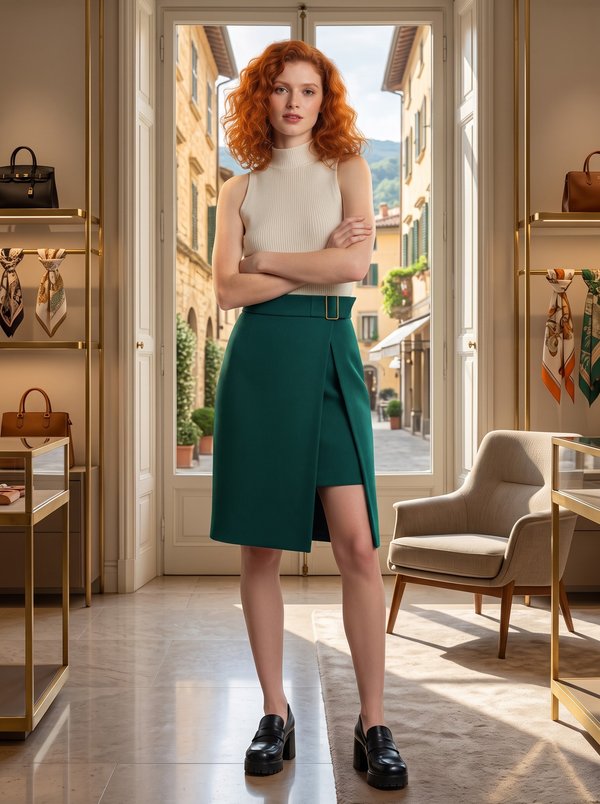
#2397
Wrap-Front Skirt with Decorative Buckle
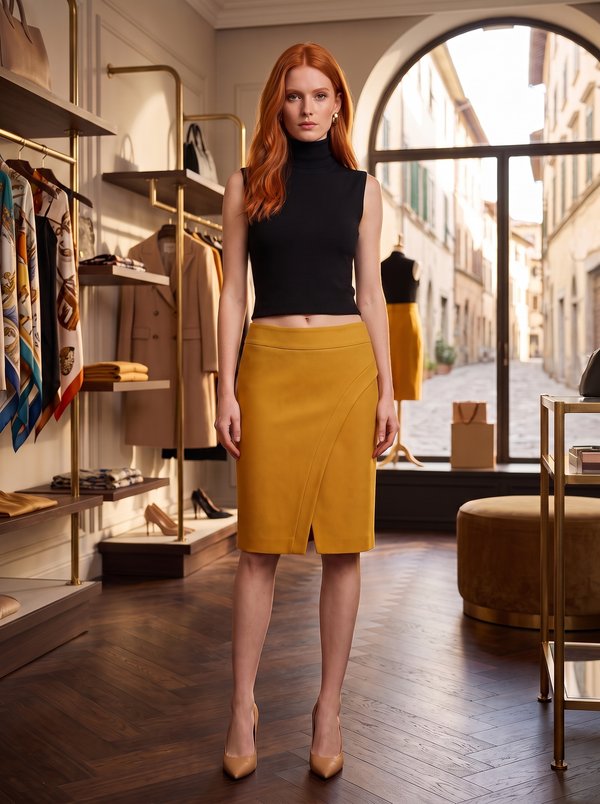
#2389
Pencil Skirt with Curved Overlay Panel
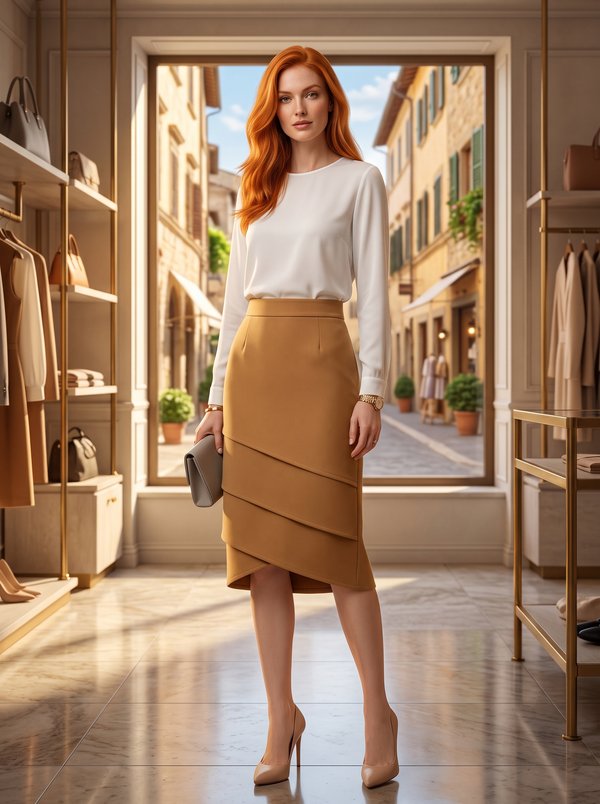
#2430
Pencil Skirt with Overlapping Front Panels
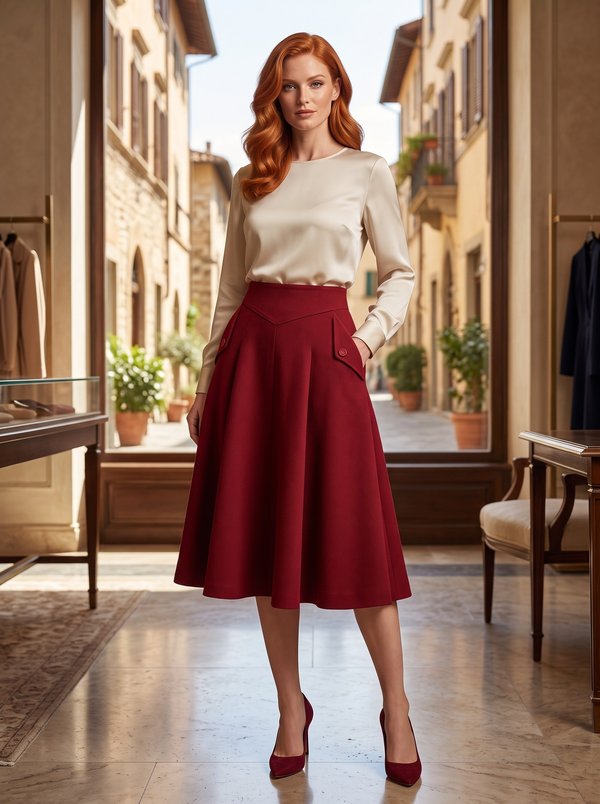
#2370
Midi Flared Skirt with Yoke & Pocket Trim
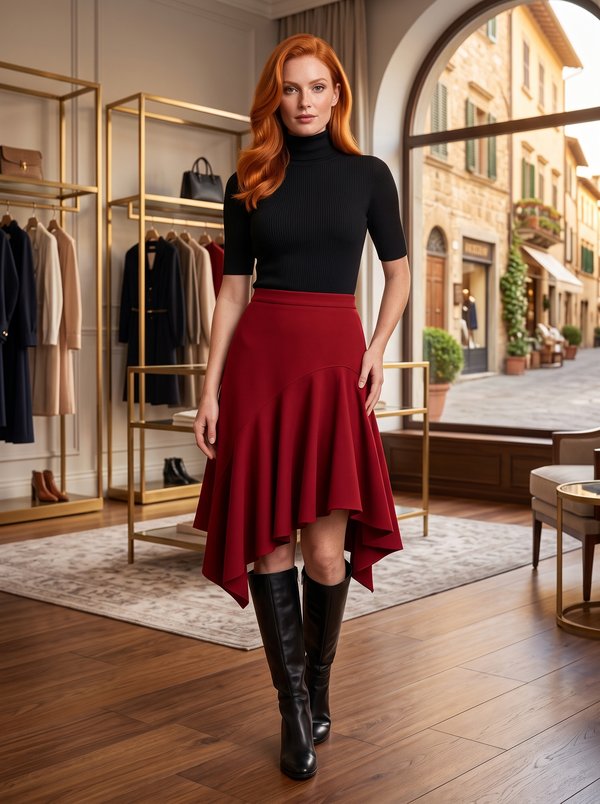
#2439
Draped Asymmetrical Pointed Hem Skirt
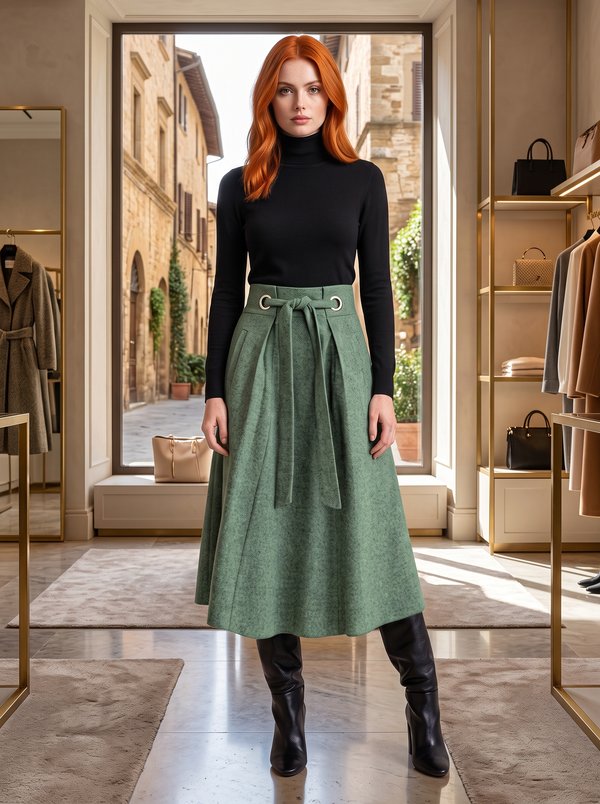
#2364
Pleated Midi Skirt With Tie Belt
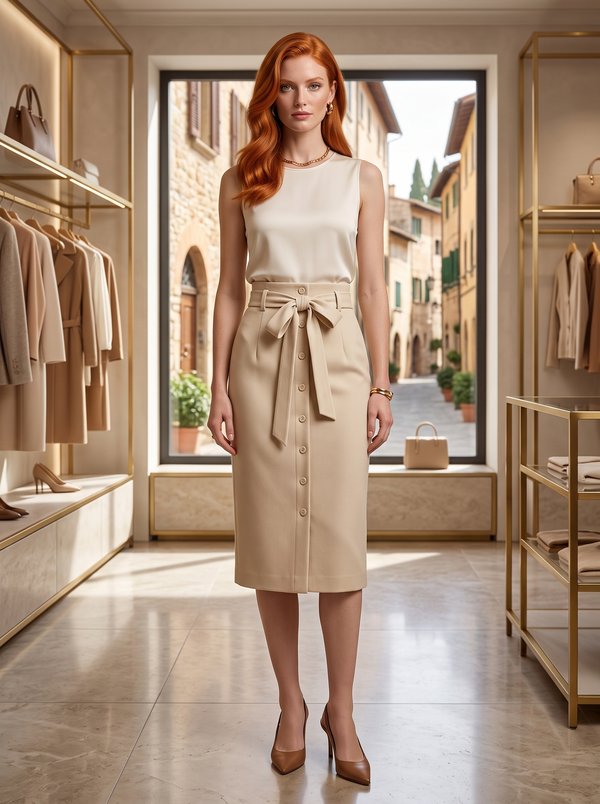
#2355
Pencil Skirt with Button Front and Tie Belt
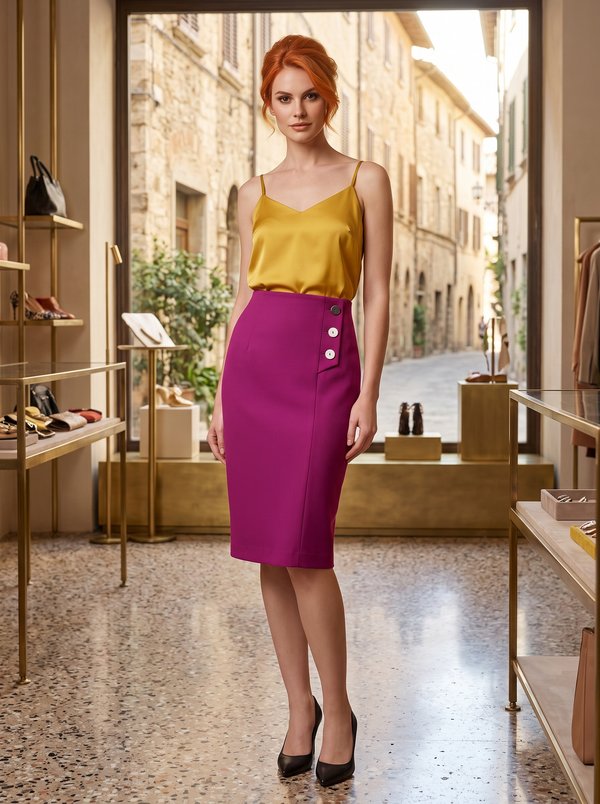
#2452
Pencil Skirt with Asymmetrical Button Flap

Minerva Support
Online