Professional made-to-measure digital sewing patterns — PDF · PLT · DXF AAMA
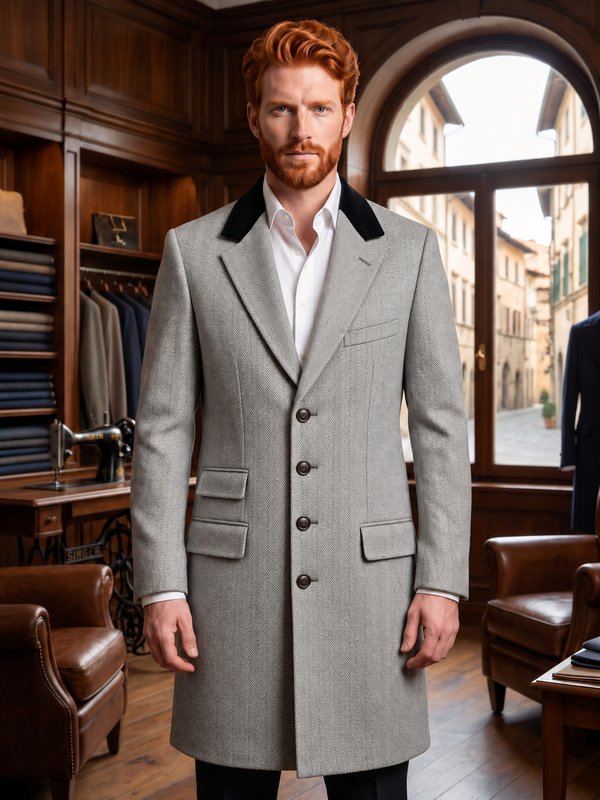
A men's knee-length single-breasted overcoat with a notched collar on a separate stand, a three-button front, flapped double-welt hip pockets and a centre back vent. Fully lined. Drafted to your own measurements. Recommended fabric: wool or wool-blend coating.
A men's knee-length single-breasted overcoat with a notched collar on a separate stand, a three-button front, flapped double-welt hip pockets and a centre back vent. Fully lined.
Silhouette: Straight cut, shaped by long front darts that run down into the pocket flaps; padded shoulders.
Length: Knee length.
Collar: Notched collar. The upper collar is joined to a separate stand; the under collar is cut from nonwoven fabric, steam-shaped to the upper collar and attached with a fine zigzag. Buttonhole in the left lapel.
Sleeves: Two-piece set-in sleeves with eased caps and wadding sleeve heads; vents with four buttons each, buttonholes worked but not cut.
Front: Single-breasted, three buttons, buttonholes on the left front; the front facings are cut separately and joined to the upper collar.
Pockets: Double-welt hip pockets with lined flaps, welts 1 cm wide.
Back: Centre back seam with a vent lapped to the left, secured at the top with a diagonal stitch.
Finishing: Fusible interfacing on the fronts, the facings and the hem allowances; hems sewn by hand with a blind stitch; shoulder pads.
Lining: Full lining with a 2 cm ease pleat at the centre back and a jump pleat at the hem, sewn around the vent; the coat is turned through an opening in a sleeve lining seam.
Advanced. Flapped double-welt pockets, a collar with a separate stand and a shaped nonwoven under collar, a lined back vent, mitred sleeve vents and a bagged lining.
Wool or wool-blend coating.
From Main Fabric:
From Nonwoven Fabric:
Lower Collar (with integrated collar stand) – 1 piece
From Lining Fabric:
For drafting lining patterns, use main patterns with the following modifications:
From Fusible Interfacing:
For drafting fusible interfacing patterns, use main patterns:
Before cutting your fabric:
1. Fuse Interfacing
From the wrong side, apply fusible interfacing to the Fronts, Center Front Facings, Pocket Flaps, Upper Collar, Stand Collar and hem allowances of the body and sleeves.
2. Sew and press open the front darts.
3. With right sides together, stitch each Pocket Flap to its lining, turn right side out, and press.
4. Double-Welt Pockets with Flaps
5. Join center back seam to the top of the vent.
6. Join side seams and shoulder seams; press allowances open.
7. Turn the left vent facing to the right side along the hem allowance; stitch along the hem foldline and turn right side out.
8. Turn the hem allowance of the right back to the right side along the vent facing edge; stitch and turn.
9. Lay the vent to the left side and secure at the upper edge with a diagonal reinforcement stitch.
10. Join Stand Collar to Upper Collar; press allowances open.
11. Steam-shape the Lower Collar cut from non-woven fabric over a damp press cloth to set the identical to Upper Collar shape.
12. Place the upper edge of the Lower Collar wrong side to the right side of the Upper Collar and stitch with a fine zigzag.
13. With right sides together, sew the Upper and Lower Collars along the ends. Turn right side out and press.
14. Join Center Front Facings to the Upper Collar; press seam allowances upward.
15. With right sides together, place the Facing + Collar unit over the coat body, align edges, and stitch around the front edges and collar.
16. Turn right side out and press.
17. Two-Piece Sleeve with Vent
18. Sleeve Cap
19. Divide sleeve-head wadding (if used) and hand-stitch along the sleeve caps.
20. Turn up hem allowances and hand-stitch invisibly.
21. Sew in Shoulder Pads.
22. Join center back lining seam.
23. Assemble lining as for the coat, leaving a 20 cm opening in one sleeve seam.
Create a center back pleat for wearing ease and secure at neckline and above the hem.
With right sides together, sew lining to the coat along facings and neckline.
Form a jump pleat at the hem and stitch lining to the hem edge, catching the lining to the vent facings.
(Clip horizontally at the base of the left vent lining as needed.)
Turn the coat right side out through the sleeve opening and close the opening.
24. Work buttonholes on the left front and left lapel. Sew buttons on the right front.
25. Work non-cut decorative buttonholes on sleeves and secure with buttons.
Ease
Finished garment circumference minus your body measurement, measured on the pattern at underarm and waist level.
Ready now, no waiting: PDF A0, A4, US Letter, One Page and Projector files with seam allowances, plus the sewing booklet with fabric requirements — in one ZIP.
Body measurements the sizes are drafted for
| Size | Height | Chest | Waist | Hip |
|---|---|---|---|---|
| M | 178 cm70″ | 100 cm39″ | 85 cm33.5″ | 100 cm39″ |
| L | 183 cm72″ | 107 cm42″ | 92 cm36.2″ | 107 cm42″ |
| XL | 188 cm74″ | 112 cm44″ | 99 cm39.0″ | 113 cm44″ |
Prefer a pattern drafted to your own measurements? Order it below.
#6010
Classic Knee Length Coat with Velvet Collar
#6011
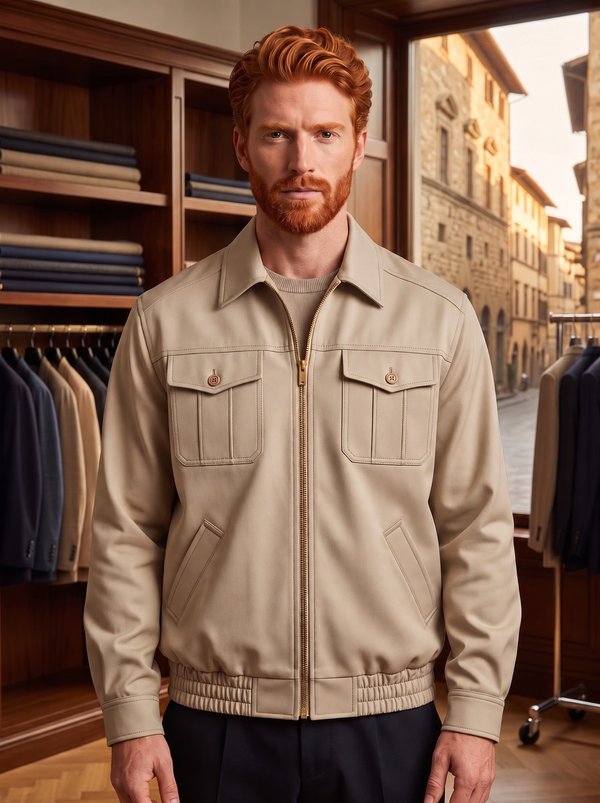
Men's Eisenhower Jacket with Zip Front & Shirt Collar
#6006
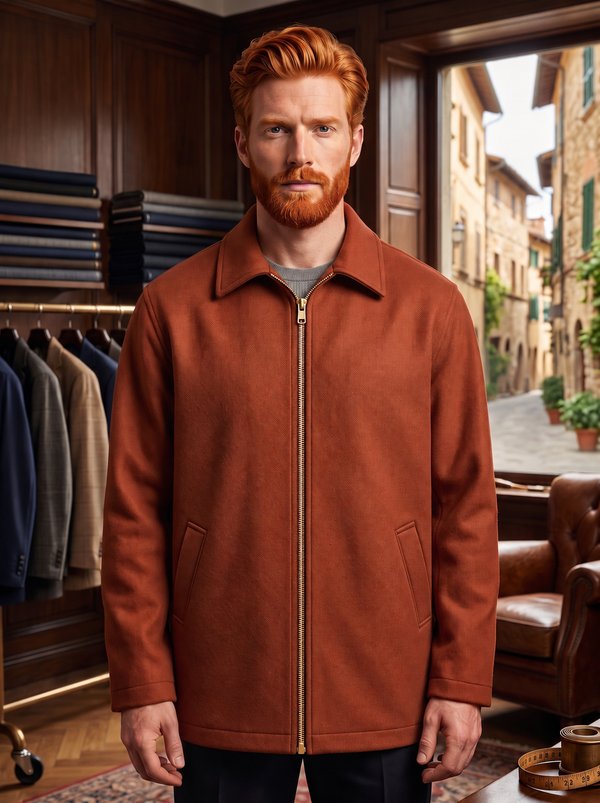
Casual Jacket with Front Zip
#6012
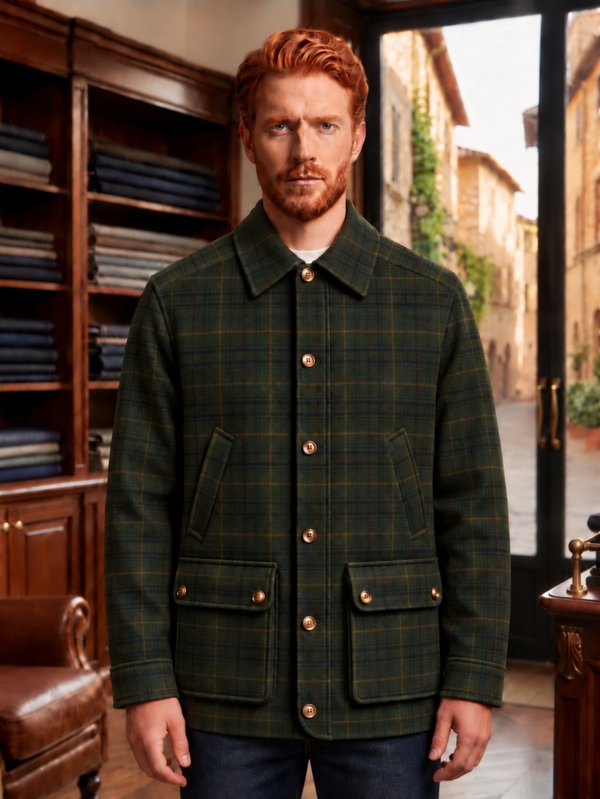
Men's Field Jacket
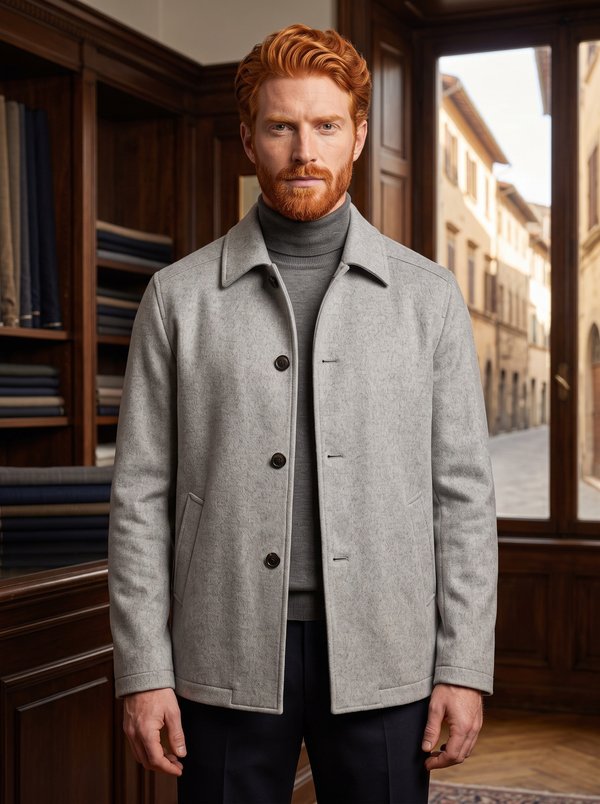
#6005
Casual Wool Jacket
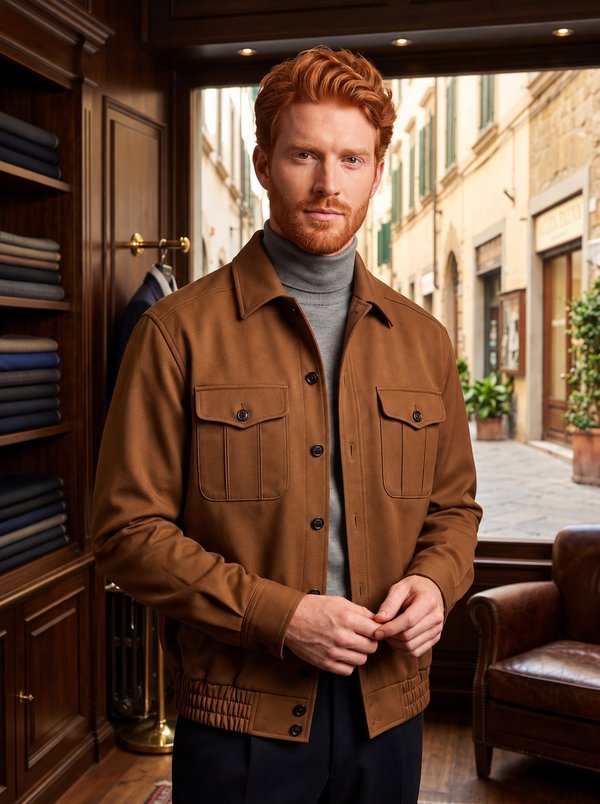
#6013
Men's Button-Front Ike Jacket with Pleated Pockets
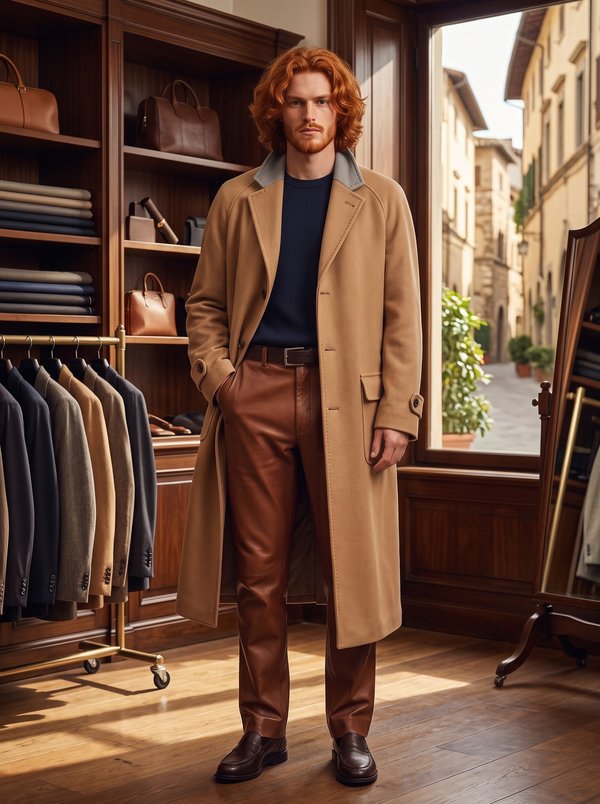
#6014
Single-Breasted Raglan Sleeve Overcoat
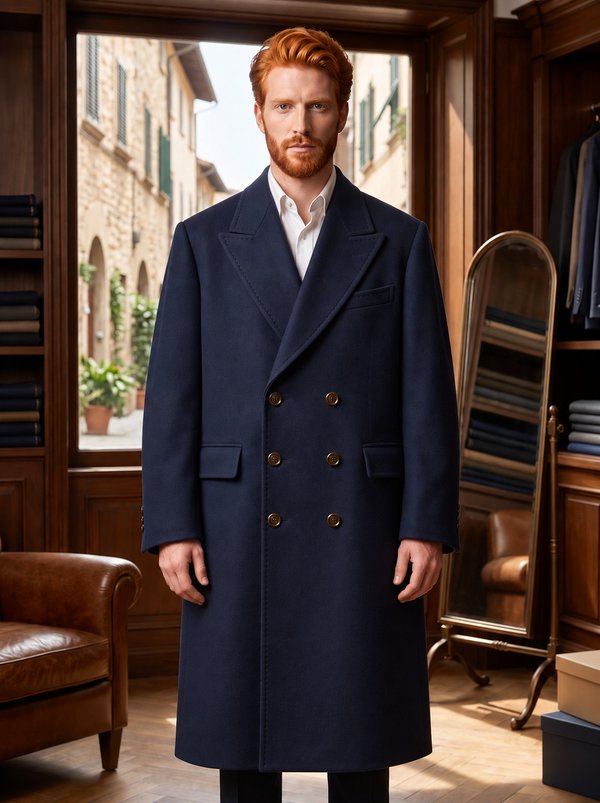
#6015
Men's Double Breasted Coat

Minerva Support
Online