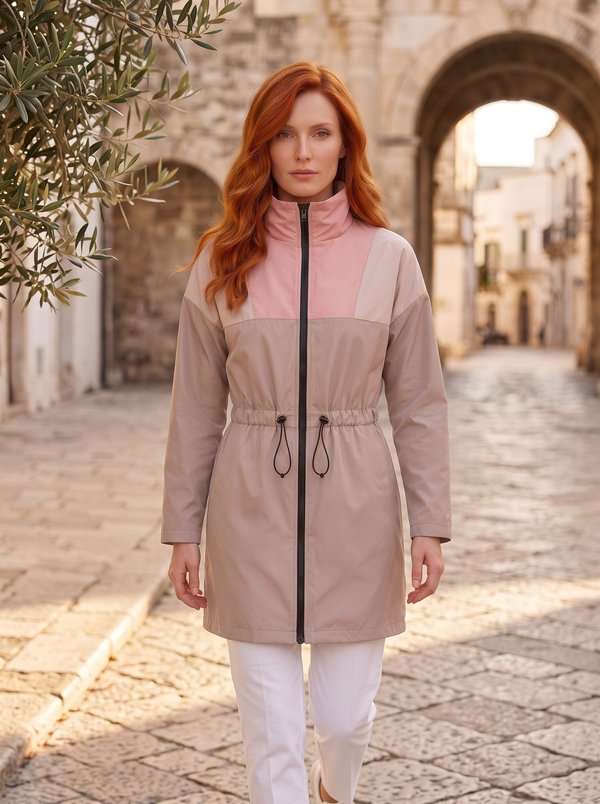
Drawstring Hooded Long Parka
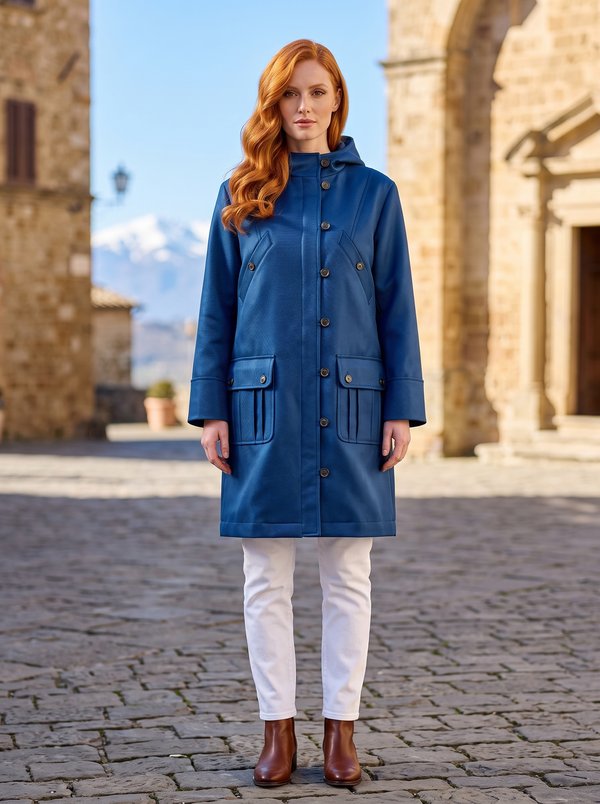
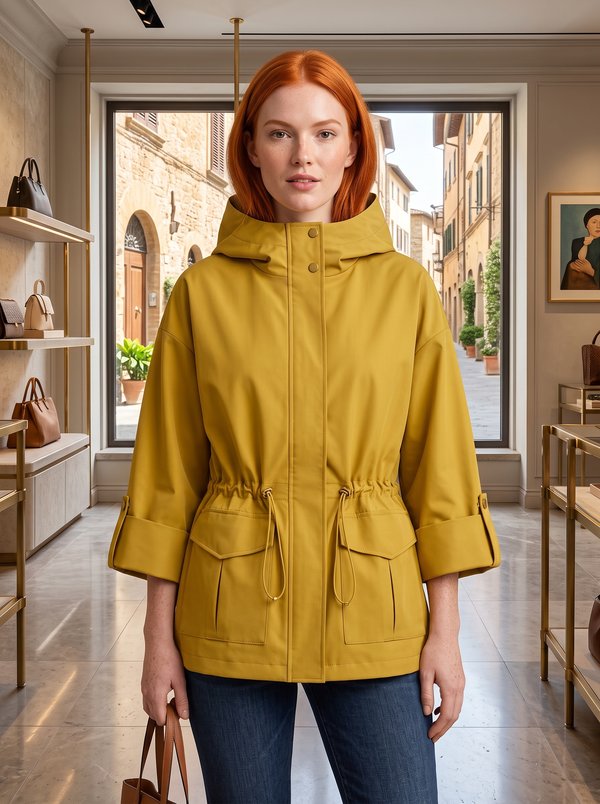
A women's unlined knee-length parka in lightweight raincoat fabric, with a double-layer hood, a full-length front zip and three drawstrings: around the hood, at the waist and at the hem. Pockets sit in the side seams.
When To Wear
- In spring and early autumn as a light raincoat over a sweater, jeans or a dress.
- Worn loose, or gathered at the waist with the drawstring.
Key Design Features
Silhouette: Straight and loose, drawn in at the waist by a cord in an applied casing.
Length: About knee length.
Collar: Hood in two layers, each with a centre seam; the outer hood has buttonholes for the cord, and the edge is stitched with two parallel lines to form a drawstring casing.
Sleeves: Long one-piece set-in sleeves with a cut-on cuff turned inside and topstitched 0.1 cm from the edge.
Closure: Zip from the hem to the neckline, with front facings sewn to the inner hood.
Pockets: In-seam pockets in the side seams; each pocket bag is held by a narrow strip stitched to the front edge.
Waist: Applied casing topstitched 0.7 cm from both long edges, with a cord drawn through.
Finishing: Cut-on hem facing turned and stitched with two parallel lines to form the hem casing; cords finished with stoppers and cord ends.
Level Of Difficulty
Intermediate. A full-length front zip, a double hood joined to the facings, three drawstring casings and in-seam pockets with holder strips.
Fabric Recommendations
Lightweight raincoat fabrics.
Additional Supplies
- Zip for the full length of the front
- Decorative cord
- 6 cord stoppers
- 6 cord ends
Cutter's Must
- From main fabric:
- Back - 1 piece
- Front - 2 pieces
- Sleeve – 2 pieces
- Hood - 4 pieces
- Front facing – 2 pieces
- Drawstring Casing – 1 piece
- Pocket Bag – 4 pieces
Sewing Instructions
- Place one pocket bag on the right side of the back according to the notches, and place the other pocket bag on the front, right side down, and stitch. Fold back the seam allowance and topstitch onto the pocket bag.
- Stitch the shoulder seams. Press the seam allowances towards the back and serge.
- Stitch the center seams of the hoods in pairs. Press open the seam allowances. Serge the buttonholes on the outer hood according to the markings. Stitch the outer hood into the neckline.
- Stitch the sleeves into the armholes. Press the seam allowances towards the sleeve and serge.
- Stitch the sleeve edge and the side edge together with the pocket bags in one seam. Press the seam allowances towards the front and serge. Cut two fabric strips, 15 cm long and 4 cm wide, for the pocket bag holder. Press the strips lengthwise in the middle, right side out. Then unfold and press the longitudinal edges towards the marked center line. Fold the strip again lengthwise and topstitch 0.1 cm from the edge. Sew one end of the holder to the edge of the pocket bag. Lay the front flat and align the other end of the holder with the edge of the front opening. Sew the end of the holder to the edge of the front opening. Trim any excess holder.
- Fold the zipper halves with the edges of the garment's front openings right sides together (teeth facing away from the edge). Stitch the zipper.
- Press the seam allowances around the drawstring casing to the wrong side, place it on the windbreaker according to the markings, and topstitch along the two long sides 0.7 cm from the edge.
- Serge the outer and shoulder edges of the front facing. Stitch the front facing to the inner hood. Press the seam allowance towards the hood. Fold the front facing with the front right sides together and stitch the edge of the front opening and the hood. Press the seam. Secure the seam allowances of the center hood seams together. Turn the open edge of the inner hood inwards and topstitch into the seam of the outer hood attachment. Along the edge of the hood, sew two parallel lines according to the markings, forming a drawstring casing.
- Press the hem seam allowance to the wrong side, turn the integrated hem facing to the right side, and stitch the edge of the front opening, leaving an unstitched opening between the marked lines for the drawstring casing. Trim the seams at the corners, turn to the right side, and sew two parallel lines according to the markings, forming a drawstring casing.
- Press the integrated sleeve cuff to the wrong side, fold the seam allowance inwards, and topstitch 0.1 cm from the edge.
- Thread cords through all drawstring casings and attach stoppers and cord ends.