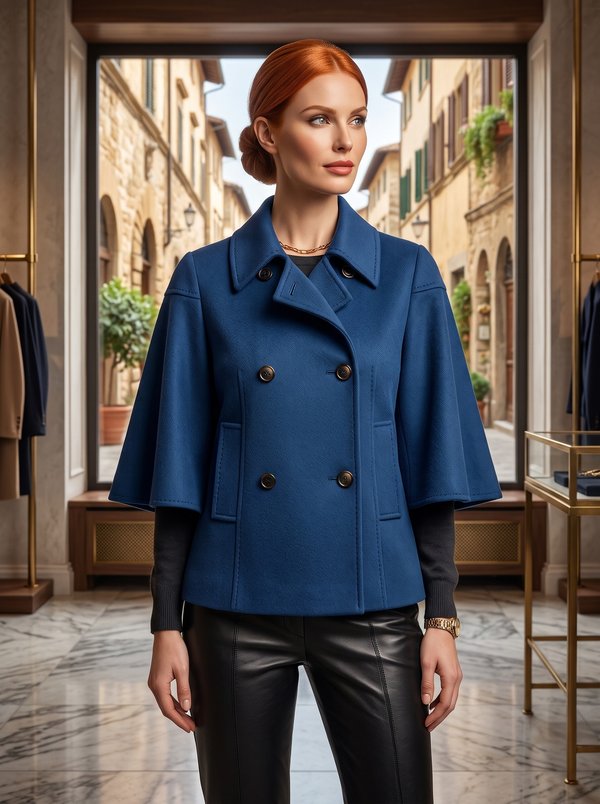
Stand Collar Cape with Button Front
A women's lined cape with no sleeves, a two-piece stand collar and a centre-front button closure. The hem is rounded and the back has a centre seam.
When To Wear
- As a light outer layer in spring and autumn, over dresses, knitwear or a jacket.
- With slim trousers or a narrow skirt to balance the volume of the cape.
Key Design Features
Silhouette: Wide, flared cape falling from the shoulders; the shoulder seams run out over the arms.
Collar: Two-piece stand collar; the upper collar is set into the cape neckline and the under collar into the neckline of the facings.
Sleeves: None; the arms stay under the cape.
Closure: Button front with buttonholes, 4 buttons in total.
Back: Centre back seam, back neckline facing.
Finishing: Rounded hem with a 3 cm hem allowance, clipped on the curves; front facings cut separately and interfaced.
Lining: Full lining, attached to the facings and to the hem and turned through an opening left in a lining seam.
Level Of Difficulty
Intermediate. A collar set between the cape and the facings, separate front facings and bagging out a full lining; there are no pockets or darts.
Fabric Recommendations
Wool or wool-blend fabrics.
Additional Supplies
- Lining fabric
- Fusible interfacing (front facings, back neckline facing)
- 4 buttons
Cutter's Must
- From main fabric:
- Front – 2 pieces
- Back – 2 pieces
- Collar – 2 pieces
- Front facing – 2 pieces
- Back neckline facing – 1 piece
- Lining pieces:
- Back - 2 pieces
- Front - 2 pieces
- From fusible interfacing:
- Front facing – 2 pieces
- Back neckline facing – 1 piece
Attention: The front and back lining pieces are cut without considering the width of the front facings and back neckline facing, respectively.
Sewing Instructions
- Fuse fusible interfacing to the front facings and back neckline facing.
- Stitch the center back seam. Overlock the seam and press it to the left side.
- Stitch the shoulder seams. Overlock the seams and press them towards the back.
- Place the collar pieces right sides together. Stitch the ends and the outer edge of the collar, starting and ending the stitching strictly at the marked collar attachment seam line. Turn the collar right side out and press.
- Place the front facing on the right side of the front, right side down, and stitch along the front edge. Stitching is done from the front side, from the bottom hemline to the notch indicating the end of the collar attachment. Trim the seams of the upper front corners. Turn the front edges right side out and smooth the seams.
- Stitch the shoulder seams of the back neckline facing and the front facing. Press the seams open.
- Insert the collar between the cape and the front facing and facing. Attach the upper collar to the cape neckline, and the lower collar to the neckline of the front facings and facing. Press the seam allowances open. Turn the front facings and facing to the wrong side and stitch the collar attachment seam allowances close to the seams.
- Stitch the lining pieces, leaving an opening for turning, 15-20 cm long, in one of the seams. Place the lining and cape right sides together and stitch to the inner edges of the front facings and back neckline facing. Stitch the bottom front corner. Trim the seams of the bottom front corners.
- Press the bottom hem allowance. At the rounded sections of the bottom hemline, clip the hem allowance. Stitch the lining to the bottom of the garment. Turn the cape right side out and press. Stitch the opening in the seam closed. Make the buttonholes and sew on the buttons.