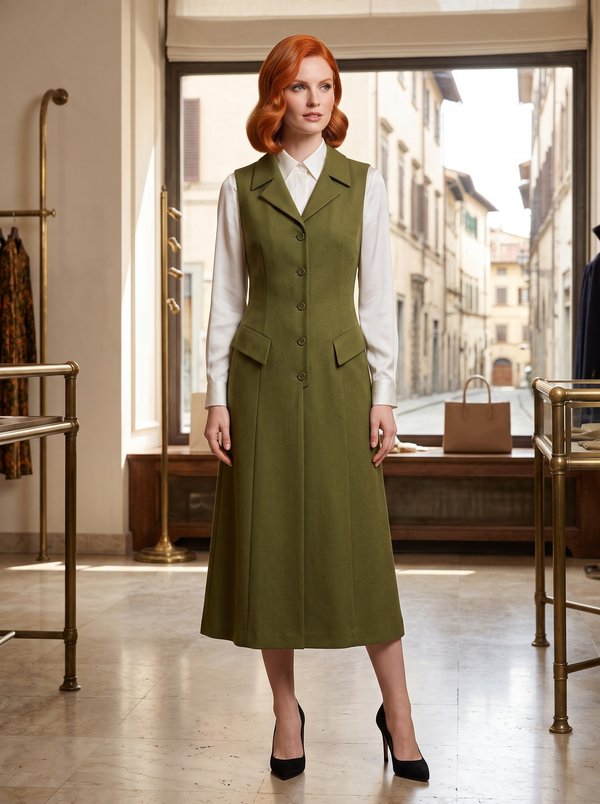
Fitted Princess Seam Dress
A fitted, lined women's dress with princess seams from the armholes on the front and back, a round neckline, short set-in sleeves and a centre back zip with a slit at the hem.
When To Wear
- For office and daytime wear in spring and summer.
- With a jacket or cardigan in cooler weather.
Key Design Features
Silhouette: Fitted, shaped only by princess seams running from the armholes to the hem at the front and back; the centre front is cut on the fold.
Length: Knee length.
Neckline: Round neckline, finished by the lining with the back neck facings; the lining is understitched.
Sleeves: Short set-in sleeves, cap slightly eased, hems turned up by hand; the sleeves are not lined.
Closure: 55 cm zip in the centre back seam, basted so the teeth are hidden and stitched 0.5 cm from the edges.
Back: Centre back seam with a slit at the hem; the slit allowances are sewn to the hem, corners can be mitred.
Lining: Body lining, hemmed about 2 cm shorter than the dress and cut away as a rectangle with rounded corners above the slit.
Level Of Difficulty
Intermediate. Princess seams, a lining joined at the neckline and armholes, a zip with the lining sewn to its tapes, a lined slit.
Fabric Recommendations
Light silk or mixed-fibre fabrics; the sample is made in silk crepe 115 cm wide.
Additional Supplies
- Lining fabric
- Fusible interfacing (back neck facings)
- 1 zip, 55 cm
Fabric & Materials
You will need: Silk crepe, 115 cm wide - to determine the length of material needed for cutting, lay out the paper patterns on the fabric width and determine the required length; lining fabric, 140 cm wide; fusible interfacing; 1 zipper, 55 cm long. Fabric recommendations: light silk or blended fabrics.
Cutter's Must
- From main fabric:
- 1. Center Back - 2 pieces
- 2. Side Back - 2 pieces
- 3. Side Front - 2 pieces
- 4. Back Neckline Facing - 2 pieces
- 5. Center Front - 1 piece on fold
- 6. Sleeve - 2 pieces
- From lining fabric: Side Back, Side Front and Center Front (pieces 2, 3, 5) unchanged, and Center Back (piece 1) minus the width of the back neckline facing
- From fusible interfacing: Back Neckline Facing - 2 pieces
Sewing Instructions
- Stitch the center back seam between the zipper and slit notches. Finish and press open the seam allowances, and press the edges of the zipper opening.
- Stitch the princess seams on the back and front (center back to side back, center front to side front), press open the seam allowances.
- Stitch the side and shoulder seams, finish and press open the seam allowances.
- Baste the zipper so that the teeth are not visible, and stitch at a distance of 0.5 cm.
- Stitch the back neckline facings to the corresponding lining pieces (center backs). Stitch the lining pieces similarly to the main fabric pieces.
- Place the lining and dress right sides together, pin and stitch to the neckline edge. Trim the seam allowances close to the stitching. Turn the lining up and topstitch to the seam allowances close to the seam. Insert the lining into the dress, wrong side to wrong side, turn under and sew to the zipper tapes. Baste the lining to the armhole edges of the dress without turning under.
- Stitch the sleeve seams. Finish and press open the seam allowances. Finish the lower edges of the sleeves, press the hem allowance of the sleeves to the wrong side and hand stitch.
- Set in the sleeves. Ease each sleeve cap between the notches. To do this, run a long machine stitch on both sides of the marked sleeve setting line, slightly gathering the fabric on the bobbin thread. Place the sleeve and dress right sides together and pin into the armhole, first only in the lower part, aligning the sleeve seam with the side seam and the transverse notches on the front and sleeve. Do not ease either the armhole or the sleeve! Pin the sleeve above the shoulder seam of the dress, aligning the transverse notch on the sleeve cap with the seam. Then pin the sleeve into the upper part of the armhole, easing it slightly and evenly. Baste and stitch the sleeve from the sleeve side, starting the stitching at the sleeve seam. Finish the seam allowances together. On the cap section, press the seam allowances towards the sleeve.
- Finish the lower edge of the dress, press the hem allowance of the dress to the wrong side and hand stitch. Press the edges of the back hem slit. Sew the slit allowances to the dress hem. The corners can be mitered.
- At the bottom of the lining, make a hem so that it is approx. 2 cm shorter than the dress. To prevent the lining from "peeking out" beyond the edges of the slit, cut it above the slit as a rectangle, rounding the upper corners. Make a narrow hem along the cutout and topstitch it.