Professional made-to-measure digital sewing patterns — PDF · PLT · DXF AAMA
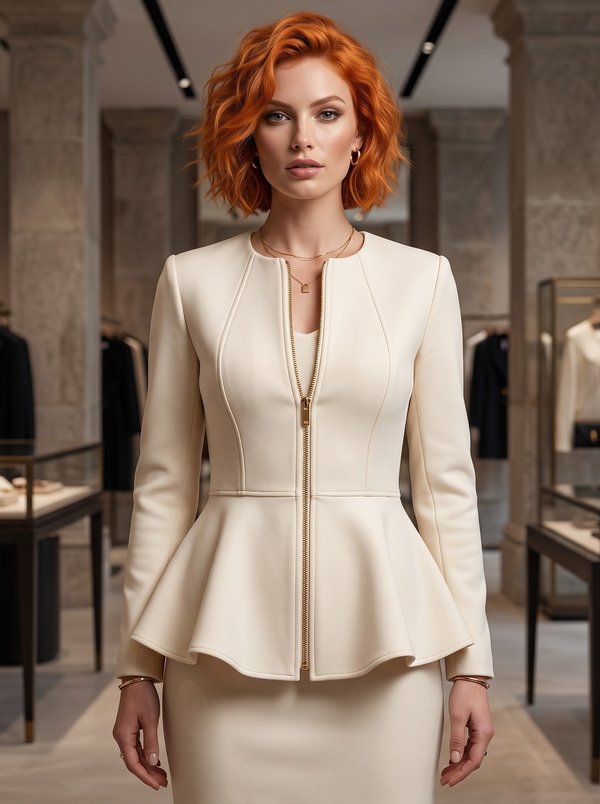
A women's fitted jacket for low-stretch knit or neoprene, with a collarless round neckline, a separating zipper the full length of the centre front and a peplum joined at the waist seam. Narrow plackets run beside the zipper on the bodice; the sleeves are two-piece. Drafted to your own measurements. Recommended fabric: low-stretch knit fabric from natural or blended fibres; neoprene.
A women's fitted jacket for low-stretch knit or neoprene, with a collarless round neckline, a separating zipper the full length of the centre front and a peplum joined at the waist seam. Narrow plackets run beside the zipper on the bodice; the sleeves are two-piece.
Silhouette: Fitted bodice to the waist, peplum below.
Length: Bodice to the waist, peplum to the high hip.
Neckline: Round and collarless, finished with the front facings and a back neck facing.
Sleeves: Long two-piece set-in sleeves with elbow and front seams.
Closure: Separating zipper set between the front edges and the front facings, from the neckline to the hem.
Front: A dart on each front and a narrow placket strip sewn to the front edge between the neckline and the waist seam; front peplum in two pieces.
Back: Centre back seam; back peplum cut in one piece on the fold.
Finishing: Hem allowances interfaced; jacket hem turned up 1.5 cm and sleeve hem 3 cm, both topstitched.
Intermediate. A separating zipper sewn in between the jacket and its facings, a peplum joined at the waist and two-piece sleeves.
Low-stretch knit fabric from natural or blended fibres; neoprene.
If the patterns have a double contour, seam allowances are included. If the contour is single, seam allowances are not included. Seam allowances: all seams 1 cm. Hem allowance for the bottom of the garment – 1.5 cm. Hem allowance for the bottom of the sleeve - 3 cm. Attention! First, print out the paper patterns and lay them out on the fabric width (fabric width can be from 90 cm to 150 cm) to determine how much material you will need (don't forget to account for paired and symmetrical pieces). When stitching pieces, pay attention to the notches - they must match!
#4978
Round Neck Zipper Front Peplum Jacket

#4981
Lapel Jacket With Drawstring 3/4 Sleeves
#4982
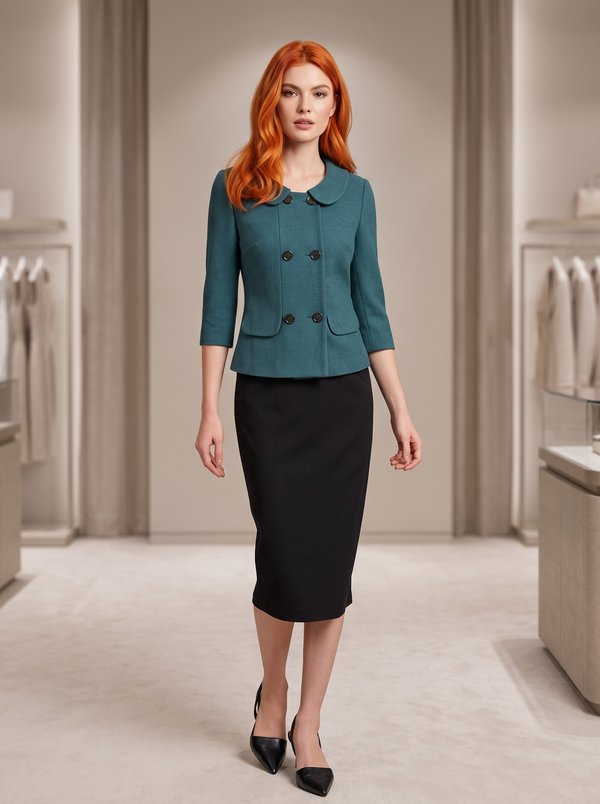
Rounded Collar Double-Breasted Jacket

#4983
Fitted Collarless Blazer with Angular Hem
#4973
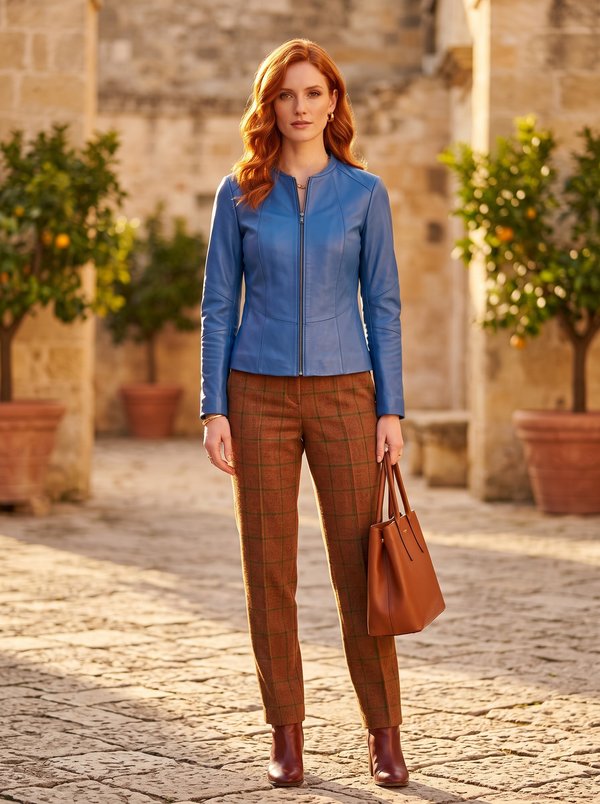
Real leather jacket
#4970
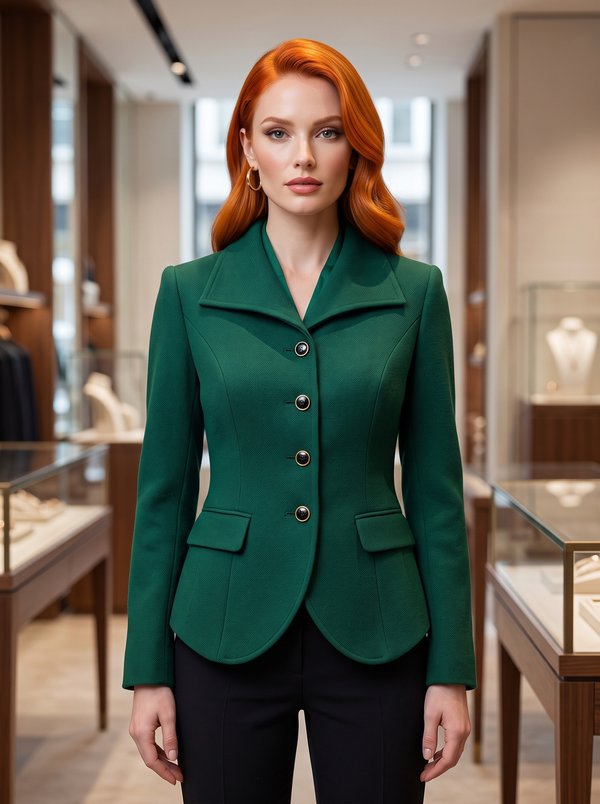
Fitted Tailored Jacket with Curved Hem
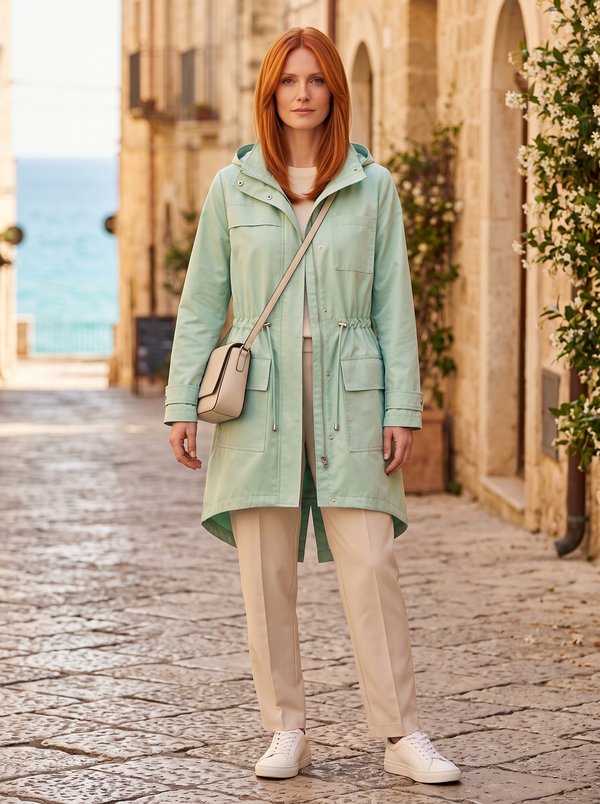
#4968
Hooded Parka Drawstring Waist Fishtail Hem
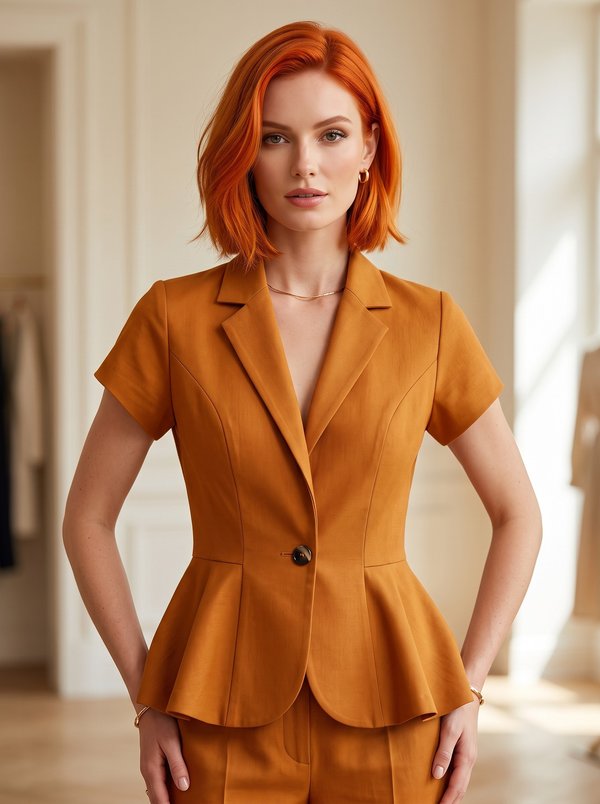
#4991
Fitted Short Sleeve Peplum Blazer

Minerva Support
Online