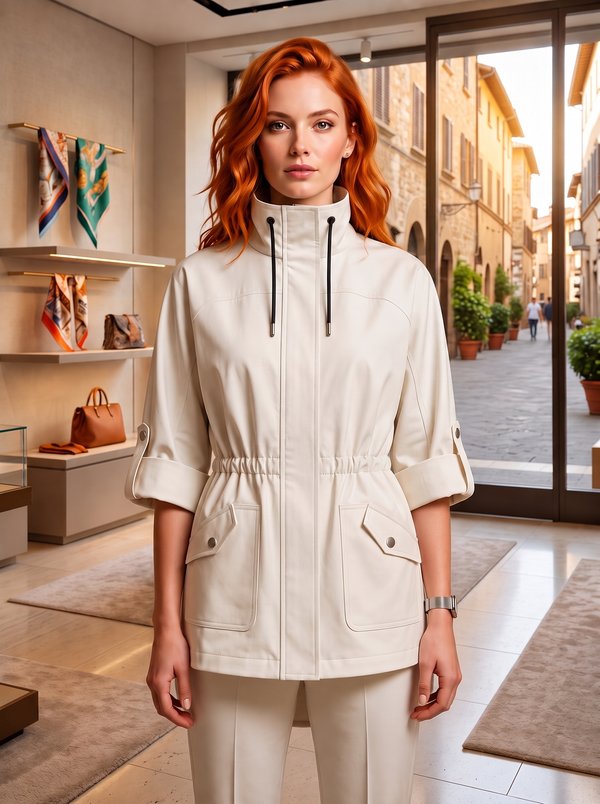
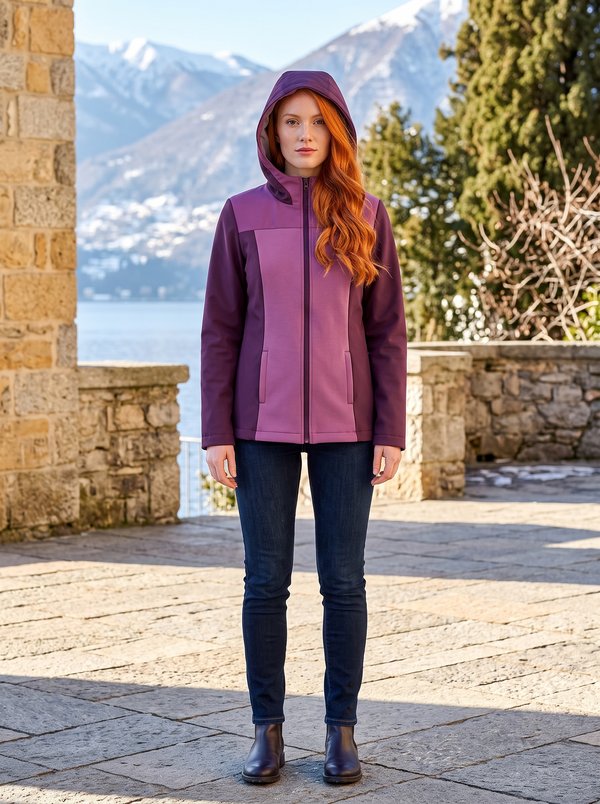
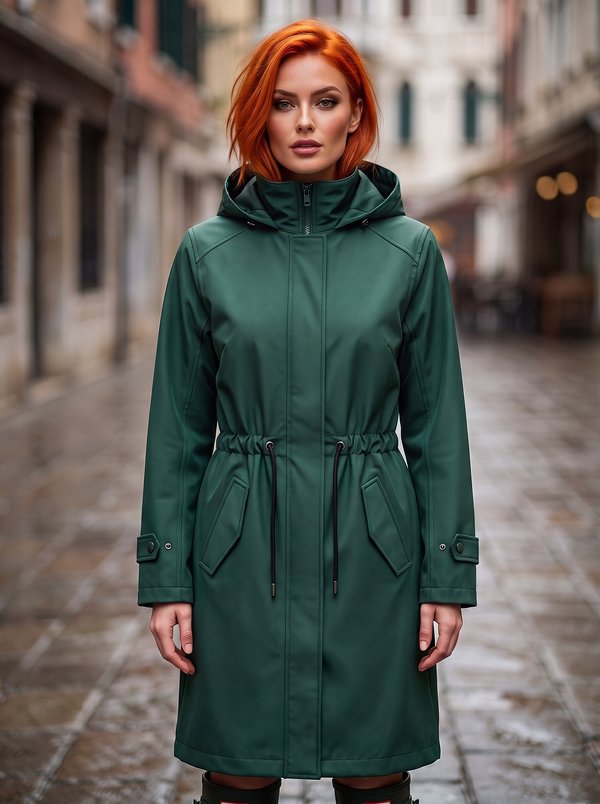
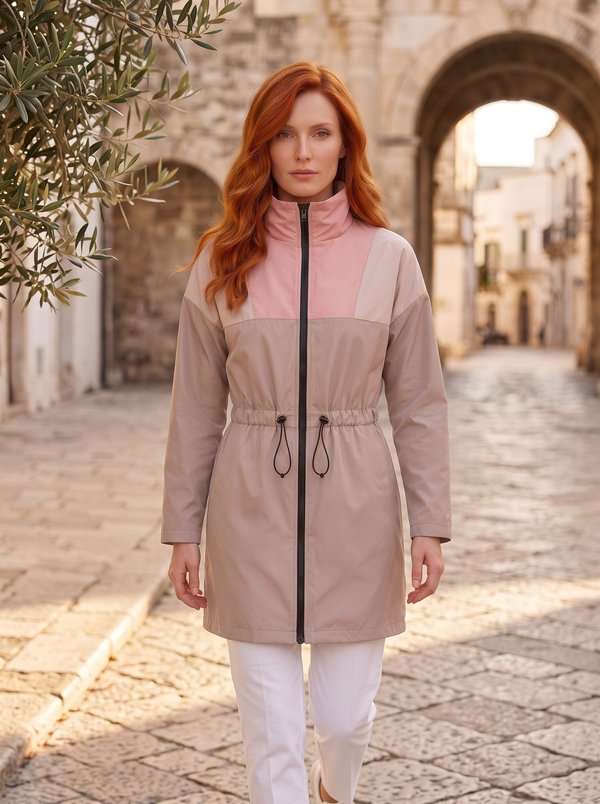
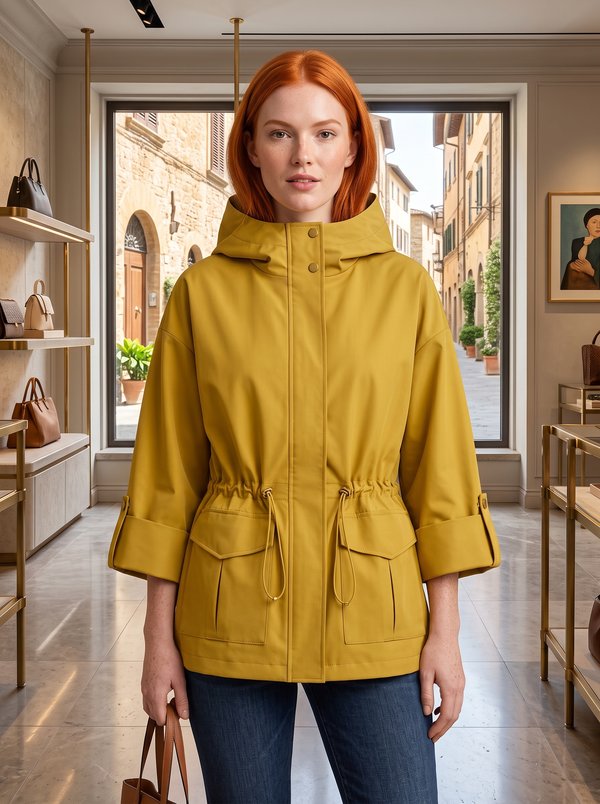
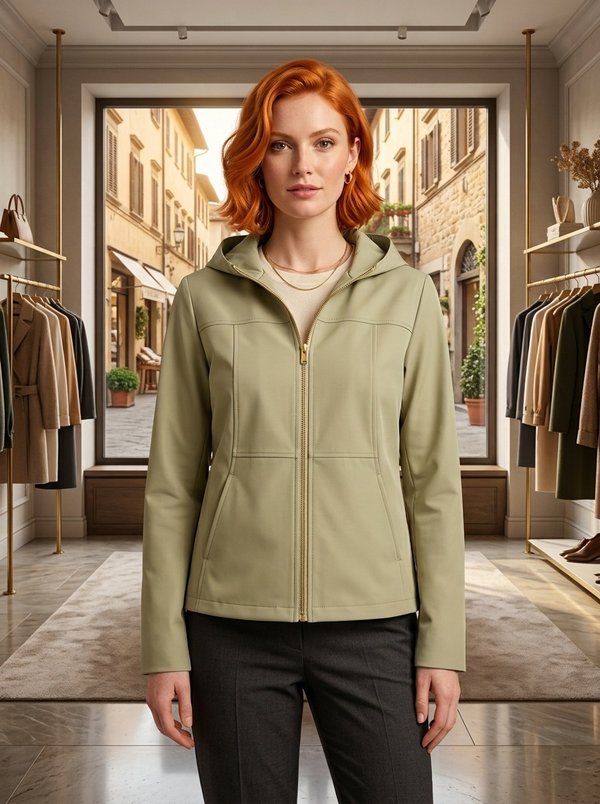
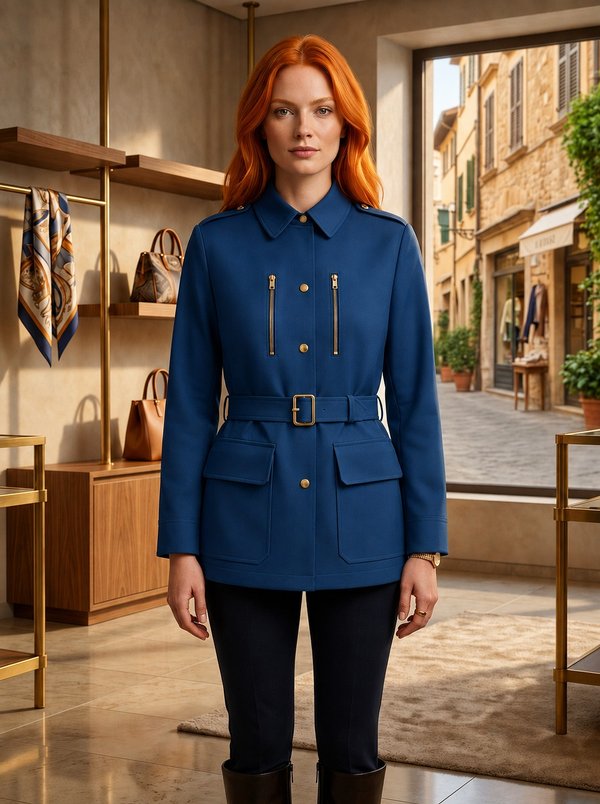
Hooded Parka with Elastic Waist and Fishtail Hem
A women's unlined parka in raincoat fabric with a three-piece hood, a separating zipper under a topstitched placket, an elasticated waist and a fishtail hem with a drawcord casing.
When To Wear
- In spring and autumn on windy or showery days.
- Over sweaters and jeans for walks and everyday errands.
Key Design Features
Silhouette: Straight and loose, gathered in at the waist by elastic stitched on the inside along the waistline.
Length: Mid-thigh, with the back dropping lower at the centre into a fishtail.
Hood: Two side pieces and a centre panel, set into the neckline, with elastic along the front edge of the centre panel and a hood facing.
Sleeves: One-piece set-in sleeves, hemmed into a casing with elastic.
Front: Bust darts; separating zipper running up into the hood, covered by a placket topstitched along its edges.
Pockets: A topstitched welt on each side of the chest; two patch pockets below the waist with a facing band at the lower edge and flaps topstitched 0.5 cm from the edge.
Back: Centre back seam ending in a slit at the hem, its edges topstitched 0.1 cm from the fold.
Finishing: Seams overlocked and pressed towards the back; hem turned 1 cm and 2 cm into a casing with a drawcord.
Level Of Difficulty
Intermediate. A separating zipper with facings and a cover placket, a three-piece hood, patch pockets with flaps, elastic and drawcord casings.
Fabric Recommendations
Raincoat fabrics of natural or blended fibres.
Additional Supplies
- Separating zipper
- Elastic tape (waist, hood edge, sleeve hems)
- Decorative cord for the hem casing
- Fusible interfacing (front placket, front facings, back neck facing, flaps, welts)
Cutter's Must
If the patterns have a double contour, they include seam allowances. If the contour is single, the patterns do not include seam allowances. Seam allowances: all seams 1 cm. Hem allowance for the bottom of the garment, sleeve hem, top edge of the pocket, side edges of the pocket facing – 3 cm. Attention! First, print out the paper patterns and lay them out on the fabric width (fabric width can be from 90 cm to 150 cm) to determine how much material you will need (do not forget to account for paired and symmetrical details).
- From main fabric:
- Back – 2 pieces
- Front – 2 pieces
- Sleeve – 2 pieces
- Back neckline facing – 1 piece
- Front facing – 2 pieces
- Front placket – 1 piece
- Hood – 2 pieces
- Central of hood – 1 piece
- Hood facing – 1 piece
- Pocket – 2 pieces
- Flap – 4 pieces
- Pocket facing – 2 pieces
- Welt – 2 pieces
- From fusible interfacing:
- Front placket – 1 piece
- Front facing – 2 pieces
- Back neckline facing – 1 piece
- Flap – 2 pieces
- Welt – 2 pieces
Sewing Instructions
When stitching pieces, pay attention to the notches - they must match!
- Fuse interfacing to the designated pieces.
- Stitch bust darts, press seam allowances upwards.
- Fold the welt in half lengthwise, right sides together, and stitch the short sides. Trim seam allowances and turn right side out. Place the welt on the front, aligning the attachment line with the lower marking line, and stitch along the lower edge. Fold the welt upwards and stitch along the two short sides.
- Press the lower seam allowance of the pocket facing 1 cm to the wrong side. Stitch the unpressed edge of the pocket facing to the pocket along the side and lower edges. Fold the upper seam allowance of the pocket twice to the wrong side and topstitch. Place pockets on the front according to markings and topstitch. Fold flap pieces right sides together and stitch along the outer contour. Clip seam allowances at curves, turn flaps right side out, smooth, and press. Topstitch the flap 0.5 cm from the edge. Overlock the upper edge. Stitch flaps to the front, fold down, and topstitch.
- Stitch the center back seam from the neckline to the mark. Press seam allowances open and overlock. Topstitch the slit allowances 0.1 cm from the fold.
- Stitch shoulder seams, press seam allowances towards the back and overlock.
- Set sleeves into open armholes, press seam allowances and overlock. Stitch side seams, simultaneously with sleeve seams, press seam allowances towards the back and overlock. Topstitch elastic tape along the waistline marking, stretching it.
- Stitch side parts of the hood to the central, press seam allowances towards the central and overlock. Stitch elastic tape to the front edge of the central from the wrong side, stretching it.
- Set hood into the neckline, press seam allowances towards the hood.
- Fold the right side of the zipper with the edge of the front and hood (teeth pointing away from the edge) and stitch. Process the left front similarly.
- Overlock the inner edge of the hood facing. Overlock the outer edge of the front facings and back neckline facing. Stitch the hood facing into the neckline of the front facings, press seam allowances towards the facing.
- Fold the front facings with the facing to the front, right sides together, and stitch the edge of the front and hood. Clip seam allowances at curves, trim at corners. Turn front facings to the wrong side, smooth, and press.
- Stitch shoulder seams of front facings and facing. Press seam allowances open. Stitch front facings with neckline facing into the hood attachment seam. Press seam allowances. Topstitch the hood facing to the main piece.
- Fold the front placket in half lengthwise, right sides together, and stitch the corners. Turn right side out and press. Topstitch along the outer fold, and along the upper and lower edges. Overlock the inner edge. Place the placket on the front and topstitch along the marked line. Fold the placket back, covering the zipper, and topstitch along the placket.
- Press the lower edge of the garment and sleeve hem 1 cm to the wrong side, then another 2 cm, and topstitch, forming a casing. Thread elastic tape through the sleeve casing. Thread cord through the bottom casing and secure.