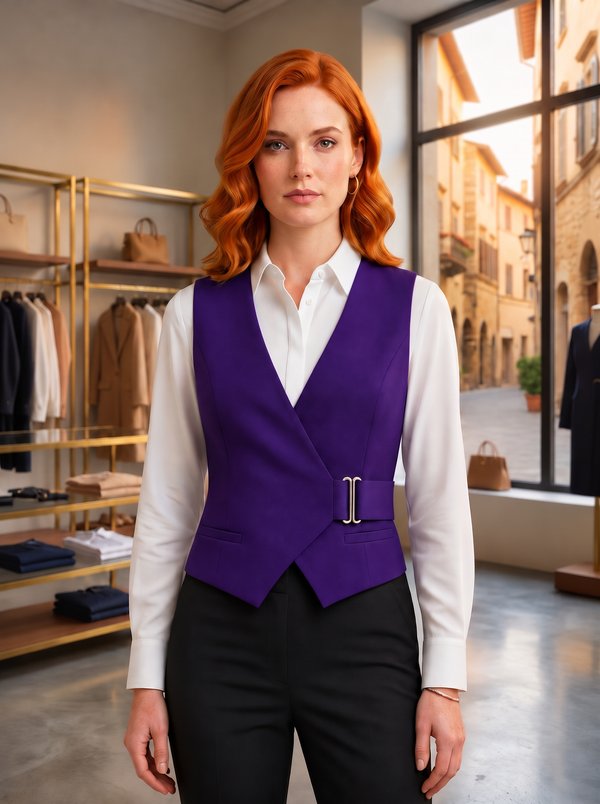
Long Open Front Vest with Patch Pockets
A long, sleeveless women's vest with no fastening, a shawl collar cut in one with the fronts, two large patch pockets and a back vent. Fully lined.
When To Wear
- Over a shirt or a fine knit top with trousers, for the office.
- As a light extra layer in spring and autumn, worn open over a dress or jeans.
Key Design Features
Silhouette: Straight, shaped by darts on the front and by darts and princess seams on the back.
Length: Long, just above the knee.
Collar: Shawl collar cut in one with the fronts and joined at the centre back neck; the front facings, joined the same way, form the upper collar.
Front: Open edge-to-edge front without buttons, faced with interfaced facings and rounded at the hem.
Sleeves: Sleeveless; the armholes are finished by the lining.
Pockets: Two large patch pockets on the lower fronts, with a 4 cm turned-down top edge topstitched in place.
Back: Centre back seam ending in a vent with an interfaced underlap, plus two princess seams.
Finishing: Hem turned up 2.5 cm and slip-stitched by hand.
Lining: Full lining with its own topstitched hem, attached to the front facings, the back neck facing and the armholes.
Level Of Difficulty
Intermediate. A cut-on shawl collar, a back vent, patch pockets placed to markings and a lining joined at the armholes.
Fabric Recommendations
Suiting fabrics from natural or blended fibres.
Additional Supplies
- Lining fabric
- Fusible interfacing (front facings, back neck facing, vent)
Cutter's Must
From main fabric:
- Center Back – 2 pieces
- Side Back – 2 pieces
- Front – 2 pieces
- Center Front Facing – 2 pieces
- Back Neckline Facing – 1 piece
- Pocket – 2 pieces
From lining fabric:
- Center Back Lining – 2 pieces
- Side Back Lining – 2 pieces
- Front Lining – 2 pieces
From fusible interfacing:
- Center Front Facing – 2 pieces
- Back Neckline Facing – 1 piece
Sewing Instructions
Seam allowances: all seams 1 cm; hem – 2.5 cm; top edge of the pocket – 4 cm. When stitching pieces, pay attention to the notches – they must match!
- Fuse interfacing to the Center Front Facings and the Back Neckline Facing.
- Stitch the darts on the Front, press the dart depths towards the centre.
- Overlock the Pocket edges. Fold the top allowance to the inside and topstitch. Fold the side and lower allowances to the inside and press. Topstitch the Pockets to the Fronts along the markings.
- Stitch the darts on the Center Back pieces, press the dart depths towards the centre. On the left Center Back, trim 5 cm off along the vertical edge of the vent extension. On both Center Back pieces, fuse interfacing to the vent extension on the wrong side. On the right side, mark the centre back seam line (the vent fold line). Press the left piece along the vent fold line; on the right piece, press only the vent seam allowance (6 cm) to the wrong side. Align the pieces along the centre back seam and tack them together along the top edge of the vent. Overlock the centre back edge of each piece separately. Overlock the vent allowances. Stitch the centre back seam down to the vent corner. Clip the seam allowance at the vent corner on the right piece. Press the centre back seam allowances open, press the vent allowances and secure them with machine stitching from the right side.
- Stitch the back princess seams (Center Back to Side Back). Overlock the seam allowances and press them towards the centre.
- Stitch the side and shoulder seams. Press the seam allowances open. Stitch the centre back seam of the collar and press it open. Clip the neckline allowance at the shoulder seams and stitch the collar to the back neckline.
- Stitch the shoulder seams of the Center Front Facings and the Back Neckline Facing. Press the seam allowances open. Stitch the centre back seam of the facing collar and press it open. Clip the allowance at the shoulder seams and stitch the facing collar to the Back Neckline Facing.
- Overlock the hem allowance of the vest.
- Overlock the inner edge of the Center Front Facing from the mark down to the hem. Place the Center Front Facing on the Front, right sides together, pin and stitch along the front edge and the collar edge. Turn the facing to the inside and press the seams.
- Stitch the seams of the lining pieces (Center Back Lining, Side Back Lining, Front Lining). Overlock the lower edge of the lining, fold it to the inside and topstitch.
- Stitch the lining to the inner edges of the Center Front Facings and the Back Neckline Facing. Stitch the armholes of the vest and lining together in two steps: first the front armhole, then the back armhole.
- Fold the hem of the vest to the inside, press and slip-stitch by hand.