Women’s Empire Waist Coat with Hood
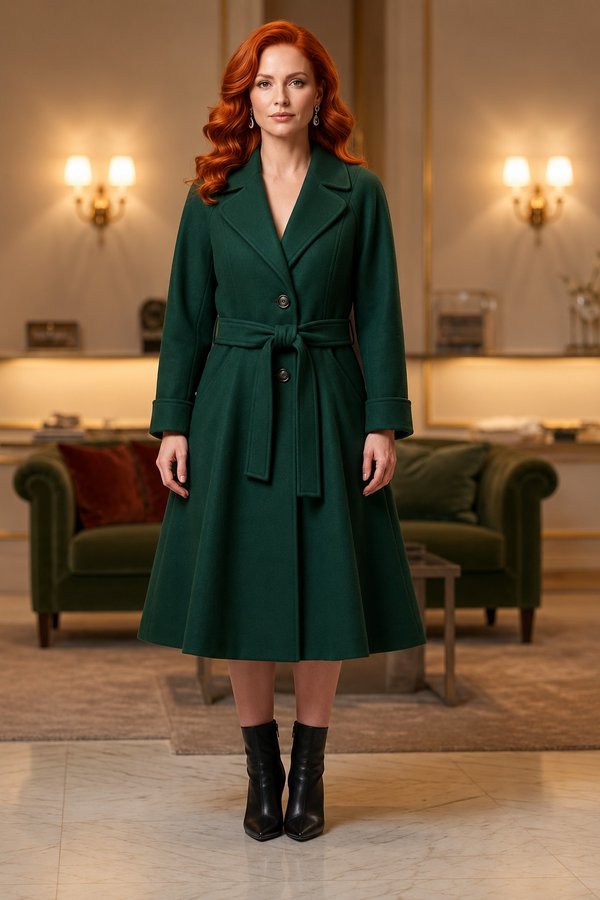
A fully lined women's coat with a hood, a fitted princess-seamed bodice joined at a raised waist seam to a flared lower part, a three-button front, single-welt pockets and two-piece set-in sleeves.
When To Wear
- In autumn and mild winter weather, over dresses and skirts.
- Over trousers and knitwear for everyday wear; the hood replaces a hat in rain and wind.
Key Design Features
Silhouette: Fitted through the bust and waist with princess seams; the lower part flares from the raised waist seam to the hem.
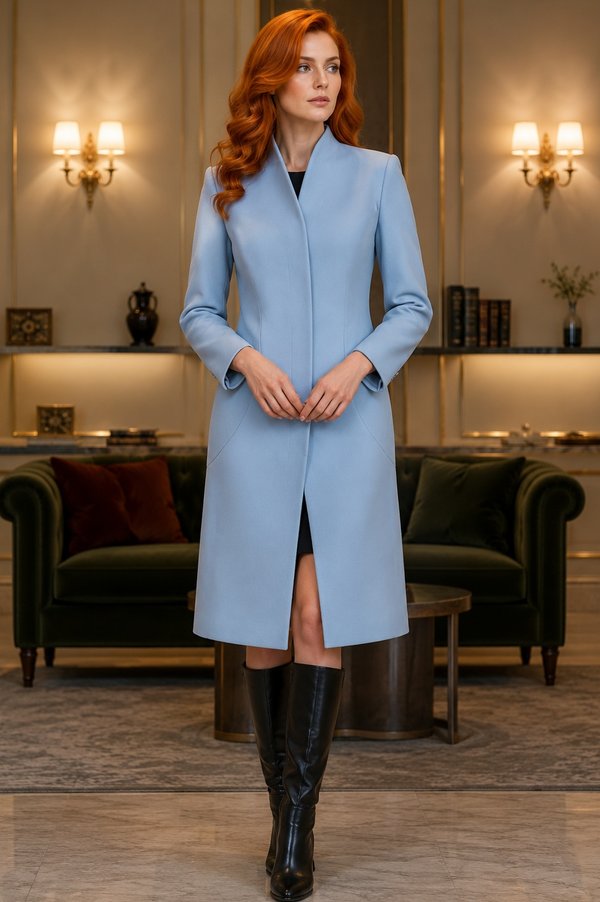
Length: Knee length; the longer coat in the 3D images is the same pattern extended by 30 cm.
Collar: Two-piece hood with a centre seam, fully lined and set into the neckline between the coat and the facings.
Sleeves: Two-piece set-in sleeves with eased caps, shoulder pads and sleeve heads.
Closure: Single-breasted, three buttons on the bodice, buttonholes on the right front.
Pockets: Single-welt pockets on the lower front, with pocket bags in lining fabric.
Back: Centre back seam through the upper and lower parts, princess seams and back darts.
Finishing: Front facings and a back neck facing; 3 cm hem allowances on the coat and sleeves, interfaced and topstitched at the hem.
Lining: Full lining including the sleeves and hood, cut from the main pattern pieces minus the facings; the coat is turned through an opening in a lining sleeve seam.
Level Of Difficulty
Intermediate. Welt pockets, a lined hood set between the coat and the facings, two-piece sleeves with eased caps, and a full bagged lining.
Fabric Recommendations
Coat fabric with good drape, in natural or blended fibres.
Additional Supplies
- Lining fabric
- Fusible interfacing (centre fronts, front facings, back neck facing, hem allowances)
- 3 buttons
- Shoulder pads
- Sleeve heads
Cutter’s Must
Note: If you want the same length coat as on listing’s 3d renderings (images), extend its length by 30 cm.
From Main Fabric:
- Center Back – 2 pieces
- Side Back – 2 pieces
- Center Front – 2 pieces
- Side Front – 2 pieces
- Lower Back – 2 pieces
- Lower Front – 2 pieces
- Center Front Facing – 2 pieces
- Back Neckline Facing – 1 piece
- Upper Sleeve – 2 pieces
- Lower Sleeve – 2 pieces
- Hood – 2 pieces
- Welt – 2 pieces
From Lining Fabric:
From the lining, cut the below pieces using the main patterns with the following modifications:
- Center Front – exclude Center Front Facing area, cut 2.
- Side Front – cut 2.
- Center Back – exclude Back Neckline Facing area, cut 2.
- Side Back – cut 2.
- Lower Back – cut 2.
- Lower Front – exclude Center Front Facing area, cut 2.
- Upper Sleeve – cut 2.
- Under Sleeve – cut 2.
- Hood – cut 2.
- Large pocket bag – cut 2.
- Small pocket bag – cut 2.
From Fusible Interfacing:
- Center Front
- Center Front Facing
- Back Neck Facing
- Body and Sleeves hem allowances
Important Information
Before cutting your fabric:
- Print and lay out pattern pieces to determine yardage.
- Check mirrored pieces, notches, and grainlines.
- For patterned fabrics, align carefully for symmetry.
Assembly Instructions
Fuse Interfacing
From the wrong side, apply fusible interfacing to all indicated above pieces. (Press firmly with a hot iron until fully bonded.)
Coat Body
Darts & Seams
- Stitch shoulder darts on the Back, press toward center.
- Stitch and press open princess seams on Front and Back.
- Join Center Back seam on both Upper and Lower Back sections, press open.
Side & Shoulder Seams
- Stitch and press open side seams of both Upper and Lower Coat sections.
- Join shoulder seams and press open.
- Attach Lower Coat to Upper Coat at waist seam; press allowances open.
- Overlock the lower raw edge.
Hood
Outer & Lining
- Stitch hood center seam, press open.
- Stitch hood lining center seam, pressing allowances toward left side.
- Join hood lining to hood along outer edge, right sides together. Clip seam allowances, turn, and press.
- Baste lower edge together; treat as one unit.
Facings & Front Edges
Neckline Facings
- Stitch shoulder seams of Back Neck Facing and Front Facings, press open.
- Insert hood into neckline of coat shell, matching notches.
Attach Facings
- Place Front Facings over Fronts, right sides together, sandwiching hood between coat and facings.
- Stitch around front edges and neckline. Clip corners, turn right side out, shape seams, and press.
Sleeves
Assembly
- Stitch elbow seam, press open.
- Turn up hem allowance of sleeve and press.
- Stitch front sleeve seam, press open.
Set-In
- Ease sleeve cap between notches, distributing fullness.
- Insert sleeves into armholes, matching notches.
- Attach shoulder pads and sleeve heads.
Lining
Prepare Lining
- Assemble lining sections and set in lining sleeves.
- Overlock, turn up, and topstitch lining hem allowance.
Join to Coat
- Attach lining to inner edges of facings and back neckline facing.
- Stitch lining to sleeve hems.
- Turn coat right side out through sleeve opening.
- Close sleeve opening by hand or machine.
Hem & Finishing
- Turn up coat hem allowance to inside and topstitch neatly.
- Work buttonholes on the Right Front.
- Sew buttons to the Left Front as marked.