Professional made-to-measure digital sewing patterns — PDF · PLT · DXF AAMA
A women's sleeveless sheath dress of knee length with a V-neck at the front and back, a waist seam, and pleated, lined trims at the waist that meet at the centre front and at the centre back. Concealed zip in the left side seam. Drafted to your own measurements. Recommended fabric: dress fabrics of natural or blended fibres.
A women's sleeveless sheath dress of knee length with a V-neck at the front and back, a waist seam, and pleated, lined trims at the waist that meet at the centre front and at the centre back. Concealed zip in the left side seam.
Silhouette: Fitted through the bust, waist and hips; the skirt is straight and slightly narrowed towards the hem.
Length: Knee length.
Neckline: V-neck at the front; a deeper V-neck at the back.
Sleeves: Sleeveless; armholes finished with the same all-in-one facing as the neckline.
Front: Upper front with pleats at the waist seam; lower front shaped with waist darts. Two pleated trims, each made of fabric and lining, are joined by a centre seam and laid over the waist seam.
Back: Upper and lower back with waist darts, joined at the waist; pleated, lined trims laid over the waist seam and caught into the centre back seam.
Closure: Concealed zip in the left side seam.
Finishing: Neckline and armhole facing interfaced and secured to the zip tape; hem overlocked and finished by hand with blind stitches.
Intermediate. Pleated trims lined and joined at the centre, waist darts and a waist seam, an all-in-one neckline and armhole facing sewn in two stages, and a concealed zip.
Dress fabrics of natural or blended fibres.
From Main Fabric:
From Lining Fabric:
From Fusible Interfacing:
Before cutting your fabric, print and lay out the paper patterns according to your fabric width (90–150 cm) to determine required yardage.
Remember to account for paired and symmetrical pieces.
When sewing, pay close attention to all notches — they must match precisely to ensure correct construction and fit.
Apply fusible interfacing to the Back Neckline Facing and Front Neckline Facing.
Form and secure the pleats on the Back Trimming.
Place the main fabric pieces of the Back Trimming and the lining right sides together and stitch the upper and lower edges.
Turn right side out, shape, and press.
Stitch the waist darts on the Upper Back and Lower Back.
Press the dart intake toward the center.
Stitch the Upper Back to the Lower Back.
Press the seam allowances upward and overlock.
Place the Back Trimming onto the Back and secure along the seam allowances.
Stitch the center back seam, press the seam allowances open, and overlock.
Form and secure the pleats on the Front Trimming.
Place the main fabric pieces of the Front Trimming and the lining right sides together and stitch the upper and lower edges.
Turn one piece right side out, shape, and press.
Place one trimming piece inside the other, right sides together, and stitch the center seam.
Turn right side out, shape, and press.
Stitch the waist darts on the Lower Front.
Press the dart intake toward the center.
Form and secure the pleats on the Upper Front.
Stitch the Upper Front to the Lower Front.
Press the seam allowances downward and overlock.
Place the Front Trimming onto the Front and secure along the seam allowances.
Stitch the shoulder seams, press the seam allowances toward the Back, and overlock.
Stitch the right side seam, press the seam allowances toward the Back, and overlock.
Overlock the left side seam edges separately on each piece, stitch from the marking to the hem, and press the seam open.
Insert the zipper.
Stitch the shoulder seams and the right side seam of the Back Neckline Facing and Front Neckline Facing.
Press the seam allowances open.
Overlock the side seams and the outer edge of the facing.
Place the facing and the dress right sides together and stitch the neckline.
Clip seam allowances at the curves, turn the facing right side out, shape, and press.
Finish the armholes in two steps: first the Back, then the Front.
Clip seam allowances at curves, turn right side out, and press.
Secure the facing to the garment along the side seam allowances.
Attach the facing to the zipper tape.
Overlock the lower edge of the dress, press to the wrong side, and finish with blind stitches.

#4437
Fitted Collared Dress with Sleeves
#4432
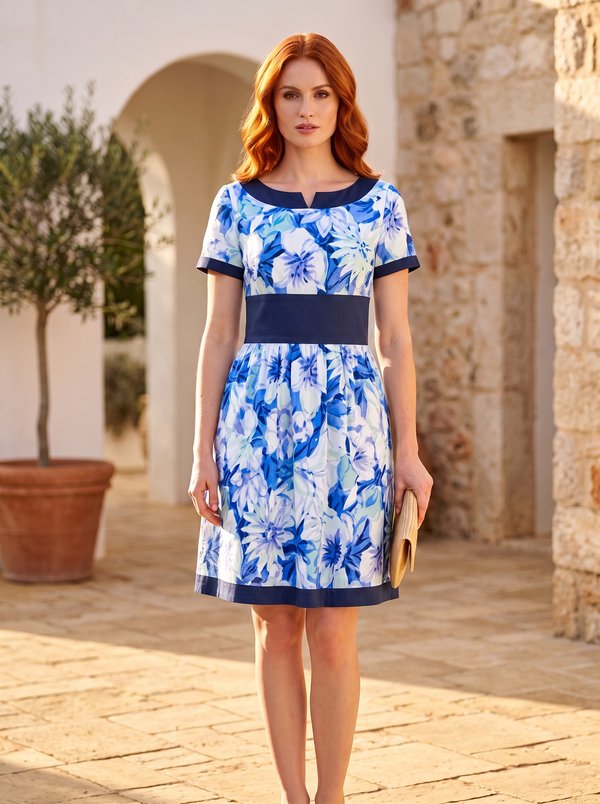
A-Line Dress with V-Notch Neck and Contrast Trim
#4431
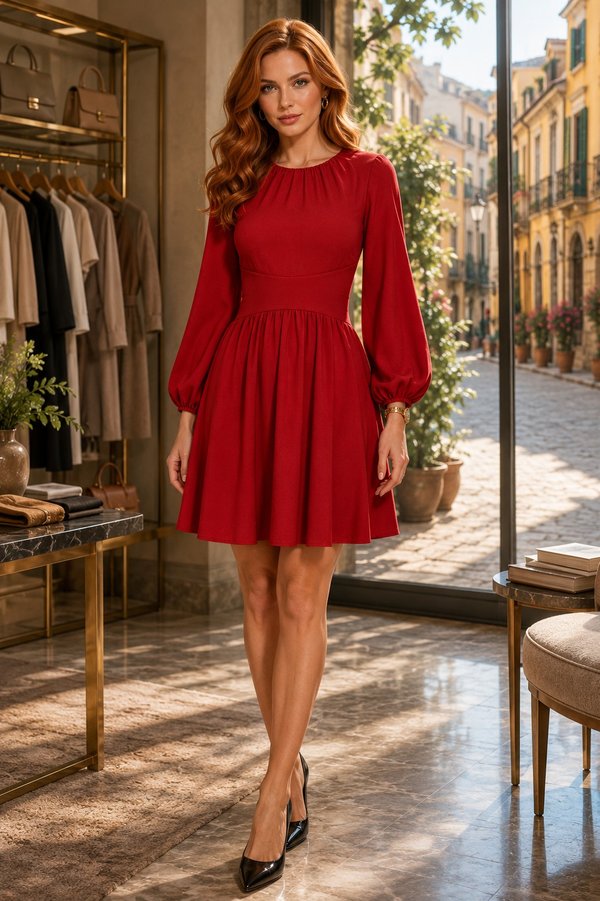
Fitted Double Gathered Dress with Cuffed Sleeves

#4441
Color Block Knit Dress with Curved Side Panel

#4430
Two-Tone Overlay Dress with Back Tab

#4442
Asymmetrical Notched Collar Cap Sleeve Sheath Dress

#4429
Paneled Yoke Dress with Princess Seams
#4428
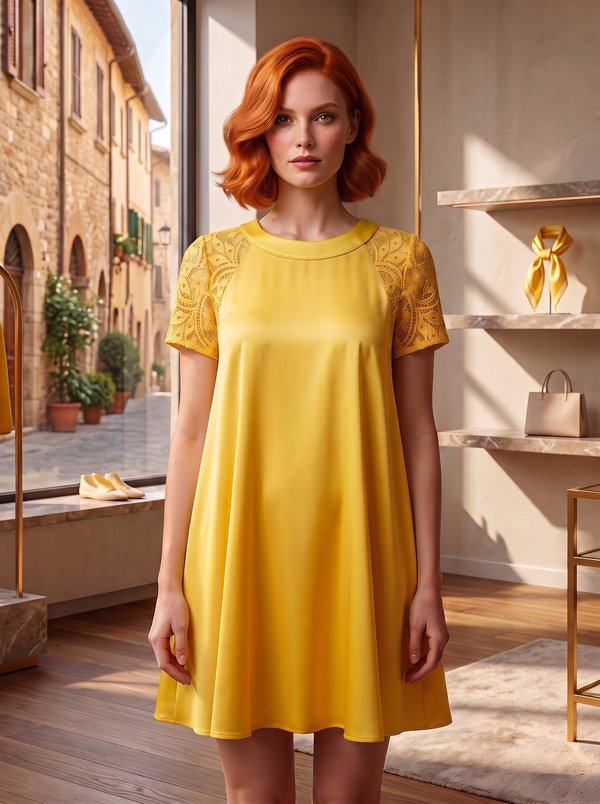
Lace Yoke Shift Dress with Keyhole

Minerva Support
Online