Professional made-to-measure digital sewing patterns — PDF · PLT · DXF AAMA

Minervainervabeta
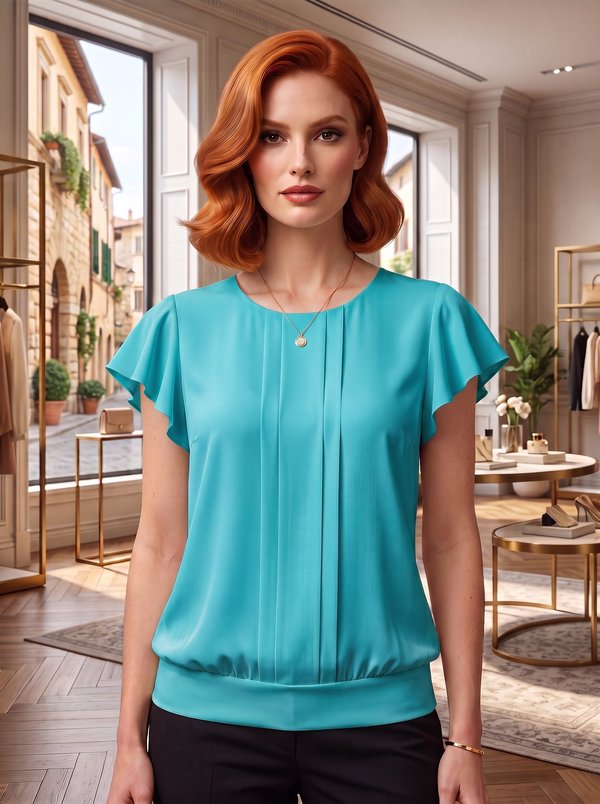
#4434
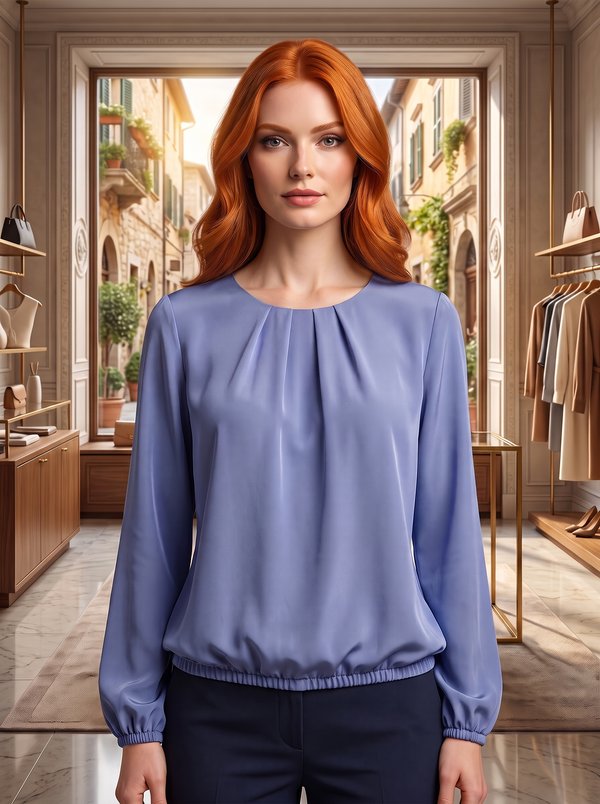
#4436

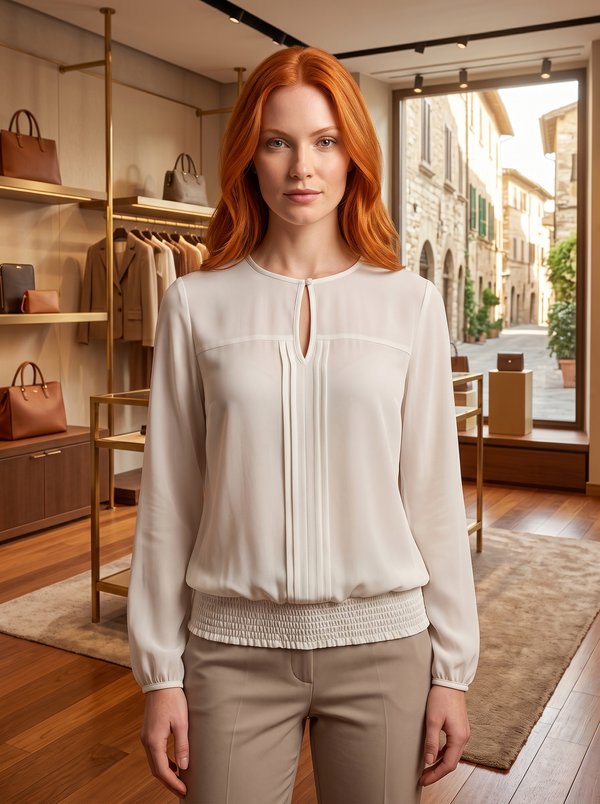
Blouse with Front Pleats, Collar and Gathered Sleeves

Pattern #4435

A women's hip-length blouse with a folded stand collar, inverted pleats laid into the front neckline, elbow-length sleeves gathered into narrow cuffs, and a back slit fastened with one button and a rouleau loop. Drafted to your own measurements. Recommended fabric: blouse fabrics of natural or blended fibres.

Tech. Description

Blouse with Front Pleats, Collar and Gathered Sleeves

A women's hip-length blouse with a folded stand collar, inverted pleats laid into the front neckline, elbow-length sleeves gathered into narrow cuffs, and a back slit fastened with one button and a rouleau loop.

When To Wear

  • For the office with straight trousers or a pencil skirt.
  • In spring and summer as a day blouse with jeans or culottes.

Key Design Features

Silhouette: Loose, slightly widening towards the hem, worn untucked.

Length: Hip length, straight hem turned up and topstitched.

Collar: Stand collar cut in one piece on the fold, folded lengthwise and interfaced; it opens at the centre back and has a small notch at the centre front.

Front: One piece cut on the fold, with inverted pleats at the neckline that release fullness over the bust.

Sleeves: Elbow length, set into the open armhole; the side seam and sleeve seam are stitched in one. The lower edge is gathered into a folded, interfaced cuff.

Back: Two pieces with a centre back seam and a slit at the top, edge-stitched 0.2 cm from the fold.

Closure: One button at the back neck with a bias-cut rouleau loop set into the collar end.

Finishing: Shoulder and side seams overlocked and pressed towards the back.

Level Of Difficulty

Beginner. A one-piece front, a turned rouleau loop, gathered sleeves with folded cuffs and a straightforward stand collar.

Fabric Recommendations

Blouse fabrics of natural or blended fibres.

Additional Supplies

  • Fusible interfacing (cuffs, collar)
  • 1 button

Fabric & Materials

For the best drape and finish, select lightweight to medium-weight blouse fabrics with a soft hand:

  • Blouse fabrics made from natural or blended fibers

Additional Supplies:

  • Fusible interfacing
  • 1 button

CUTTER'S MUST

From main fabric:

  • Back — 2 pieces
  • Front — 1 piece on fold
  • Sleeve — 2 pieces
  • Cuff — 2 pieces
  • Collar — 1 piece on fold

From fusible interfacing:

  • Cuff - 2 pieces
  • Collar — 1 piece

Sewing Instructions

  1. Fuse fusible interfacing to the CUFFs and collar.
  2. Serge the center edges of the back separately. Stitch the center edge from the mark downwards. Press the seam allowance open, pressing the slit. Stitch a reinforcing seam along the slit 0.2 cm from the fold.
  3. On the neckline of the front, create inverted pleats and secure them along the top edge.
  4. Stitch the shoulder edges, press the seam allowances towards the back and serge.
  5. Cut a bias binding strip 2.5 cm wide and 15 cm long. Fold the strip in half lengthwise, right sides together, and stitch 0.3 cm from the fold. Trim the seam allowances close to the stitching, turn the strip right side out, and straighten the rouleau loop. Cut a buttonhole.
  6. Fold the collar in half lengthwise, right sides together, and stitch the back edges, inserting the rouleau loop. Turn the collar right side out and press. Create and secure the pleats. Attach the collar to the neckline. Serge the seam allowance.
  7. Set the sleeve into the open armhole. Serge the seam allowances and press them towards the sleeve.
  8. Stitch the side edge simultaneously with the sleeve edge. Serge the seam allowance and press it towards the back.
  9. Along the bottom edge of the sleeve, stitch with a loosely tensioned thread and gather.
  10. Stitch the cuff into a ring. Press the seam allowance open. Fold the cuff in half lengthwise and press. Attach the outer side of the cuff to the bottom of the sleeve. Turn under the inner side of the cuff and topstitch into the attaching seam.
  11. Serge the bottom edge of the garment, press it to the wrong side, and topstitch.
  12. Sew on the button.

Features

Order Pattern

Standard Sizes

Individual Measurements

Please double-check the file format and paper size. Your pattern is drafted in exactly the format you select; a different format or paper size later is a new order.

Similar patterns

View all
Support

Minerva Support

Online
Support
Hi! I'm Minerva's AI assistant. What can I help you with?