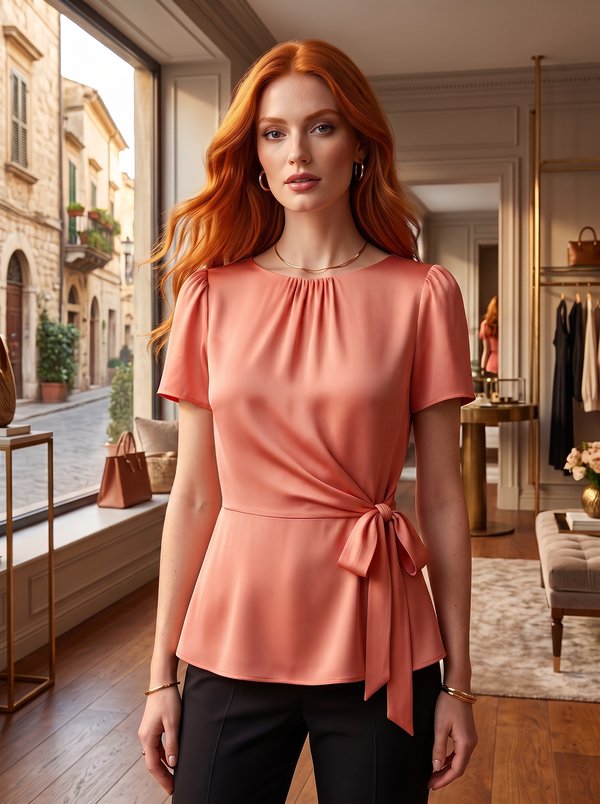
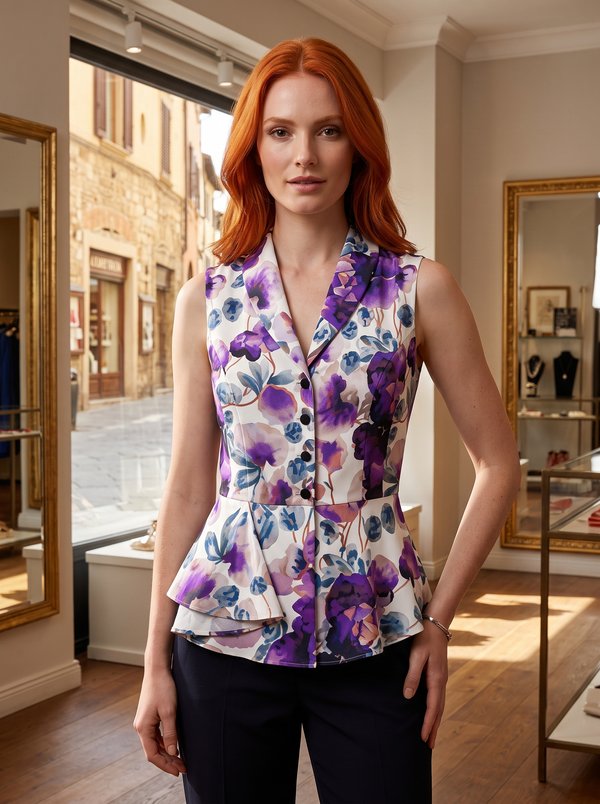
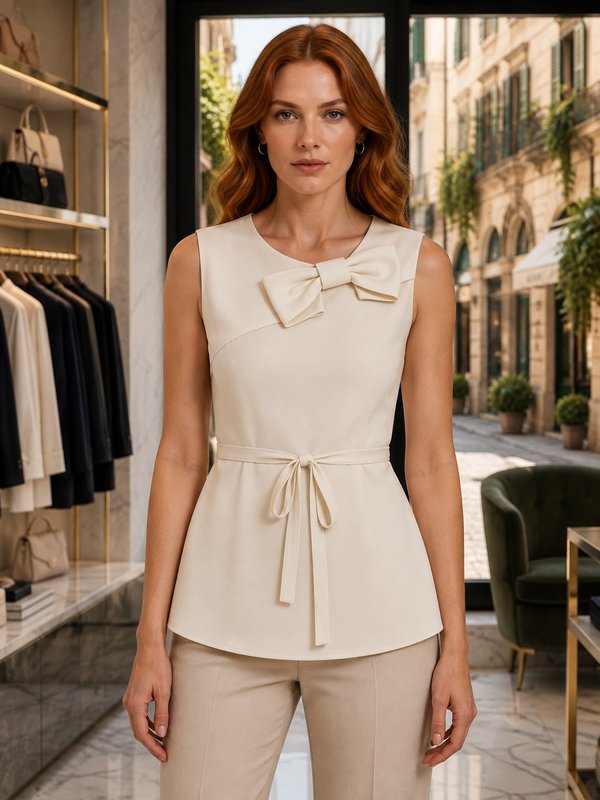
Fitted Blouse with Rounded Collar and Puffed Tulip Sleeves
A women's fitted short-sleeve blouse with a rounded collar on a stand, a concealed button placket, soft pleats at the front neckline and tulip sleeves cut in two overlapping parts and set in with pleats at the cap.
When To Wear
- In spring and summer, tucked into a skirt or worn over trousers.
- To the office with a pencil skirt or tailored trousers.
Key Design Features
Silhouette: Fitted, shaped by princess seams at the front and back and darts at the back.
Length: Hip length, straight hem.
Collar: Rounded collar with an interfaced stand.
Front: Pleats at the neckline stitched down 4 cm from the top edge, then released.
Closure: Concealed button placket on the right front, topstitched 3 cm from the front edge; 6 buttons.
Sleeves: Short tulip sleeves: a front and a back part overlapping at the outer edge, hemmed with topstitching and set in with pleats at the cap.
Back: Centre back seam, princess seams and darts.
Finishing: Seams overlocked; hem pressed up and topstitched.
Level Of Difficulty
Intermediate. A collar sewn into a stand, a concealed placket with buttonholes, princess seams and pleated, overlapping sleeves.
Fabric Recommendations
Dress fabrics of natural or blended fibres.
Additional Supplies
- Fusible interfacing (plackets, upper collar, inner stand)
- 6 buttons
Cutter's Must
From main fabric:
- 1. Center front - 2 pieces
- 2. Side front - 2 pieces
- 3. Center back — 2 pieces
- 4. Side back — 2 pieces
- 5. Front sleeve – 2 pieces
- 6. Back sleeve — 2 pieces
- 7. Collar — 2 pieces
- 8. Collar Stand — 2 pieces
From fusible interfacing:
- 1. Collar — 1 piece
- 2. Collar Stand - 1 piece
Sewing Instructions
- Fuse fusible interfacing to the plackets, upper collar, and inner collar stand.
- Place the upper collar and lower collar right sides together. Stitch the ends and the outer edge of the collar. Trim seam allowances. Turn the collar right side out, shape, and press. Place the collar stand pieces right sides together, insert the prepared collar between them, align the notches, and stitch, simultaneously stitching the ends of the collar stand. Start and end the stitching strictly at the marked line of the collar stand attachment seam. Turn the prepared collar right side out and press.
- Stitch the darts on the back. Press the dart fullness towards the center. Stitch the panel seams of the back. Overlock seam allowances and press towards the center. Stitch the center seam of the back. Overlock the seam allowance and press to the left side.
- Form pleats at the neckline of the front and stitch from the upper edge for 4 cm. Stitch the panel seams of the front. Overlock seam allowances and press towards the center.
- Right front: Press the front inwards to the wrong side along the "front edge" and "concealed placket front edge" lines. Topstitch along the inner edge of the placket at a distance of 3 cm from the front edge. Fold the inner of the placket towards the front edge. Press. On the right front, make buttonholes. Left front: Fold the fastening placket inwards first by 1 cm, then by another 3 cm, and topstitch along the inner edge of the placket.
- Stitch the shoulder and side seams, overlock seam allowances, and press towards the back.
- Attach the upper collar stand with the collar to the neckline, fold under the raw edge of the lower collar stand, and topstitch into the seam of the upper collar stand attachment.
- Stitch the sleeve seam. Overlock the seam allowance and press towards the back. Overlock the lower edge of the sleeve, fold inwards, and topstitch. Overlap the back of the sleeve onto the front. Attach the sleeves, forming arbitrary pleats. Overlock seam allowances.
- Overlock the hem allowance of the blouse, press to the wrong side, and topstitch.
- Sew buttons onto the left front corresponding to the buttonholes.