Professional made-to-measure digital sewing patterns — PDF · PLT · DXF AAMA
A fitted one-shoulder women's mini dress in knit fabric, cut from just a front and a back. The shoulder and the right side seam are gathered over casings, and a decorative cord threaded through both casings hangs free at the shoulder and at the side. Drafted to your own measurements. Recommended fabric: medium-stretch knit fabrics made from natural or blended fibres.
A fitted one-shoulder women's mini dress in knit fabric, cut from just a front and a back. The shoulder and the right side seam are gathered over casings, and a decorative cord threaded through both casings hangs free at the shoulder and at the side.
Silhouette: Close-fitting, straight to the hem, relying on the stretch of the knit.
Length: Mini, above the knee.
Neckline: Asymmetric one-shoulder neckline running diagonally from the shoulder to under the opposite arm; edge turned in and topstitched.
Sleeves: Sleeveless; armhole edges turned in and topstitched.
Closure: None; the dress is pulled on.
Waist: No waist seam; the right side seam is gathered from the top down to a mark, which ruches the body across the front and back.
Finishing: Separate casings on the shoulder seam and on the right side seam. A decorative cord runs up through one casing and down through the other, so the gathers can be adjusted; the drawing shows tassels at the cord ends. Hem turned up and topstitched.
Intermediate. Sewing knit fabric with stretch stitches or an overlocker, gathering to a set length and applying casings to the seams.
Medium-stretch knit fabrics made from natural or blended fibres. Sew with an elastic or narrow zigzag stitch or on a 3- or 4-thread overlocker, and topstitch the hem with a twin needle.
If the patterns have a double contour, they include seam allowances. If the contour is single, the patterns do not include seam allowances. Seam allowances: hem allowance – 2 cm; neckline allowances for back and front, armhole allowances for back and front - 1.5 cm; casing allowances – 0 cm; other seams 0.7 cm. Attention! First, print out the paper patterns and lay them out on the fabric width (fabric width can be from 90 cm to 150 cm) to determine how much material you will need. Inscriptions on the patterns are on the right side!
Tip: Cut pieces from knit fabrics are stitched with a special elastic or narrow zigzag stitch. The hem allowance is topstitched with a twin needle to maintain elasticity. You can also stitch pieces directly on a 3- or 4-thread overlock machine.
When stitching pieces, pay attention to the notches - they must match!
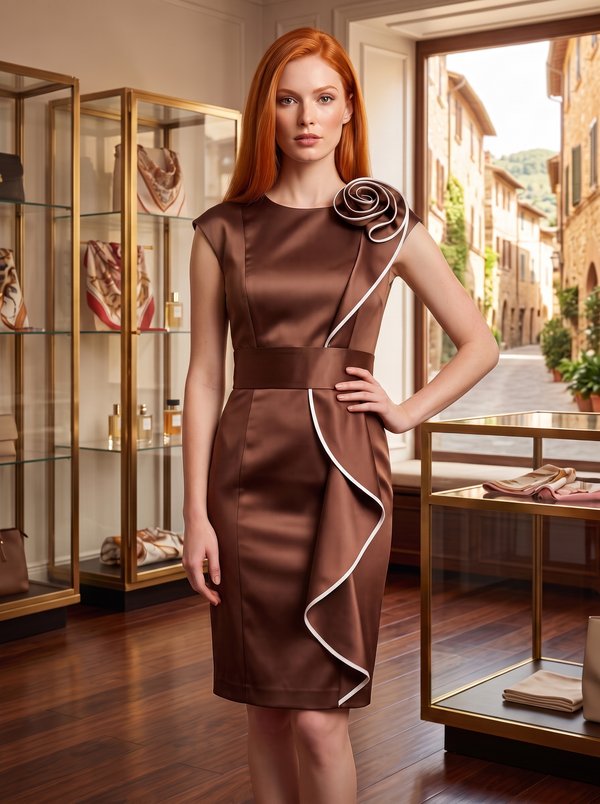
#4065
Fitted Flounce Dress with Rosette
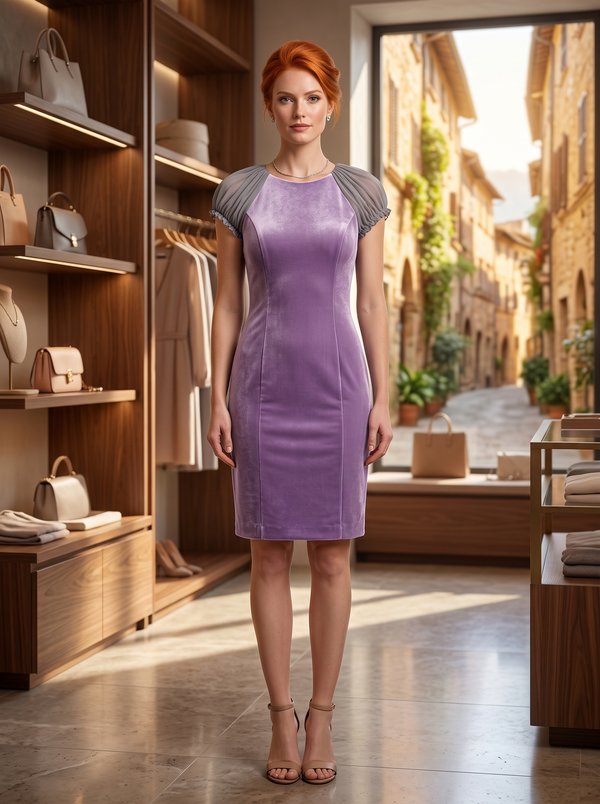
#4066
Fitted Velvet Dress With Chiffon Sleeves
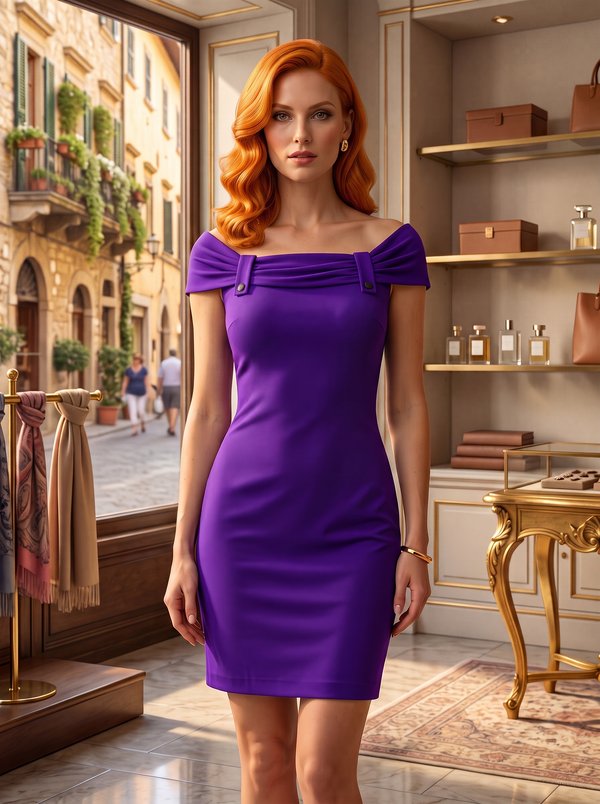
#4061
Fold-Over Neckline Sheath Dress with Button Tabs
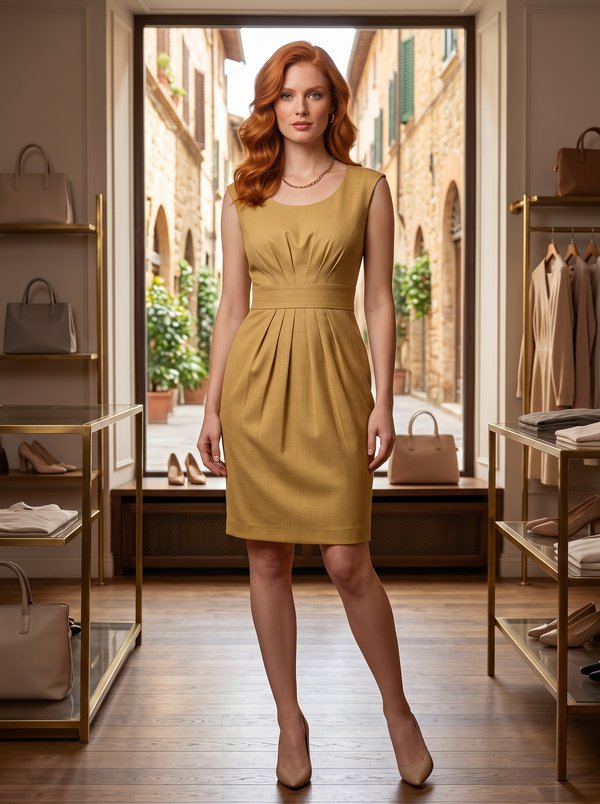
#4067
Sleeveless Pleated Sheath Dress
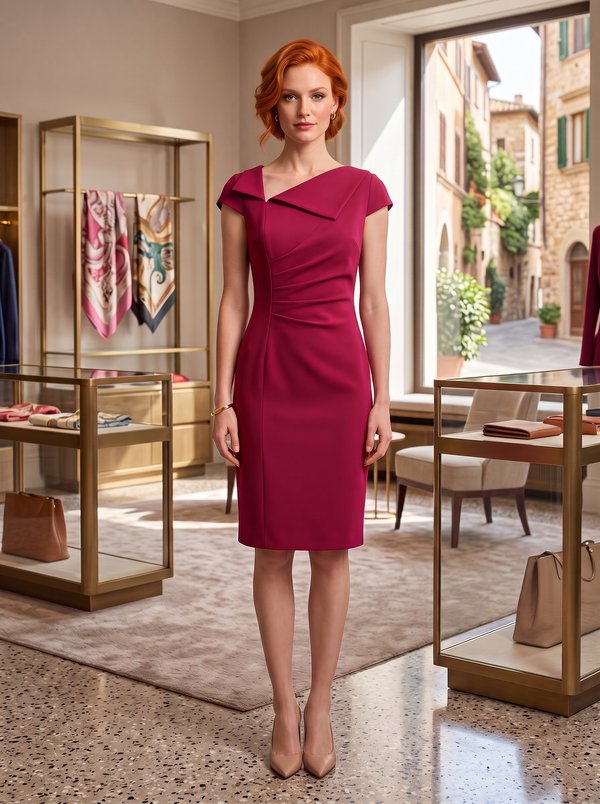
#4060
Sheath Dress Asymmetrical Neckline Draped Front
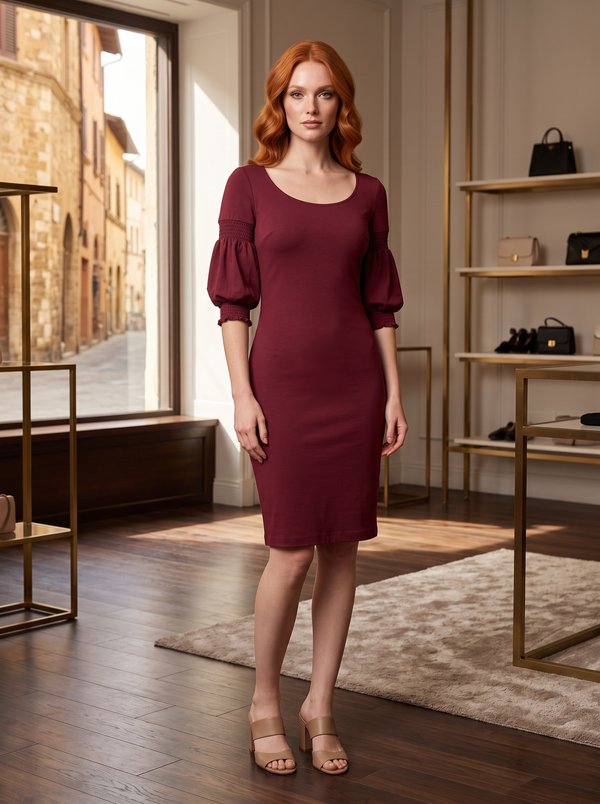
#4072
Fitted Round Neck Shirred Puff Dress
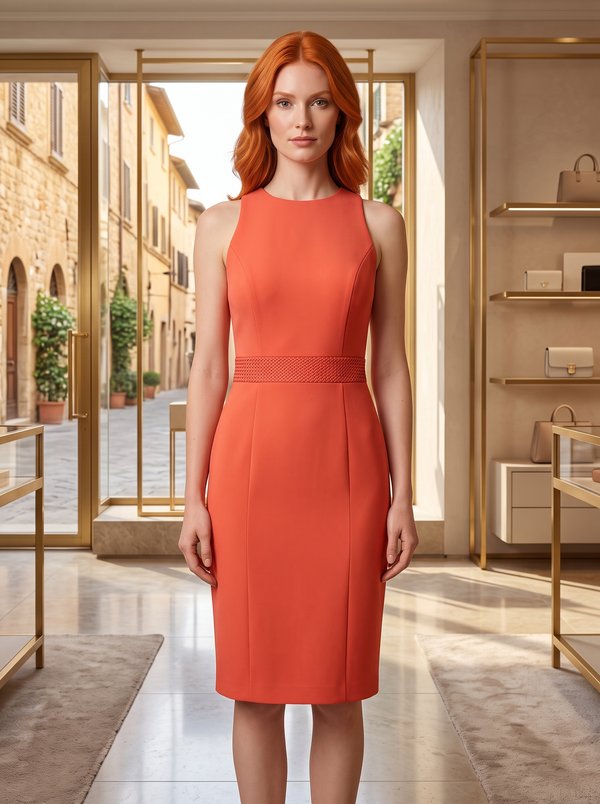
#4055
Sleeveless Sheath Dress Textured Waist Intricate Back
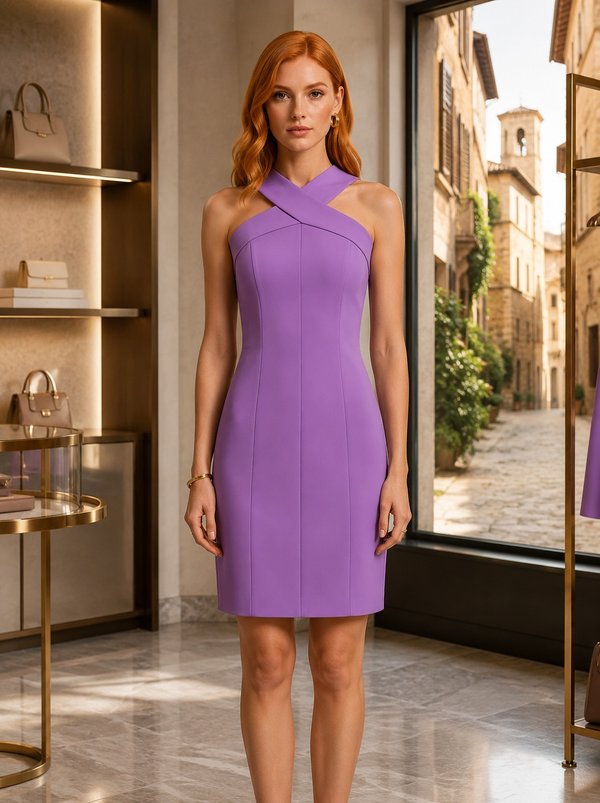
#4054
Criss-Cross Halterneck Fitted Dress

Minerva Support
Online