Professional made-to-measure digital sewing patterns — PDF · PLT · DXF AAMA
A women's knee-length fit-and-flare dress with a crossover bodice: the right front overlaps the left and is finished by a wide wrap-around collar. Princess seams shape the bodice, a waist seam joins it to a flared skirt, and an invisible zip sits in the left side seam. Drafted to your own measurements. Recommended fabric: dress fabrics from natural or blended fibres.
A women's knee-length fit-and-flare dress with a crossover bodice: the right front overlaps the left and is finished by a wide wrap-around collar. Princess seams shape the bodice, a waist seam joins it to a flared skirt, and an invisible zip sits in the left side seam.
Silhouette: Fitted bodice with a waist seam and a flared skirt.
Length: Around the knee.
Collar: Wide turn-down collar that follows the crossover neckline, cut double, the upper collar interfaced; the under collar is topstitched into the neckline seam.
Front: The right centre front panel overlaps the left; princess seams from the shoulder to the waist.
Sleeves: One-piece set-in sleeves below the elbow, hems turned up 2 cm and topstitched.
Closure: Invisible zip in the left side seam.
Back: Princess seams on the bodice and a centre back seam through bodice and skirt.
Skirt: Flared; the front skirt is cut in one piece on the fold, the back skirt in two pieces.
Finishing: Hem turned up 2 cm and topstitched.
Intermediate. Overlapping front panels joined into princess seams, a collar set into a crossover neckline, a waist seam and an invisible zip in the side seam.
Dress fabrics from natural or blended fibres. The front skirt is a single wide piece, so check that it fits across the fabric width before cutting.
If the patterns have a double contour, they include seam allowances. If the contour is single, the patterns do not include seam allowances. Seam allowances: all seams 1 cm; hem allowance for the garment bottom and sleeve – 2 cm. Attention! First of all, print out the paper patterns and lay them out on the fabric width (fabric width can be from 90cm to 150cm) to determine how much material you will need (don't forget to account for paired and symmetrical pieces). When stitching pieces, pay attention to the notches - they must match! Attention! Before cutting, make sure that the lower front piece fits across the width.
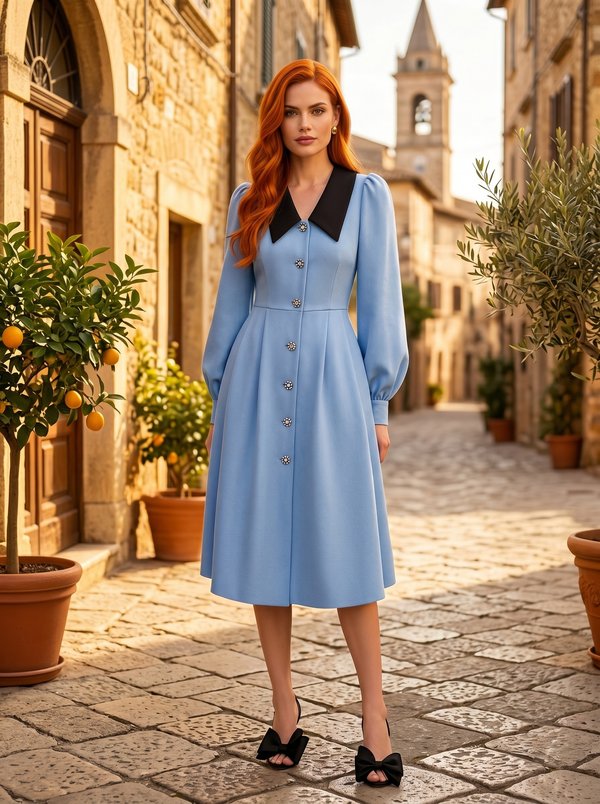
#2655
Pointed Collar Dress with Puffed Sleeves

#2663
V-Yoke Color Block Dress with Balloon Sleeves

#2653
V-Neck Split Bell Sleeve Tulip Hem Dress
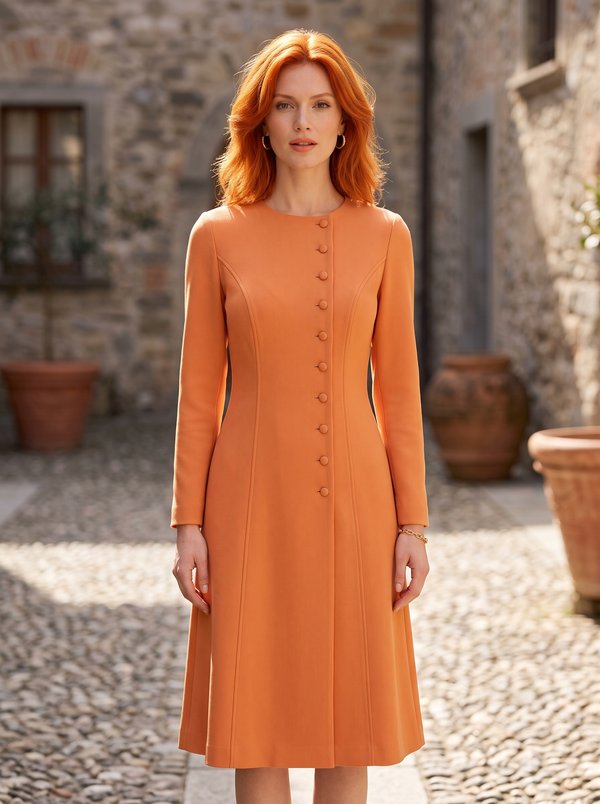
#2652
Long Sleeve Asymmetrical Button Front Dress

#2651
Pleated Surplice Cap Sleeve Dress
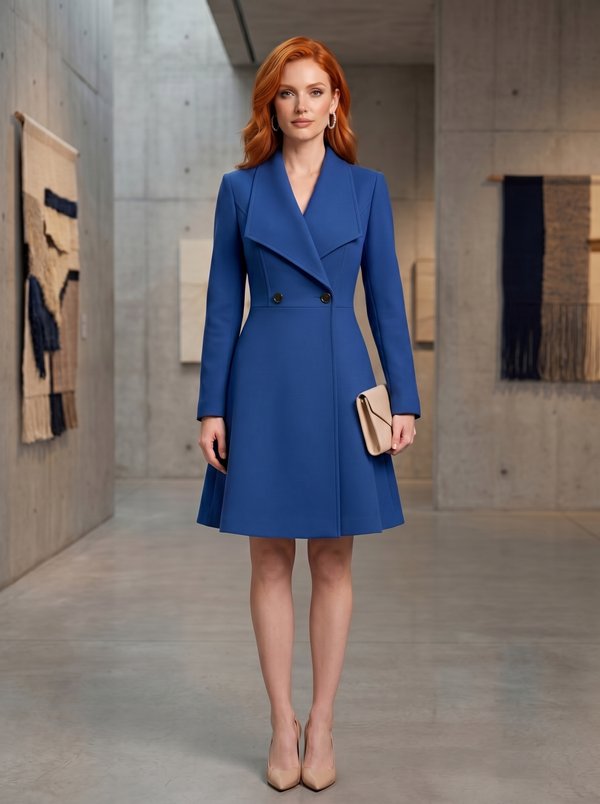
#2667
Wide Lapel Double-Breasted Flared Coat Dress
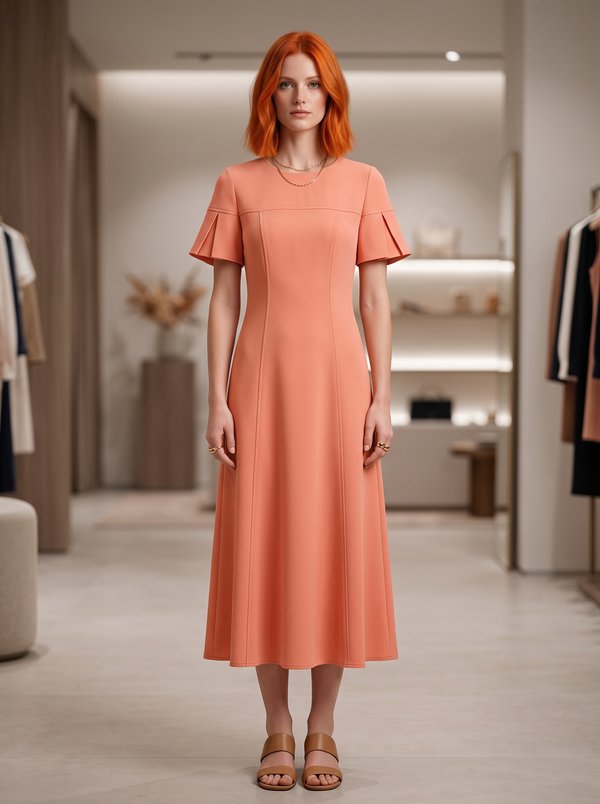
#2650
Flutter Sleeve Midi Dress

#2649
Pintuck Shirtdress with Cap Sleeves

Minerva Support
Online