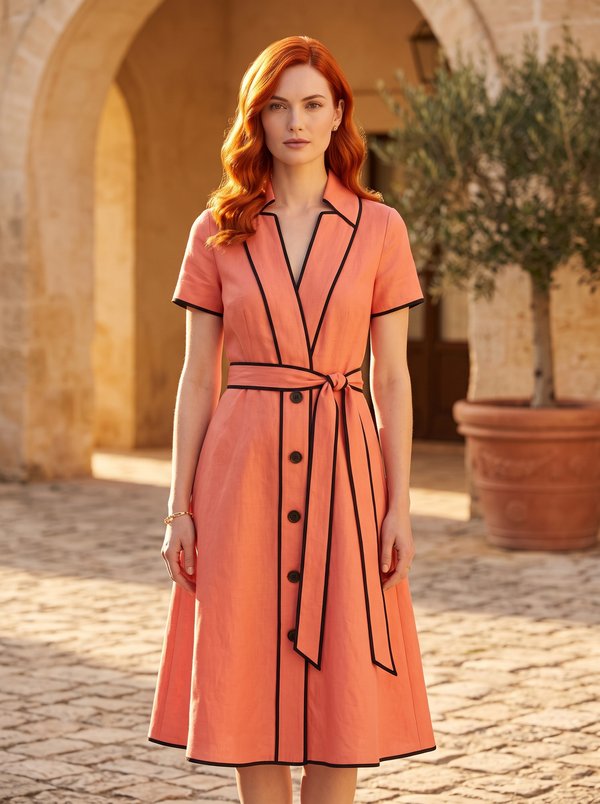
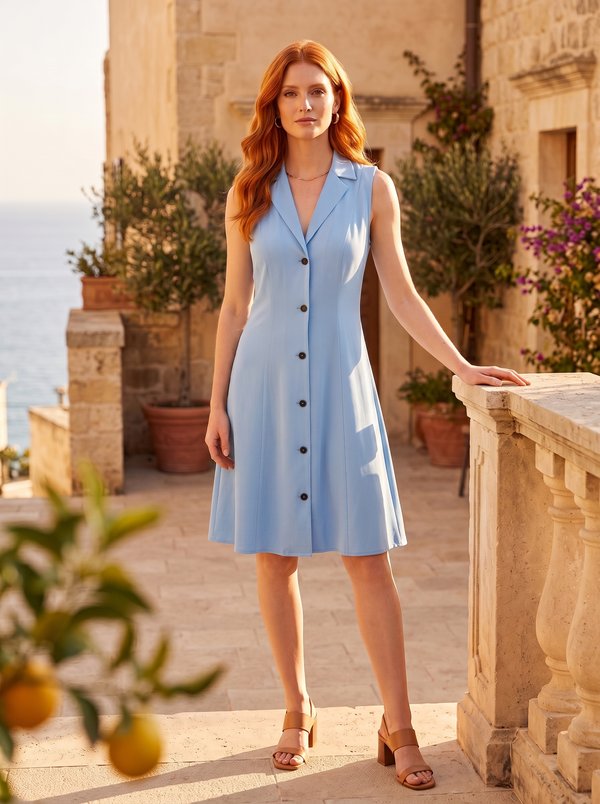
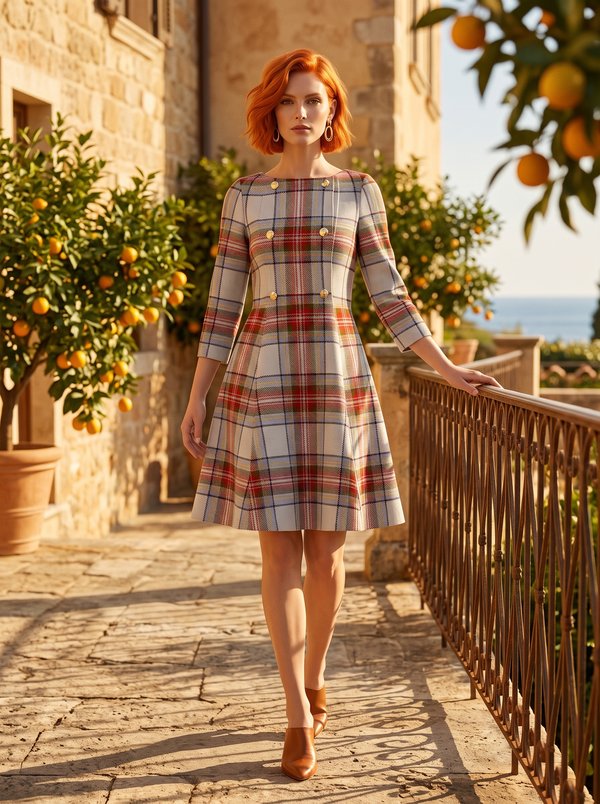
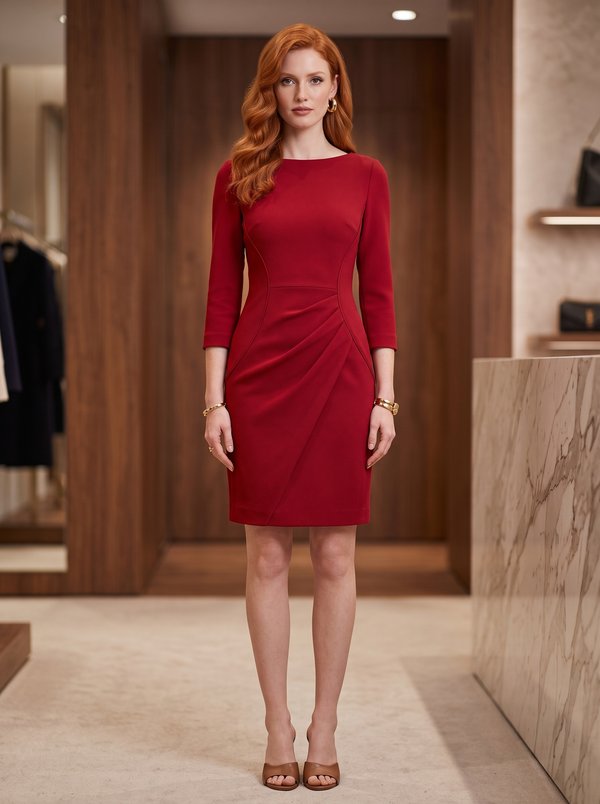
Short Sleeve Double Breasted Trench Dress
A women's double-breasted dress below the knee, with a notched collar, princess seams that flare into the skirt, patch pockets with cut-on flaps, short sleeves with turned-back cuffs and a separate tie belt. Unlined.
When To Wear
- In late spring and summer, for work and daytime outings.
- Belted over the waist, with flat shoes or heels.
Key Design Features
Silhouette: Fitted through the bodice by princess seams from the armhole, flaring from the waist to the hem.
Length: Below the knee.
Collar: Notched collar with lapels, set between the dress and the facings.
Closure: Double-breasted: buttonholes on the right front, buttons on the left, an inner button on a buttonhole in the left front, plus decorative buttons.
Sleeves: Short set-in sleeves with a cuff folded in half and turned back to the right side.
Pockets: Large patch pockets on the fronts at hip level, each with a cut-on flap folded down over the pocket.
Back: Centre back seam and princess seams.
Waist: Self-fabric tie belt, topstitched 0.1 cm from the edge.
Finishing: Seams overlocked; front edge understitched 0.2 cm from the seam; hem turned and topstitched.
Level Of Difficulty
Intermediate. A notched collar with facings, patch pockets with cut-on flaps, princess seams and buttonholes.
Fabric Recommendations
Medium-weight woven fabrics with body, such as cotton gabardine, twill, linen blends or light denim.
Additional Supplies
- Fusible interfacing (collar, front facings, back neck facing, cuffs, pocket flaps)
- Buttons for the front, 1 inner button and decorative buttons
Cutter's Must
If the patterns have a double contour, they include seam allowances. If the contour is single, the patterns do not include seam allowances. Seam allowances: All seams - 1 cm. Attention! First, print out the paper patterns and lay them out on the fabric width (fabric width should be at least 150 cm) to determine how much material you will need.
- From main fabric:
- Center back – 2 pieces
- Side back — 2 pieces
- Side front — 2 pieces
- Center front — 2 pieces
- Sleeve — 2 pieces
- Cuff — 2 pieces
- Collar — 2 pieces
- Front facing — 2 pieces
- Back neckline facing – 1 piece
- Belt – 1 piece
- Pocket – 2 pieces
- From fusible interfacing:
- Collar — 1 piece
- Front facing — 2 pieces
- Back neckline facing – 1 piece
- Cuff — 2 pieces
Sewing Instructions
When stitching pieces, pay attention to the notches - they must match! Try to observe the grain line direction.
- Fuse interfacing to the designated pieces. Also, fuse interfacing to the one-piece flap on the pocket piece.
- Stitch the back princess seams, press seam allowances towards the center and serge. Stitch the center back seam, press seam allowances to the left side and serge.
- Stitch the front princess seams, press seam allowances towards the center and serge.
- Serge the pocket piece around the perimeter. Fold the flap along the fold line to the right side and stitch the side edges. Turn the piece right side out, straighten, and press. Topstitch the flap to the pocket along the top edge of the pocket. Press the side and bottom edges of the pocket to the wrong side. Topstitch the pocket onto the front piece according to the markings, without catching the flap. Press the flap over the pocket.
- Stitch the side and shoulder seams, press seam allowances towards the back and serge.
- Place collar pieces right sides together and stitch along the ends and outer edge. Start and end stitching strictly at the marked collar attachment line. Trim seam allowances at corners, clip at the mark. Turn the collar right side out, straighten, and press.
- Stitch and press open the shoulder seams of the back neckline facing and front facing. Serge the outer edge.
- Place the front facing on the right side of the front piece, right side down, pin and stitch along the front edge. Stitch upwards to the notch that indicates the end of the collar attachment. Trim seams at corners. Topstitch the seam allowance of the front edge: in the button placket area – to the front facing, in the lapel area – to the front piece. Position the stitching 0.2 cm from the seam. Turn the front edges right side out, straighten the seams.
- Attach the undercollar to the neckline of the dress, and the upper collar to the neckline of the back facing and front facing. Clip the seam allowances of the collar attachment seams, press open and secure close to the seams.
- Stitch the sleeve seam, press seam allowances towards the back and serge. Set the sleeves into the armholes, matching notches. Press seam allowances and serge.
- Stitch the cuff into a loop, press seam allowances open. Press the cuff lengthwise in half, right side out. Place the cuff with the wrong side of the sleeve and attach. Press seam allowances and serge. Turn the cuff to the right side.
- Serge the bottom edge of the garment, press to the wrong side and topstitch.
- On the right front piece, make buttonholes; on the left front piece, sew on buttons. Make a buttonhole on the left front piece, sew on the inner button. Sew on decorative buttons.
- Fold the belt lengthwise in half, right sides together, and stitch, leaving an opening. Turn the belt right side out, straighten, and press. Topstitch around the perimeter 0.1 cm from the edge.