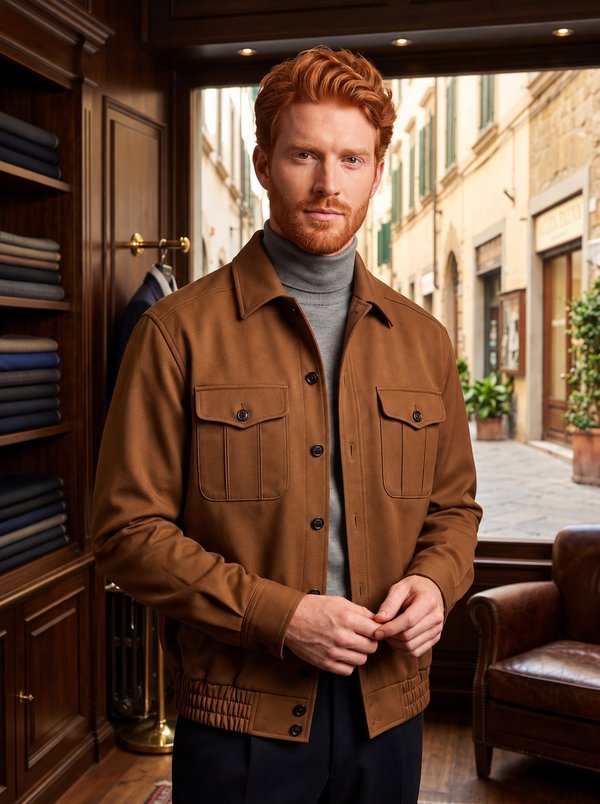
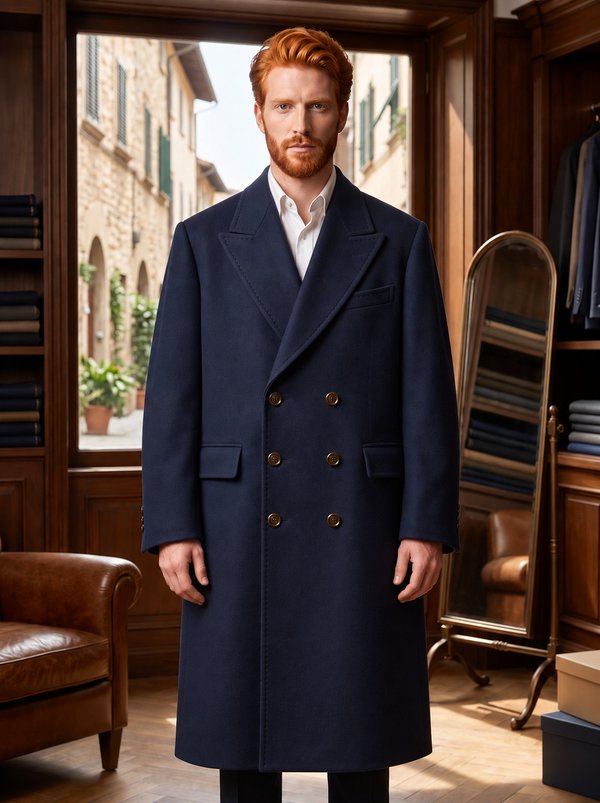
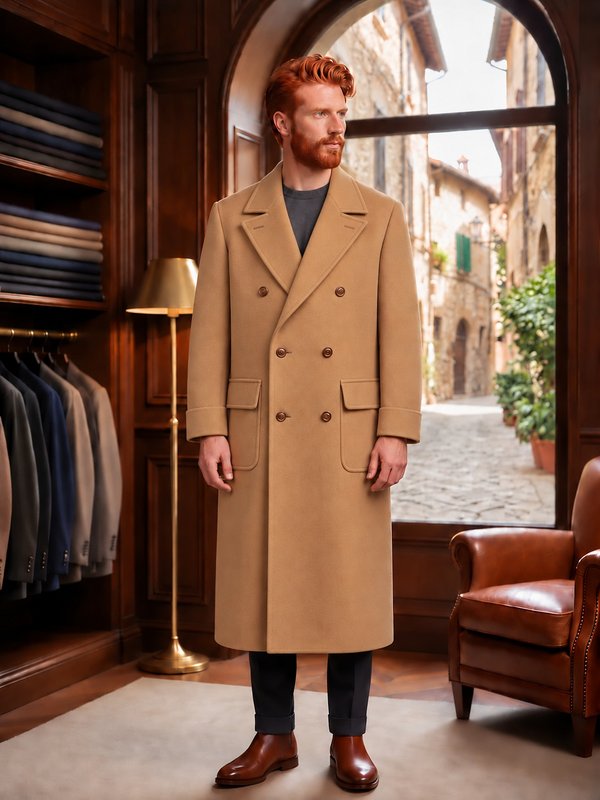
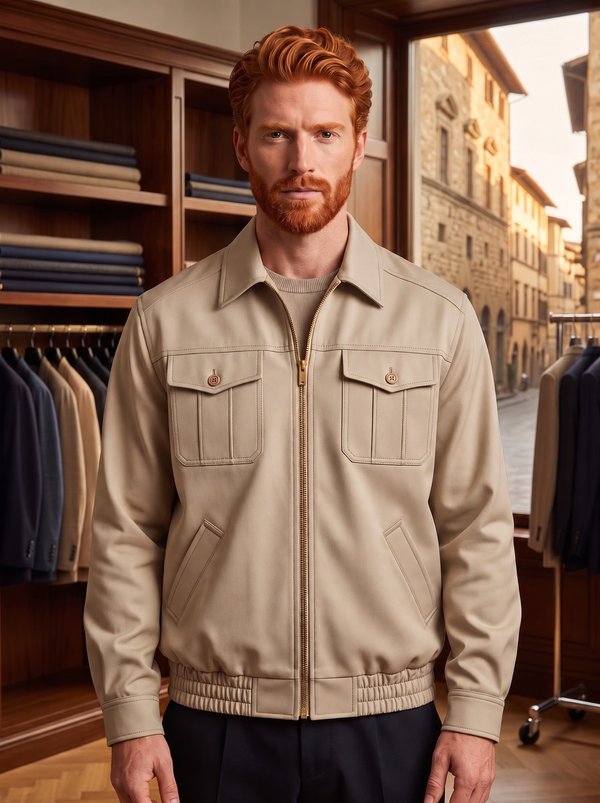
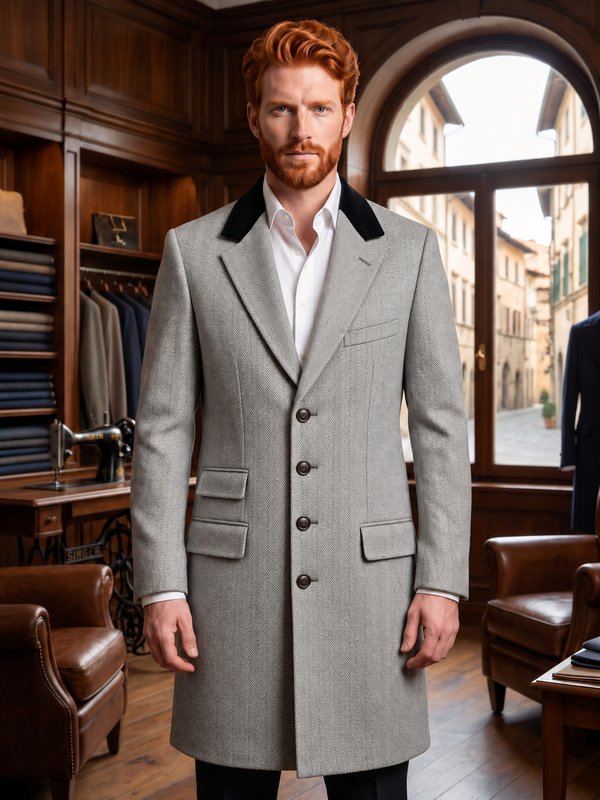
Single-Breasted Overcoat with Raglan Sleeves & Generous Patch Pockets with Flaps
A men's knee-length single-breasted overcoat with two-piece raglan sleeves, notched lapels, a three-button front and flapped patch pockets. Centre back vent, topstitching 1 cm from the collar and front edges, and a full lining.
When To Wear
- Over a suit or jacket in autumn and winter.
- With knitwear and trousers or jeans for everyday wear in cold weather.
Key Design Features
Silhouette: Straight, loose fit with no darts.
Length: About knee length.
Collar: Notched lapels. The upper collar has a separate stand; the under collar has a cut-on stand. Buttonhole in the left lapel.
Sleeves: Raglan, cut in two parts (front and back) with a seam running over the shoulder to the hem. A buttoned tab near the hem is caught in that seam.
Front: Single-breasted, three buttons, buttonholes on the left front; separate front facings.
Pockets: Lined patch pockets with rounded lower corners, topstitched 1.5 cm below the top fold and stitched on 1 cm from the side and lower edges; lined flaps above them, topstitched 1 cm from the edge.
Back: Centre back seam, topstitched 1 cm from the seam, with a vent.
Finishing: Fusible interfacing on the fronts, facings, upper and under collars, stand, flaps, pocket hems and coat hem. Collar and front edges topstitched 1 cm, flaps 1 cm and sleeve tabs 1.5 cm from the edge; hem optionally topstitched 1 cm.
Lining: Full lining with a 2 cm ease pleat at the centre back and a jump pleat at the hem; the coat is turned through a 20 cm opening in a sleeve lining seam.
Level Of Difficulty
Intermediate. A lined back vent, an upper collar with a separate stand set between the coat and the facings, raglan sleeves with tabs, and a bagged lining.
Fabric Recommendations
Wool or wool-blend coating, with or without a nap. The sample is made in beige wool herringbone broadcloth.
Additional Supplies
- Lining fabric in a matching colour
- Fusible interfacing
- 3 buttons, 25 mm, for the front
- 2 buttons, 15 mm, for the sleeve tabs
Cutter’s Must
From Main Fabric:
- Back – 2 pieces
- Front – 2 pieces
- Back Sleeve – 2 pieces
- Front Sleeve – 2 pieces
- Upper Collar – 1 piece
- Stand Collar (for Upper Collar only) - 1 piece
- Lower Collar (with integrated stand) – 1 piece
- Center Front Facing – 2 pieces
- Pocket – 2 pieces
- Pocket Flap – 2 pieces
- Sleeve Decorative Tab - 2 pieces
From Lining Fabric:
For drafting the lining pattern pieces, use the following patterns with the following modifications:
- Back lining: use Back pattern adding a 2 cm ease pleat at center back - cut 2.
- Front lining: use the Front pattern excluding Center Front Facing area - cut 2.
- Back Sleeve lining - use Back Sleeve pattern, cut 2.
- Front Sleeve lining - use Front Sleeve pattern, cut 2 pieces.
- Pocket lining: use pocket pattern shortening it by 3 cm, cut 2.
- Pocket Flap – use Pocket Flap pattern, cut 2.
- Sleeve Decorative Tab – use Sleeve Decorative Tab pattern without modifications, cut 2.
- Shorten the lining length by 2 cm at the hem.
From Fusible Interfacing:
For drafting fusible interfacing patterns, use the following patterns:
- Front – cut 2.
- Center Front Facing – cut 2.
- Upper Collar – cut 1.
- Stand Collar – cut 1.
- Lower Collar – cut 1.
- Pocket Flap – cut 2.
Fusible Interfacing:
Apply interfacing to Fronts, Center Front Facings, Upper and Lower Collars, Stand Collar, Pocket Flaps, pocket hem allowance, coat hem allowance.
Important Information
Before cutting your fabric:
- Print and lay out pattern pieces to determine yardage.
- Check mirrored pieces, notches, and grainlines.
- For patterned fabrics, align carefully for symmetry.
Assembly Instructions
1. Preparation
Fuse Interfacing
From the wrong side, apply fusible interfacing to:
- Fronts
- Center Front Facings
- Upper Collar
- Stand Collar
- Lower Collar
- Pocket Flaps
- Pocket hem allowances
- Coat hem allowance
Press firmly using a hot iron and press cloth to ensure proper bonding.
2. Patch Pockets & Flaps
Patch Pockets
- The pocket lining is 3 cm shorter than the main pocket to form a self-facing.
- With right sides together, stitch pocket lining to the upper edge of the pocket piece.
- Turn lining to the wrong side so that 3 cm of main fabric folds inside as a facing. Press.
- Fold pocket and lining right sides together again. Stitch around the remaining edges, leaving a 2–3 cm opening for turning.
- Clip corners, turn right side out, and press flat.
- Close the opening with hand slipstitch.
- Topstitch 1.5 cm from the top fold to secure the facing line.
- Position pocket on the front panel according to markings. Baste, then topstitch 1 cm around the sides and lower edge to secure.
Pocket Flaps
- Place flap and lining right sides together.
- Stitch around all edges except the top (attachment) edge.
- Trim corners, turn right side out, and press.
- Topstitch 1 cm from the edge (omit top edge).
- Position flap above pocket opening with flap pointing upward.
- Stitch along the top edge only to attach it to the front.
- Fold flap downward over the pocket and press neatly.
- Optionally, topstitch 1 cm along the flap fold to secure position.
3. Back & Vent
Back Assembly
- Stitch center back seam up to vent marking.
- Press seam allowances open and topstitch 1 cm from the seam.
Back Vent
- Fold left vent facing to right side along hem foldline; stitch along hem fold. Turn right side out and press.
- Fold right back hem allowance to right side along vent edge; stitch, turn out, and press.
- Overlap vent to the left side and secure top corner with a diagonal reinforcement stitch.
- Join side seams and press allowances open.
4. Sleeves & Tabs
Assemble Sleeves
- Stitch sleeve underarm seam; press seam open.
Set Sleeves
- Insert sleeves into raglan armholes, matching all notches and balance points.
- Stitch and press seam allowances toward the sleeve.
Prepare Sleeve Tabs
- Place each tab and its lining right sides together.
- Stitch around all edges except the short top edge.
- Trim corners, turn right side out, and press.
- Topstitch 1.5 cm from finished edges.
Attach Tabs
- Position tabs on sleeves according to placement markings, right sides up.
- Baste along the unstitched top edge.
Anchor Tabs in Raglan Seam
- Stitch the shoulder/raglan seam, catching the top edge of each tab into the seam.
- Press seam allowances toward the coat body.
5. Collar & Facings
(Upper Collar has a separate stand; Lower Collar has an integrated stand.)
Prepare Collars
- Upper Collar + Separate Stand Collar: Stitch the collar stand to the outer collar, right sides together. Press seam allowances open (optionally understitch toward the stand).
- Lower Collar (Integrated Stand): No joining seam. Staystitch the neckline if needed; shape along the roll line.
Attach Lower Collar to Coat
- Pin the Lower Collar to the neckline, right sides together, matching notches.
- Stitch neckline seam, clip curves, and press seam allowances downward.
Attach Upper Collar to Facings
- Stitch the Upper Collar + Stand Collar to the Center Front Facings, right sides together. Press seam allowances toward facings.
Join Facings to Jacket
- Place the Center Front Facings + Upper Collar unit right sides together over the coat body (with Lower Collar already attached).
- Stitch continuously from hem → lapel → collar → down opposite front.
- Grade seams, clip corners, notch curves, turn right side out, and press flat (understitch where accessible).
Finish Inner Neckline
- Turn under the inner edge of the upper collar stand and fell-stitch it neatly to conceal the neckline seam.
- Topstitch 1 cm around collar and front edges for a decorative finish.
6. Hem & Lining
Hem
- Turn coat hem allowance to the inside and press.
Lining
- Create a center back pleat for wearing ease; secure at neckline and a few cm above hem.
- Assemble lining as for the coat, leaving a 20 cm opening in one sleeve seam for turning.
- With right sides together, stitch lining to the coat along front facings and neckline.
- Fold up the hem allowance, forming a jump pleat, and stitch lining to the hem edge, catching it to vent facings (clip at the base of the left vent lining if needed).
- Turn coat right side out through the sleeve opening and close the opening by hand.
- Topstitch 1 cm along the finished coat hem if desired.
7. Finishing
- Work buttonholes on the left Front.
- Sew buttons on the right Front and Sleeve Decorative Tabs as marked.
- Remove all basting threads.
- Give the coat a final press and shape lapel roll over a tailor’s ham.
Ease
Finished garment circumference minus your body measurement, measured on the pattern at underarm and waist level.