Professional made-to-measure digital sewing patterns — PDF · PLT · DXF AAMA

Minervainervabeta
#5801
#5803

Neck Keyhole Tunic Flared Sleeves

Pattern #5802

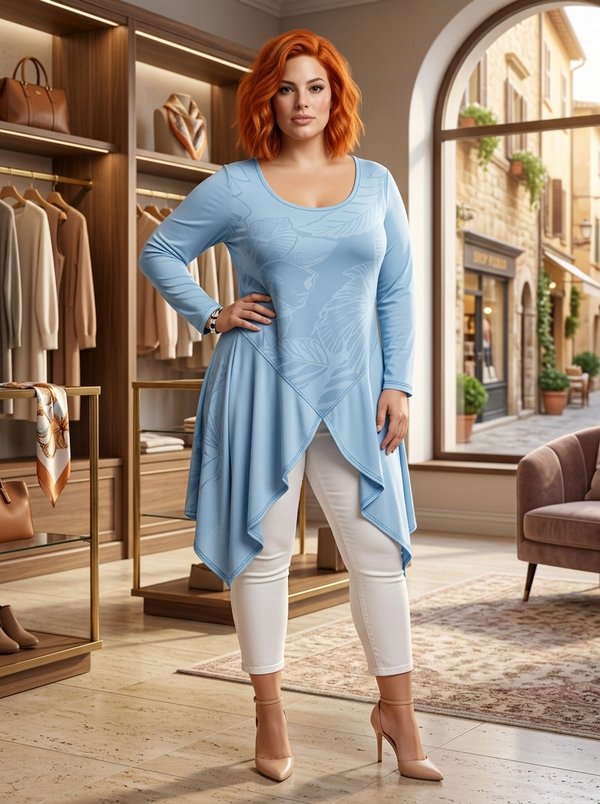
A women's hip-length knit tunic with a teardrop keyhole at the front neck, a doubled stand collar and wide flared sleeves that hang in long points. Pulls on over the head, with no fastening. Drafted to your own measurements. Recommended fabric: knit fabric with low to medium stretch, in natural or blended fibres.

Tech. Description

Neck Keyhole Tunic Flared Sleeves

A women's hip-length knit tunic with a teardrop keyhole at the front neck, a doubled stand collar and wide flared sleeves that hang in long points. Pulls on over the head, with no fastening.

When To Wear

  • Everyday wear over jeans, slim trousers or leggings.
  • Spring and autumn, or evenings out when a covered neck and open sleeves are wanted.

Key Design Features

Silhouette: Fitted through the bust with bust darts, widening gently towards the hem.

Length: Tunic length, below the hip.

Collar: Stand collar folded in half lengthwise and sewn into a ring, attached to the neckline with the joining seam to the left of the shoulder seam. It must pass over the head.

Neckline: Teardrop-shaped keyhole cut into the front below the collar, edged with bias binding turned to the inside and topstitched.

Sleeves: Set-in, cut in two halves (front and back) joined by an upper and a lower seam. The sleeve widens into a long point; the corner at the hem is mitred at 45 degrees and the hem turned up and topstitched.

Back: Centre back seam.

Finishing: Seams sewn with a stretch or narrow zigzag stitch or on an overlocker; hems topstitched with a twin needle.

Level Of Difficulty

Intermediate. Binding a curved keyhole, attaching a doubled collar in the round and mitring the sleeve corners, all on knit fabric.

Fabric Recommendations

Knit fabric with low to medium stretch, in natural or blended fibres.

Additional Supplies

  • Knit tape or bias binding, 4 cm wide, for the keyhole edge
  • Twin needle for the hems

Cutter's Must

  • From main fabric:
  • 1. Back – 2 pieces
  • 2. Front – 2 pieces
  • 3. Back of sleeve – 2 pieces
  • 4. Front of sleeve – 2 pieces
  • 5. Collar – 1 piece

Sewing Instructions

Attention! Before starting work, check that your head passes through the collar sewn into a ring.

Tip: Cut pieces made of knit fabrics are sewn with a special elastic or narrow zigzag stitch. When serging, trim seam allowances to 0.8 cm. The hem allowance is topstitched with a twin needle to maintain elasticity. You can also sew pieces directly on a 3- or 4-thread serger.

  1. Stitch the bust dart on the front. Cut out the dart depth, serge, and press.
  2. Finishing the teardrop neckline edge of the front: press the bias binding in half lengthwise, right side out. Place the binding right side to right side with the neckline cutout, aligning the binding allowances with the teardrop edge allowance, and stitch. Fold the binding to the wrong side and topstitch along the fold onto the front.
  3. Stitch the center back seam of the back. Press the seam and serge.
  4. Stitch the shoulder seams of the back and front. Press the seams towards the back and serge.
  5. Stitch the collar into a ring. Press the collar in half lengthwise, right side out. Attach the outer side of the collar to the neckline of the back and front, aligning the notches. The collar seam is located to the left of the shoulder seam. Fold the collar allowances inwards and stitch them together.
  6. Stitch the upper edge of the sleeve. Press and serge the allowances. Stitch the lower edge of the sleeve. Press and serge the allowances.
  7. Serge the lower edge of the sleeve. Mark the stitching line for the corner of the lower seam: the line should run at a 45-degree angle to the sleeve hemline through the intersection point of the lower seam and sleeve hemline. Measure 0.5 – 0.7 cm from the marked line, trim excess. Stitch the corner, folding the seam allowances of the lower edge of the front and back parts of the sleeve right sides together. Turn the corner to the wrong side, press the sleeve hem allowance, and topstitch.
  8. Set the sleeves into the armholes, aligning the notches. Press and serge the seams.
  9. Serge the lower edge of the garment, fold to the wrong side, press, and topstitch.

Order Pattern

Standard Sizes

Individual Measurements

Please double-check the file format and paper size. Your pattern is drafted in exactly the format you select; a different format or paper size later is a new order.

Similar patterns

View all
Support

Minerva Support

Online
Support
Hi! I'm Minerva's AI assistant. What can I help you with?