Professional made-to-measure digital sewing patterns — PDF · PLT · DXF AAMA
A women's hip-length button-front blouse with long sleeves cut in one with the body, a stand collar set between the blouse and the front facings so the neck opens into a V, a chest patch pocket and buttoned cuffs. Drafted to your own measurements. Recommended fabric: blouse fabrics made from natural or blended fibres.
A women's hip-length button-front blouse with long sleeves cut in one with the body, a stand collar set between the blouse and the front facings so the neck opens into a V, a chest patch pocket and buttoned cuffs.
Silhouette: Loose and straight, with a dropped, soft shoulder line from the cut-on sleeves.
Length: Hip length.
Collar: Two-piece stand collar with shaped ends, stitched to the neckline and enclosed by the front facings and back neck facing, which turn the front edges into a V-neck below the stand.
Closure: Centre front button closure with six buttons; buttonholes on the right front, buttons on the left front.
Sleeves: Long dolman sleeves cut in one with the front and back, with no armhole seam. The side and underarm seam stops at a mark above the cuff, leaving a short opening topstitched 0.1 cm from the edge.
Cuffs: Narrow interfaced cuffs, each fastened with one button.
Pockets: One patch pocket on the left front, with a 2 cm hem at the top edge topstitched.
Back: One piece cut on the fold, with no centre back seam; back neckline faced.
Intermediate. A stand collar sandwiched between the blouse and the facings, buttonholes on the front and cuffs, sleeve openings and cuffs attached with stitching in the ditch.
Blouse fabrics made from natural or blended fibres.
If the patterns have a double contour, they include seam allowances. If the contour is single, the patterns do not include seam allowances. Seam allowances: all seams 1 cm. Pocket top edge allowance – 2 cm. Hem allowance – 2 cm. Attention! First, print out the paper patterns and lay them out on the fabric width (fabric width can be from 90cm to 150cm) to determine how much material you will need (do not forget to account for paired and symmetrical parts).
When stitching pieces, pay attention to the notches - they must match!
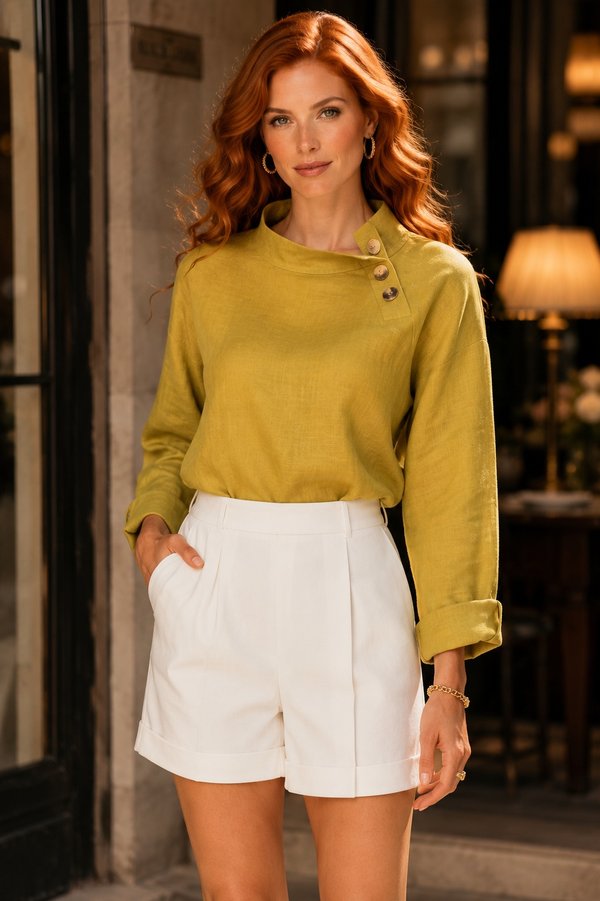
#4912
Button-Placket Collared Blouse
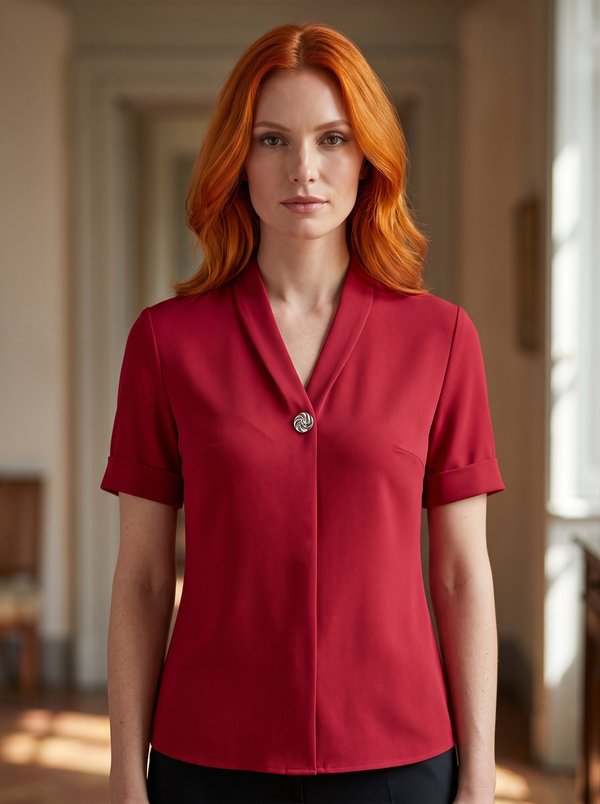
#4919
V-Neck Blouse One Button Cuffed Sleeves
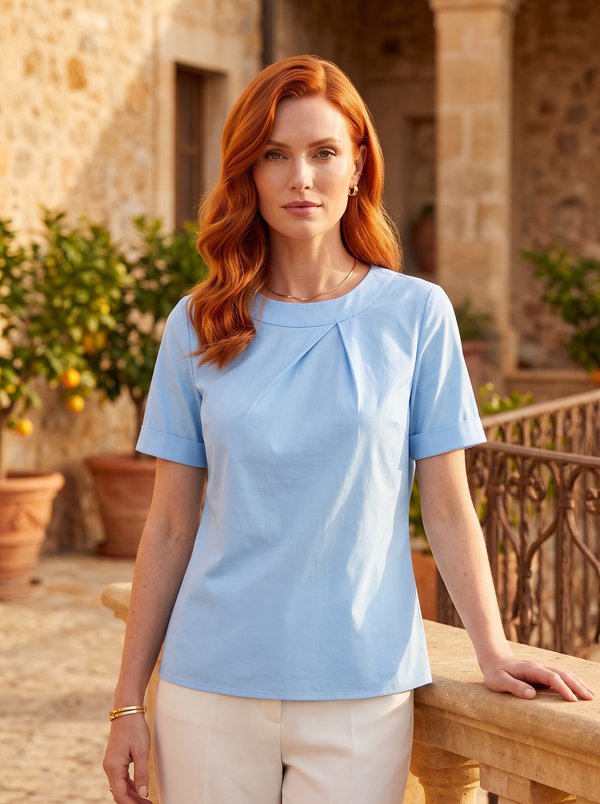
#4923
Cuffed Sleeve Blouse with Asymmetrical Pleats
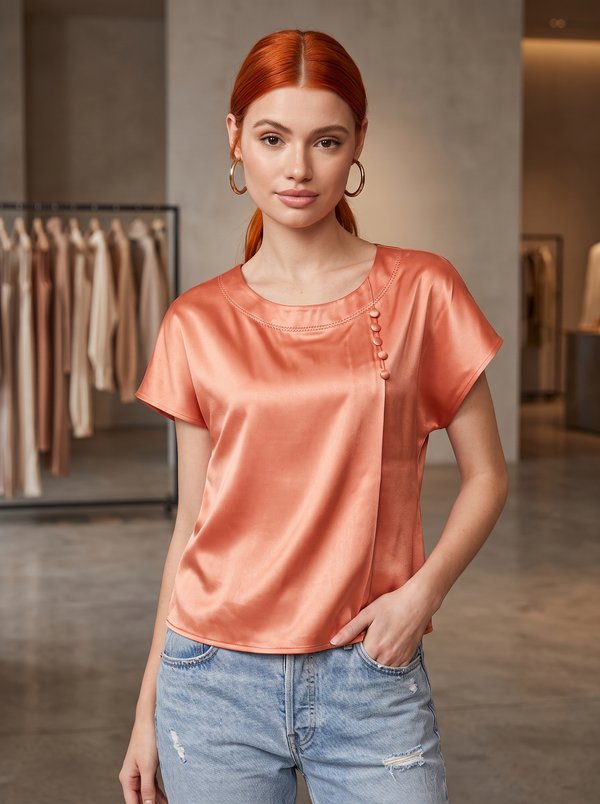
#4928
Asymmetrical Button Front Round Neck Blouse
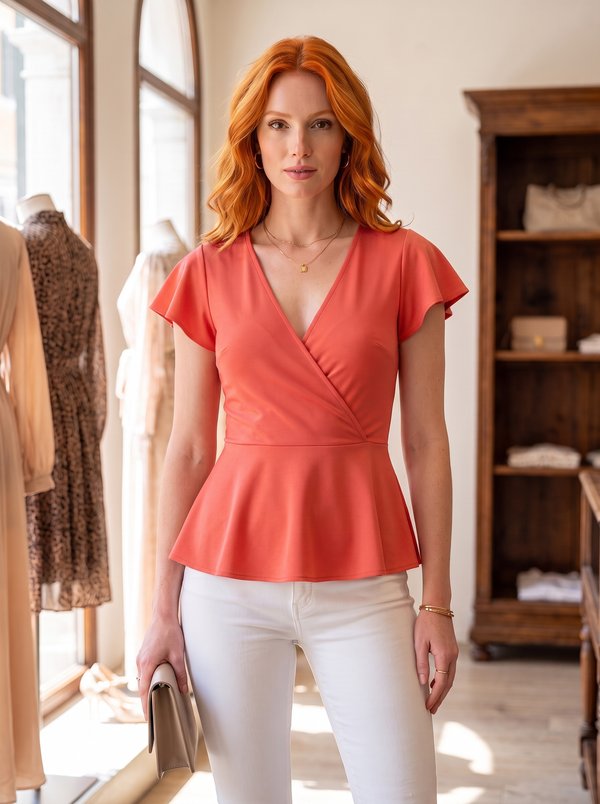
#4899
Flutter Sleeve Wrap Peplum Blouse
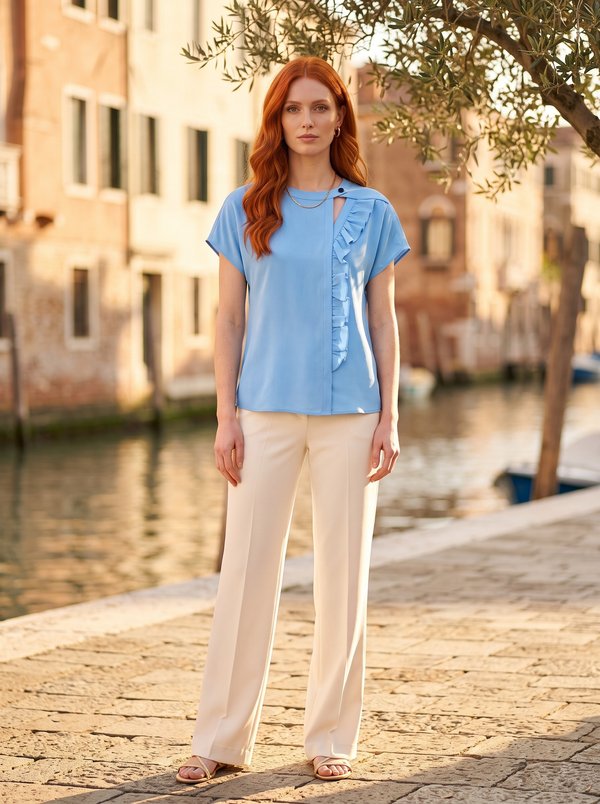
#4931
Asymmetrical Ruffled Blouse with Shoulder Closure
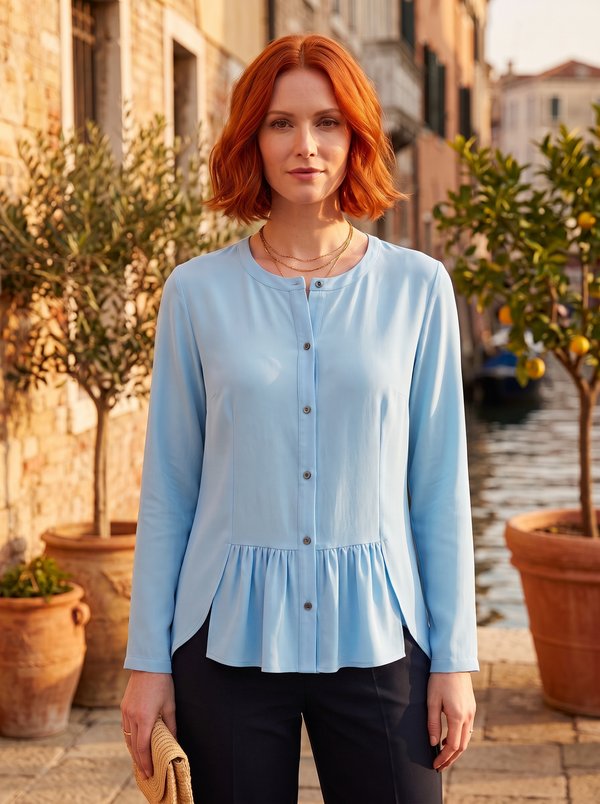
#4933
Button-Front Blouse Gathered Front High-Low Hem

#4896
Tie-Waist Peplum Blouse

Minerva Support
Online