Professional made-to-measure digital sewing patterns — PDF · PLT · DXF AAMA
A women's blouse in woven fabric with long set-in sleeves, a round bias-bound neckline with a centre front slit and a drawstring casing at the waist seam. Below the drawstring the lower part flares into a peplum. Drafted to your own measurements. Recommended fabric: firm blouse fabrics in natural or blended fibres.
A women's blouse in woven fabric with long set-in sleeves, a round bias-bound neckline with a centre front slit and a drawstring casing at the waist seam. Below the drawstring the lower part flares into a peplum.
Silhouette: Straight upper body, drawn in at the waist by a cord, flared lower part.
Length: Below the hip, curved hem.
Neckline: Round neckline finished with a folded 4 cm bias binding turned to the inside and topstitched.
Front: Upper front in two pieces with a centre front seam below the slit; the slit is edged with narrow cut-on plackets, folded under and topstitched from the right side. Lower front cut on the fold.
Sleeves: Long set-in sleeves with a 5 cm hem allowance, turned 1 cm and then 4 cm and topstitched.
Back: Upper back and lower back, each cut on the fold.
Waist: A casing ring is stitched inside the lower part, and a fold of the upper part is topstitched over the waist seam. The cord comes out through two buttonholes at the front and ties in a bow.
Finishing: 1.5 cm hem allowance, serged, turned and topstitched.
Intermediate. Cut-on slit plackets, a bias-bound neckline, a casing sewn into the waist seam with a topstitched fold, buttonholes for the cord and set-in sleeves.
Firm blouse fabrics in natural or blended fibres.
If the patterns have a double contour, seam allowances are included. If the contour is single, the patterns are without seam allowances. Seam allowances: Hem allowance – 1.5 cm. Sleeve hem allowance – 5.0 cm. Other allowances – 1.0 cm. Attention! First, print out the paper patterns and lay them out on the fabric width (fabric width can be from 90cm to 150cm) to determine how much material you will need (do not forget to account for paired and symmetrical pieces).
When stitching pieces, pay attention to the notches - they must match!
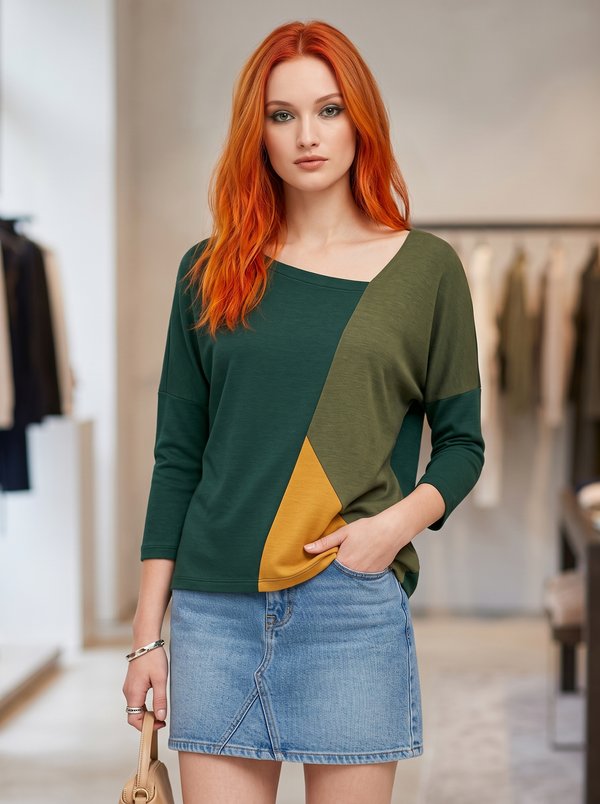
#4885
Asymmetric Neck Color Block Top

#4884
Crossover Shawl Collar Tunic

#4882
Tunic Shirt with Curved Hem and Concealed Placket

#4892
Lace Yoke Henley Roll-Tab Blouse
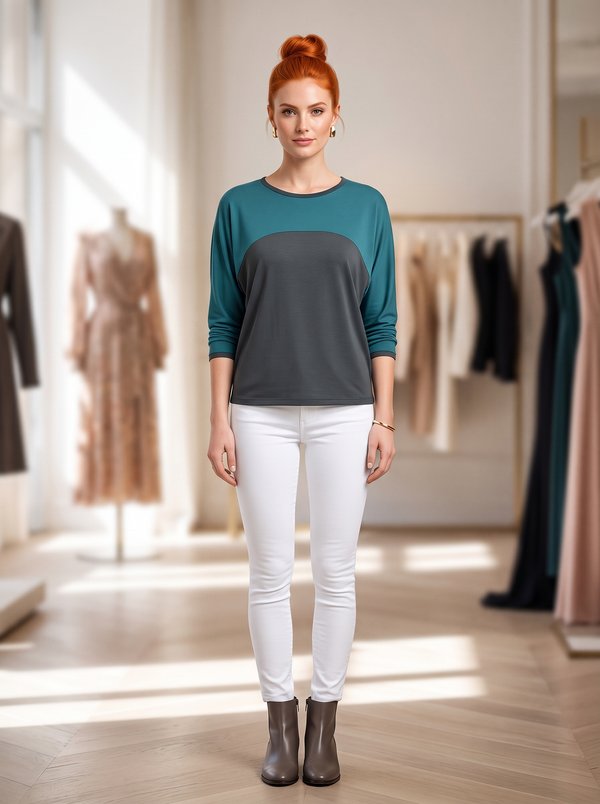
#4893
Curved Color Block Kimono Sleeve Top
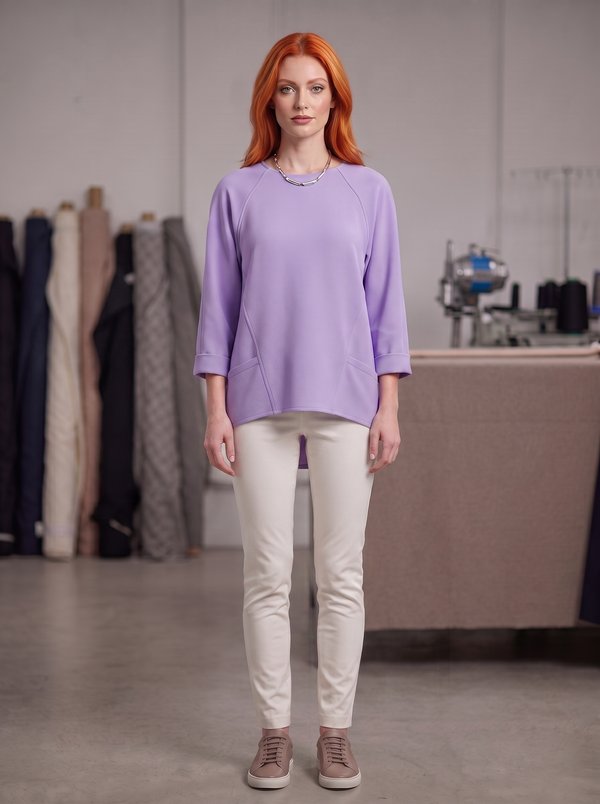
#4878
Raglan Top Panelled Pockets Curved Hem

#4896
Tie-Waist Peplum Blouse
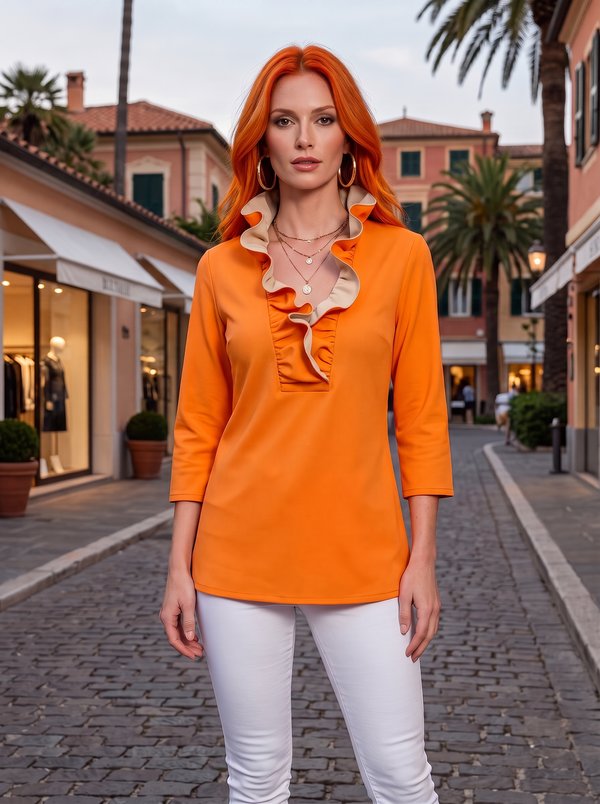
#4876
Ruffled Front Blouse 3/4 Sleeve

Minerva Support
Online