Professional made-to-measure digital sewing patterns — PDF · PLT · DXF AAMA
A women's dress with a fitted bodice, a waist seam and a flared skirt. The square front neckline frames a gathered centre front panel set between princess seams; elbow-length sleeves are gathered at the cap, and a concealed zipper closes the centre back. Drafted to your own measurements. Recommended fabric: dress fabrics of natural or blended fibres.
A women's dress with a fitted bodice, a waist seam and a flared skirt. The square front neckline frames a gathered centre front panel set between princess seams; elbow-length sleeves are gathered at the cap, and a concealed zipper closes the centre back.
Silhouette: Fitted bodice with princess seams front and back, joined at the waist to a flared skirt.
Length: About knee length.
Neckline: Square at the front, finished with interfaced front and back facings; the facing is stitched along the neckline and down the princess seams beside the centre panel.
Front: The centre front bodice panel is gathered along both princess seam edges and backed with a lining piece cut from the same fabric, then sewn between the side front pieces.
Sleeves: Set-in, elbow length, with gathers at the sleeve cap.
Back: Upper back in four pieces with princess seams; lower back in two pieces; centre back seam with a concealed zipper.
Skirt: Flared; front cut in one piece on the fold, back in two pieces.
Finishing: Dress and sleeve hems 2 cm, sewn by hand with blind stitches.
Intermediate. Gathering a lined centre panel into princess seams, a square neckline with facings, a gathered sleeve cap and a concealed zipper.
Dress fabrics of natural or blended fibres.
If the patterns have a double contour, they include seam allowances. If the contour is single, the patterns do not include seam allowances. Seam allowances: all seams 1 cm. Hem allowance for the lower edge of the back and front lower parts – 2.0 cm. Lower sleeve allowance – 2 cm. Attention! First, print out the paper patterns and lay them out on the fabric width (fabric width can be from 90cm to 150cm) to determine how much material you will need (do not forget to account for paired and symmetrical details). When stitching pieces, pay attention to the notches - they must match!
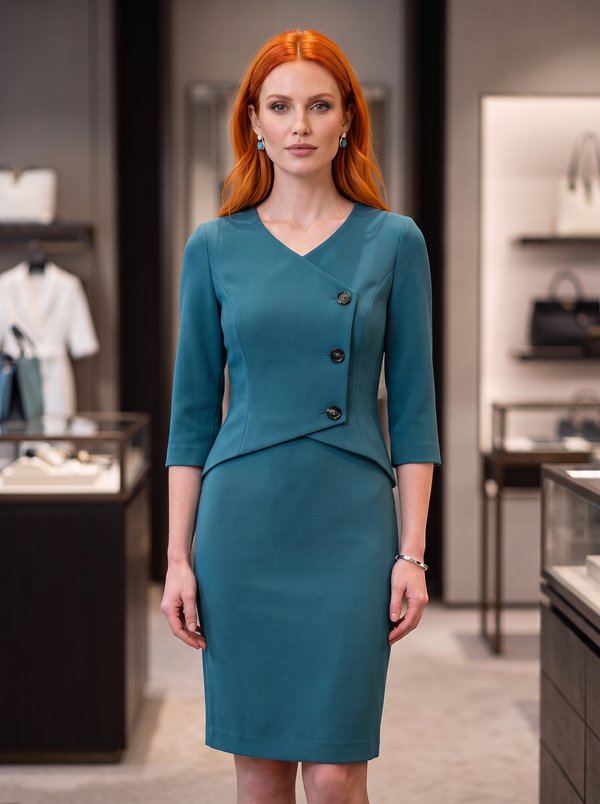
#4883
V-Neck Asymmetric Bodice Dress

#4889
Spaghetti Strap Midi Slip Dress
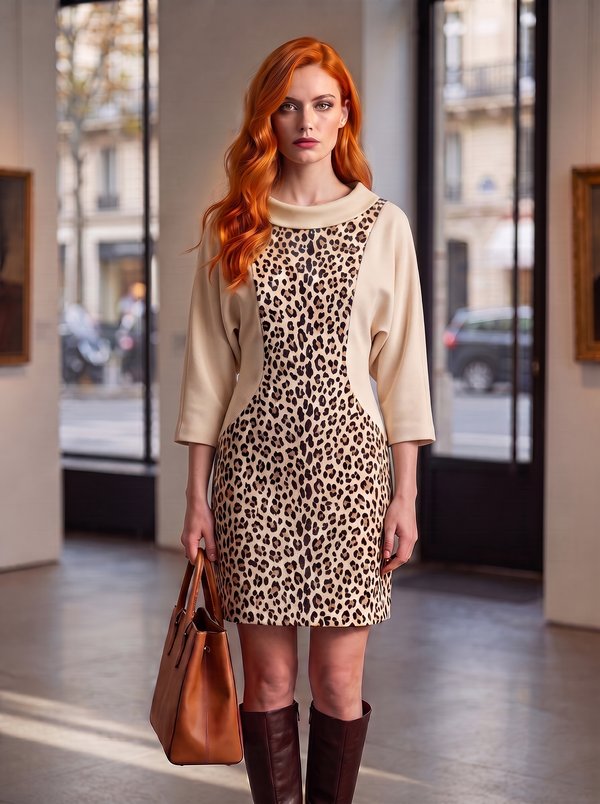
#4890
Mock Neck 3/4 Sleeve Contrast Panel Dress
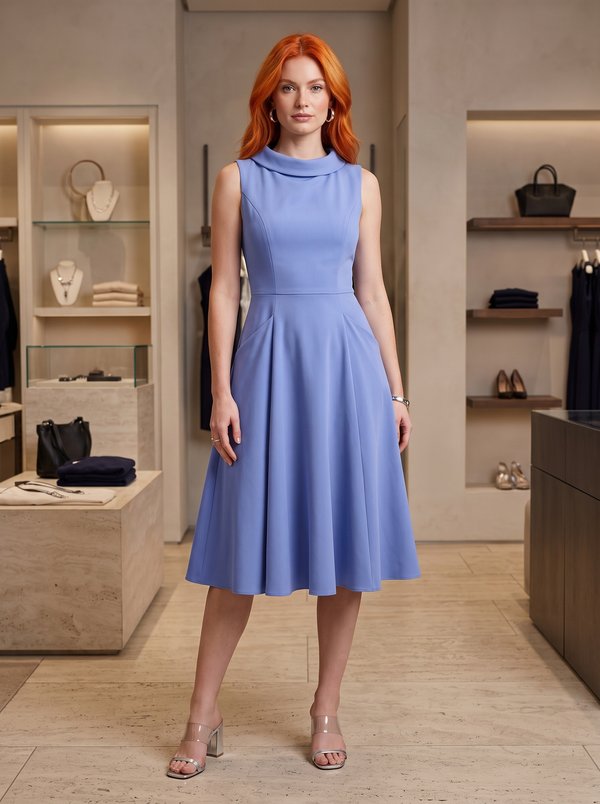
#4881
Sleeveless Rolled Collar Fit and Flare Dress

#4891
Short Sleeve Placket Dress with Decorative Welts
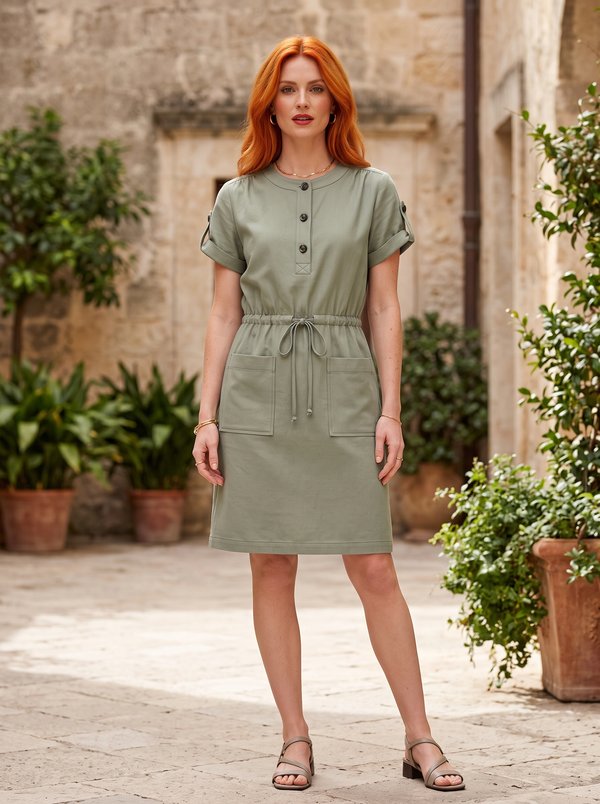
#4880
Henley Drawstring Dress Patch Pockets

#4879
Structured Shoulder Asymmetric Faux Wrap Dress
#4894
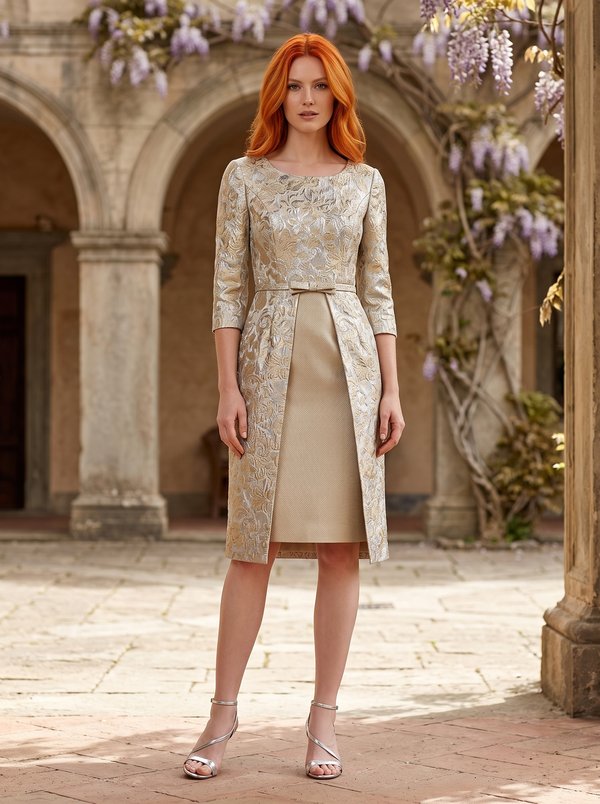
Overlay Front Skirt Three-Quarter Sleeve Dress

Minerva Support
Online