Professional made-to-measure digital sewing patterns — PDF · PLT · DXF AAMA
A women's straight midi wrap skirt with darts at the front and back, a slanted wrap edge finished with a wide topstitched hem, and a straight waistband that ends in a tie. The tie knots with a separate strap at the side, and a hidden button holds the underlap. Drafted to your own measurements. Recommended fabric: fine suiting fabrics made from natural or blended fibres.
A women's straight midi wrap skirt with darts at the front and back, a slanted wrap edge finished with a wide topstitched hem, and a straight waistband that ends in a tie. The tie knots with a separate strap at the side, and a hidden button holds the underlap.
Silhouette: Straight and close to the body, shaped by darts at the waist on the front and back.
Length: Midi, below the knee.
Front: Two front panels wrapping over each other; the slanted front edge is overlocked, turned to the wrong side (6 cm allowance) and topstitched, and opens towards the hem.
Closure: One end of the waistband is stitched as a tie. A separate tie strap is sewn onto the seam between the back waistband and the left front waistband, and the two are knotted at the side. A buttonhole on the left front waistband takes a hidden button.
Back: One piece cut on the fold, with darts; no centre back seam.
Waist: Straight interfaced waistband in three parts (back, left front, right front), folded lengthwise; the inner layer is topstitched into the attachment seam.
Finishing: Hem overlocked, turned up 3 cm and topstitched.
Beginner. Darts, side seams, a straight waistband with a stitched tie end and one buttonhole. No zipper and no lining.
Fine suiting fabrics made from natural or blended fibres.
If the patterns have a double contour, they include seam allowances; if the contour is single, the patterns do not include seam allowances. Seam allowances: all seams 1 cm. Allowance for the slanted edge of the Front Skirt – 6 cm; allowance for the bottom edge of the Front Skirt and Back Skirt – 3 cm. Attention! First, print out the paper patterns and lay them out on the fabric width (fabric width can be from 90cm to 150cm) to determine how much material you will need.
When stitching pieces, pay attention to the notches - they must match!
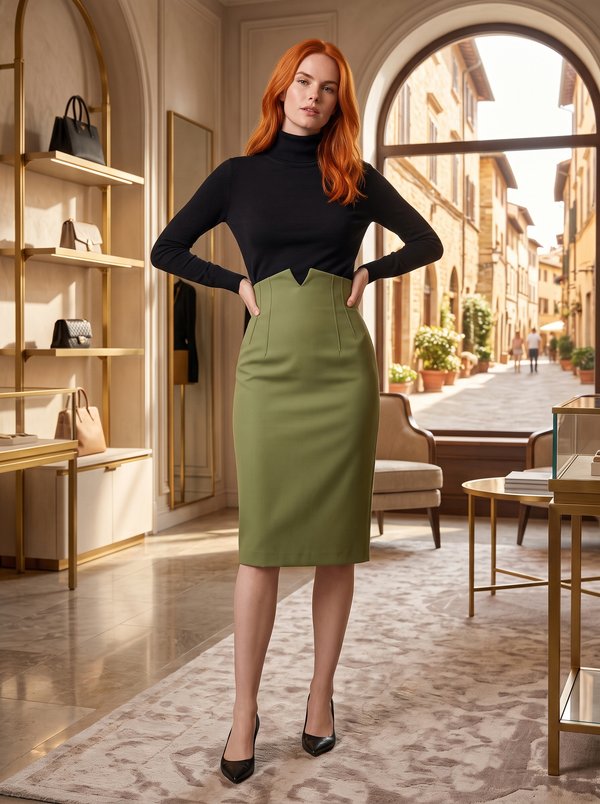
#4877
Tailored Skirt with Back Vent
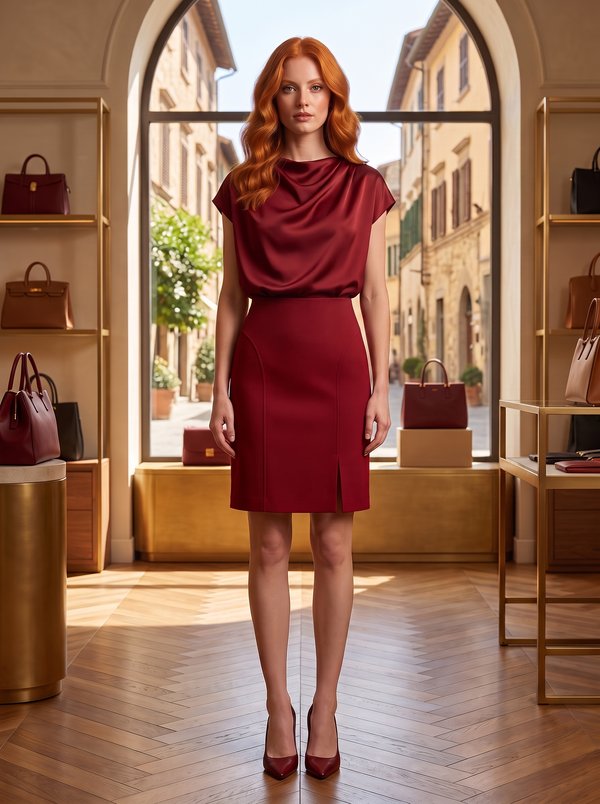
#4844
Seamed Pencil Skirt with Front Slit
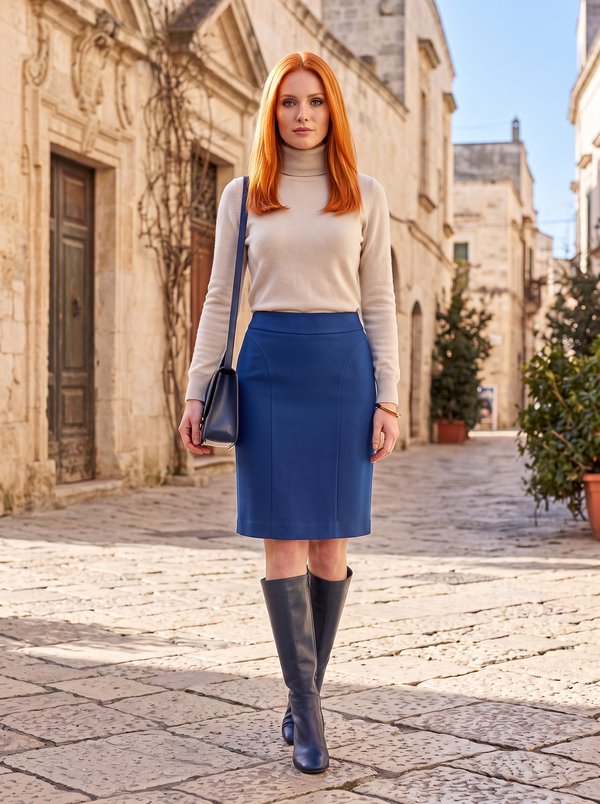
#4839
Stright Skirt Curved Yoke Princess Seams
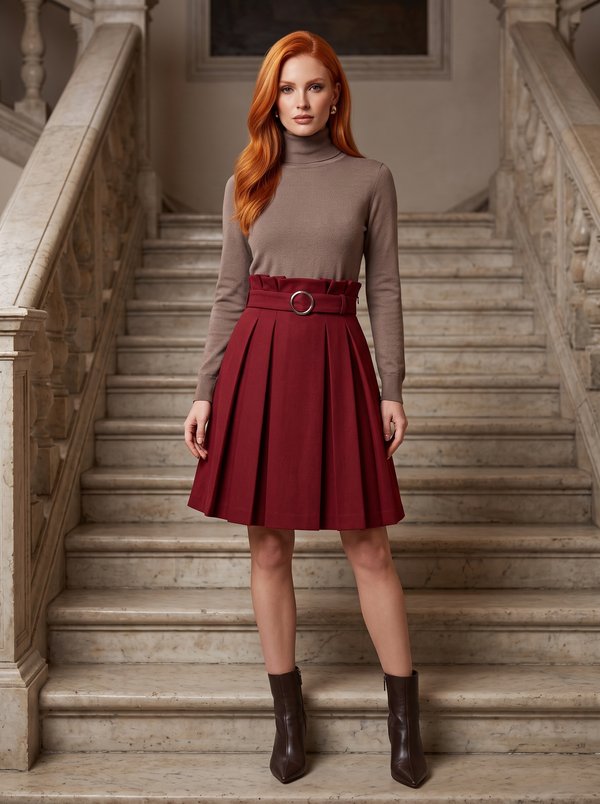
#4895
Pleated Midi Skirt Paper Bag Waist Belt
#4897
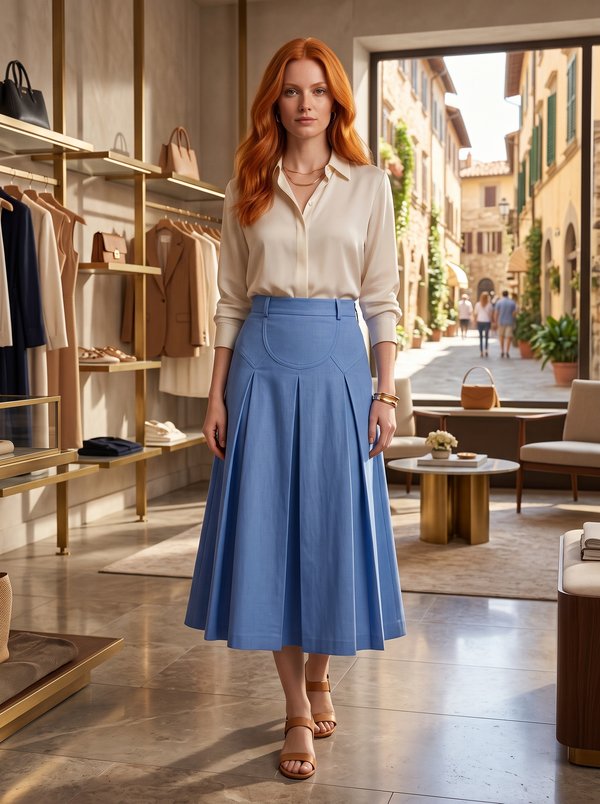
Inverted Pleat Skirt With Yokes And Insert
#4927
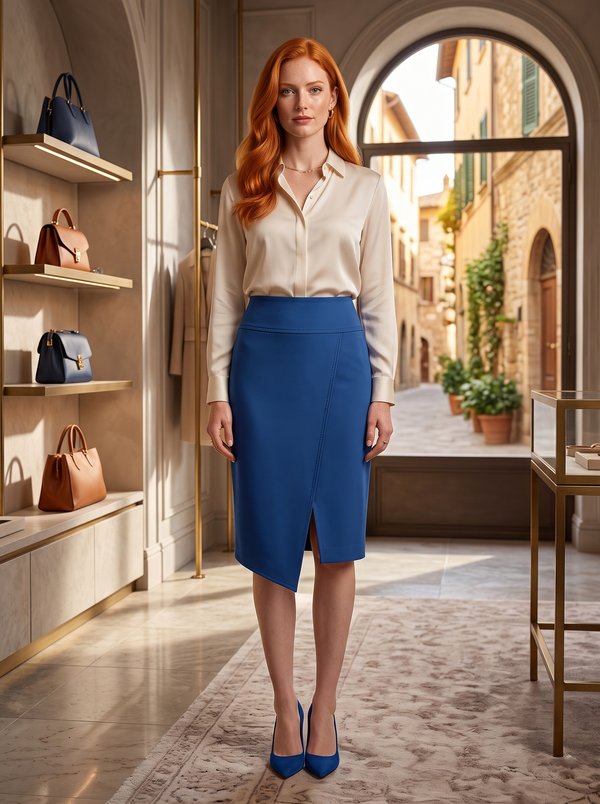
Yoke Waist Asymmetrical Wrap Skirt
#4945
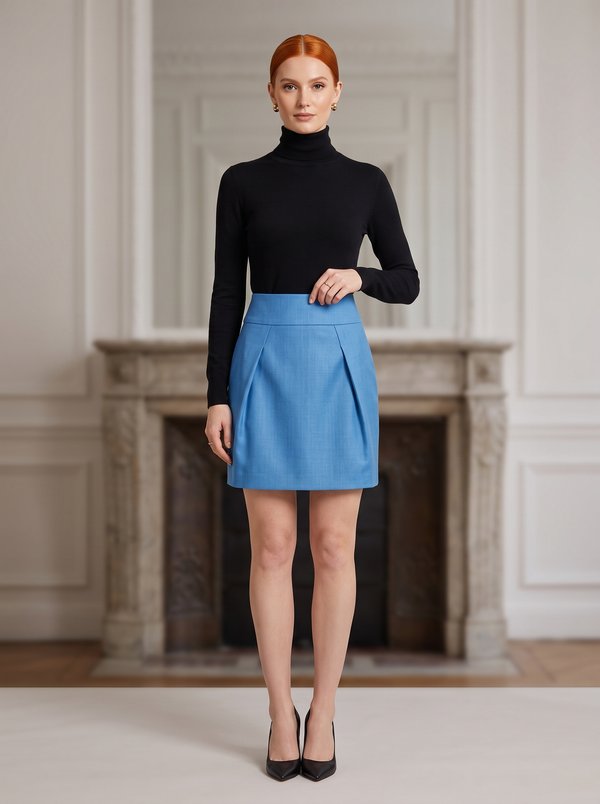
Straight Mini Skirt with Front Folds
#4947
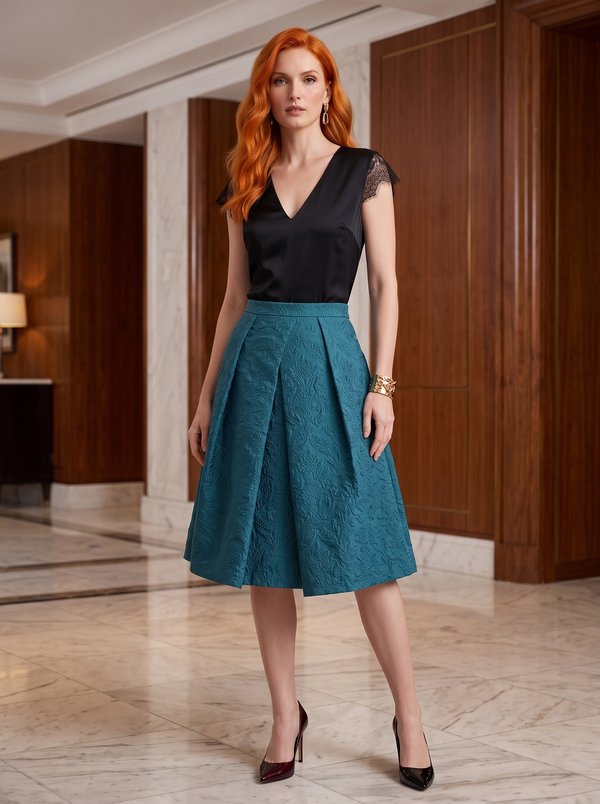
Pleated Front A-line Midi Skirt

Minerva Support
Online