Professional made-to-measure digital sewing patterns — PDF · PLT · DXF AAMA
A sleeveless, knee-length women's sheath dress with a waist seam, crossed pleats on the upper front below a round neckline, darts front and back, and a concealed zip in the centre back seam. Drafted to your own measurements. Recommended fabric: thin dress fabrics of natural or blended fibres.
A sleeveless, knee-length women's sheath dress with a waist seam, crossed pleats on the upper front below a round neckline, darts front and back, and a concealed zip in the centre back seam.
Silhouette: Fitted sheath, slightly narrowing towards the hem.
Length: Knee length.
Neckline: Round, finished with an interfaced facing; a bias binding finish can be used instead to reduce bulk from the pleats.
Front: Upper front with two pleats on each side folded towards the centre; the right pleats overlap the left ones. Waist seam with darts in the lower front, cut on the fold.
Back: Upper and lower back joined at the waist, darts above and below the waist seam, centre back seam with a concealed zip.
Sleeves: Sleeveless; armholes finished with a 4 cm bias binding folded in half and topstitched.
Finishing: Seams overlocked; 2 cm hem, overlocked, turned and topstitched.
Intermediate. Overlapping pleats on the bodice, a waist seam with darts, a concealed zip and bias-bound armholes.
Thin dress fabrics of natural or blended fibres.
Fabric recommendations: thin dress fabrics made of natural or blended fibers. You will also need: a concealed zipper; fusible interfacing.
If the patterns have a double contour, they include seam allowances. If the contour is single, the patterns do not include seam allowances. Seam allowances: all seams 1 cm. Hem allowance – 2.0 cm. Attention! First, print out the paper patterns and lay them out on the fabric width (fabric width can be from 90cm to 150cm) to determine how much material you will need (do not forget to account for paired and symmetrical pieces). When stitching pieces, pay attention to the notches - they must match!
Tip. Due to the overlapping of pleats, a significant thickness may form at the front neckline. Therefore, we can recommend finishing the garment's neckline not with a facing, but with bias binding. To do this, trim the allowance along the back and front necklines, cut a bias binding 4 cm wide and a length equal to the neckline length + 5 cm. Fold the bias binding in half lengthwise right side out and press. Unfold the binding, press the edges towards the marked center line. Bind the neckline with bias binding.
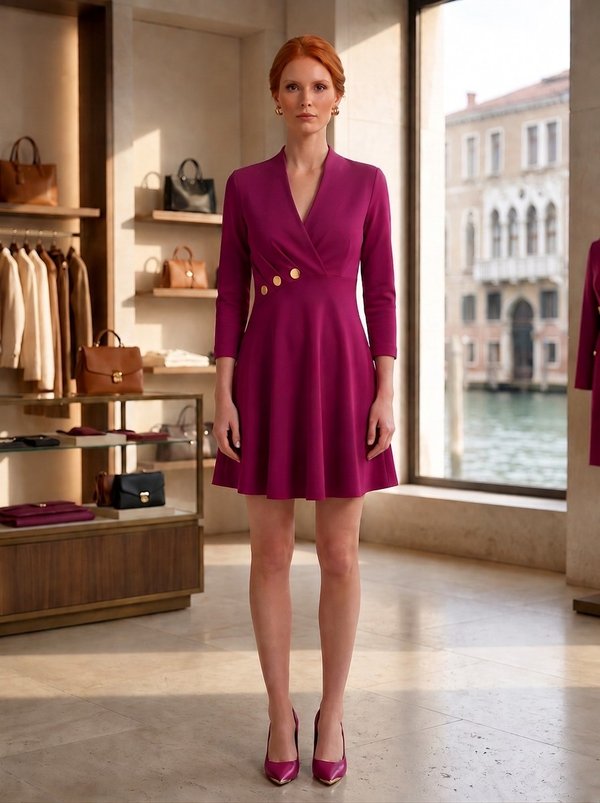
#4778
Asymmetrical Wrap Flared Dress
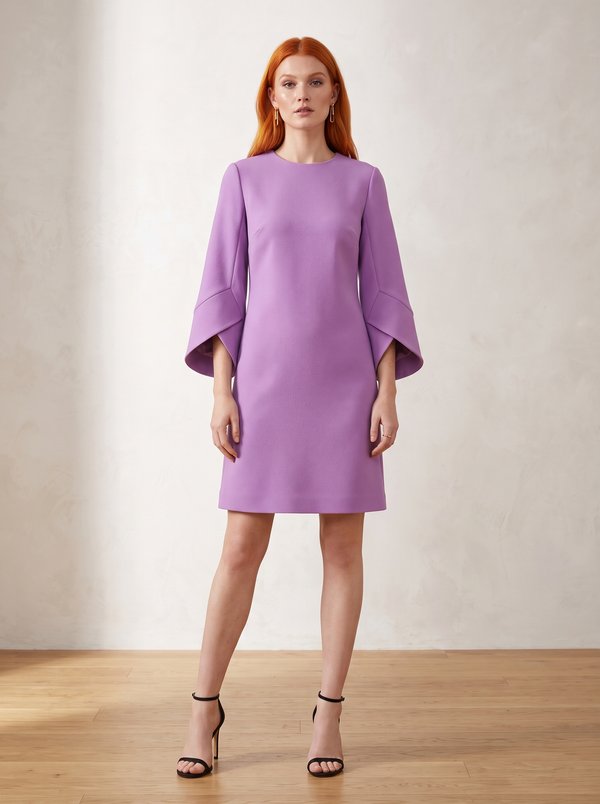
#4771
A-line Dress with Flared Overlapping Cuff Sleeves

#4784
Inverted Pleat tunic

#4785
Sleeveless Racerback Blouson Dress
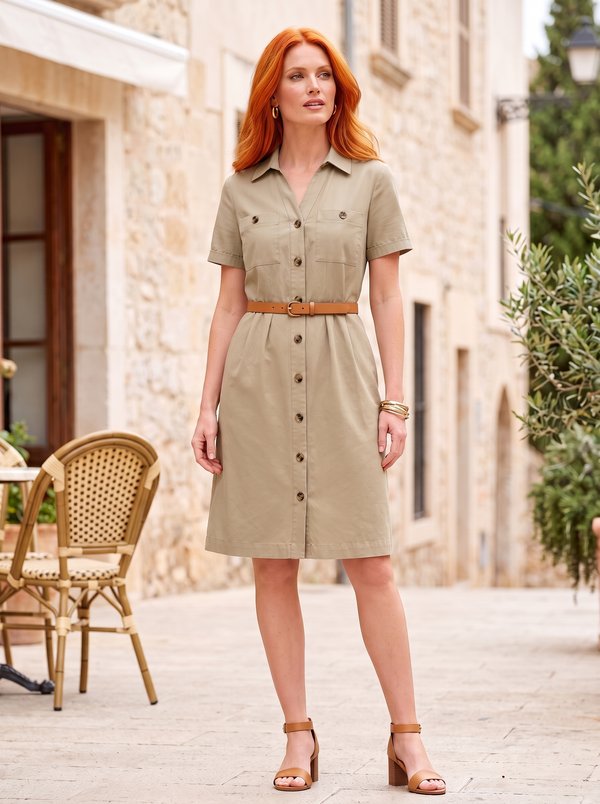
#4786
Button Front Shirtdress Gathered Waist
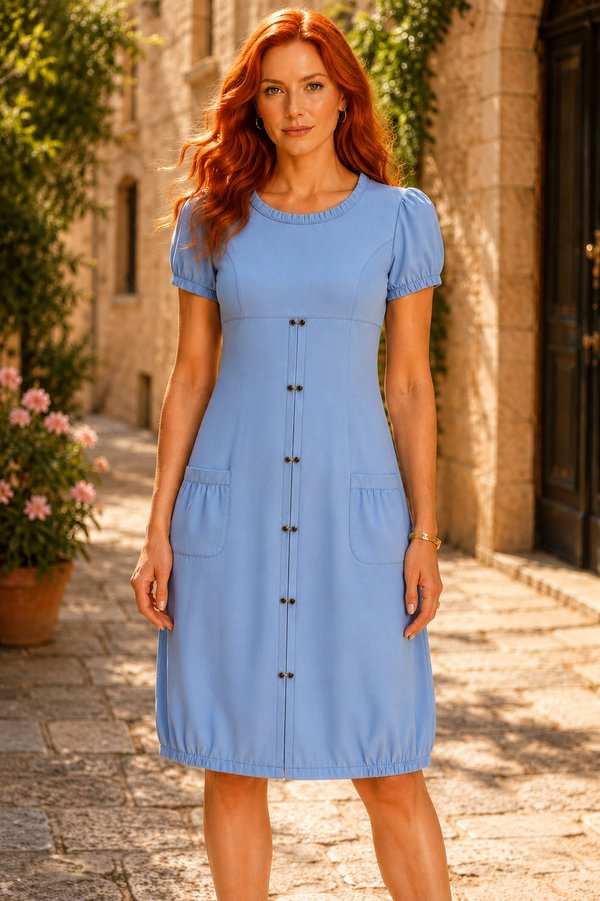
#4766
Ruffled Neck Puffed Sleeve Dress
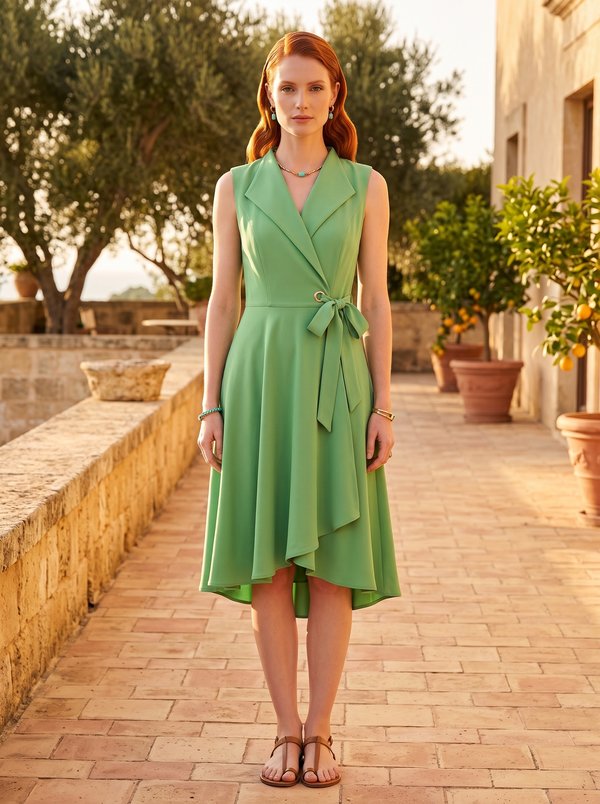
#4788
Sleeveless Notched Collar Asymmetric Wrap Dress
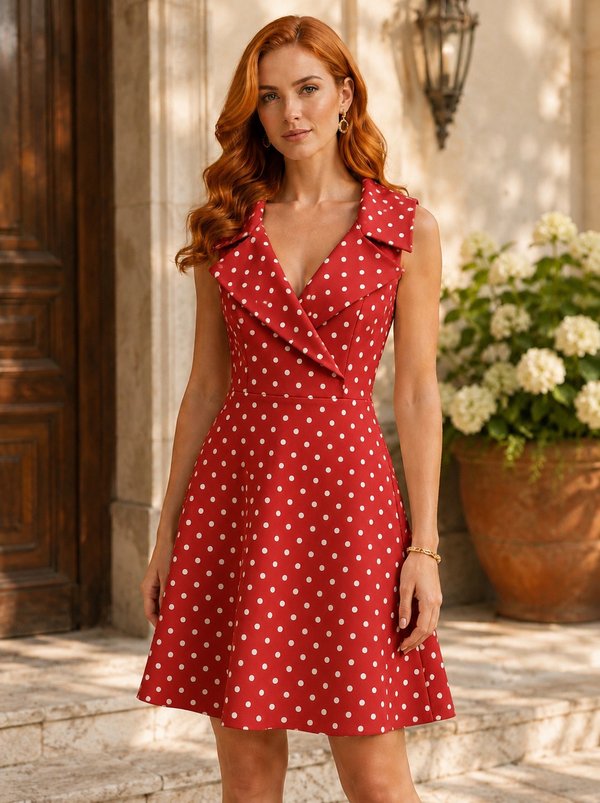
#4789
Sleeveless Lapel Collar Wrap Dress

Minerva Support
Online