Professional made-to-measure digital sewing patterns — PDF · PLT · DXF AAMA
A sleeveless women's blouse with a round neckline and an asymmetric front: the right front laps over the left along a diagonal edge running from the neckline to a pointed hem. Bust darts, bias-bound armholes. Drafted to your own measurements. Recommended fabric: blouse fabrics of natural or blended fibres.
A sleeveless women's blouse with a round neckline and an asymmetric front: the right front laps over the left along a diagonal edge running from the neckline to a pointed hem. Bust darts, bias-bound armholes.
Silhouette: Semi-fitted, shaped by bust darts on the fronts.
Length: Hip length at the back; the overlapping front ends in a point below the back hem. Hem turned up 2 cm and topstitched.
Neckline: Round. At the front the two front pieces are stitched together along the neckline and turned, so the left front faces the right; the back neckline has an interfaced facing.
Front: Separate right and left fronts. Their centre edges are turned under 2 cm and topstitched, and the right front overlaps the left in a diagonal line; the two layers are joined at the shoulders.
Sleeves: Sleeveless; armholes finished with a folded bias binding turned to the inside and topstitched.
Back: One piece cut on the fold, no centre back seam.
Intermediate. Layering the two fronts at the neckline, sewing the shoulder seams with the front between the back and its facing, and binding the armholes.
Blouse fabrics of natural or blended fibres.
If the patterns have a double contour, seam allowances are included. If the contour is single, the patterns are without seam allowances. Seam allowances: all allowances – 1 cm. Hem allowance, along the center edge of the right and left front pieces – 2.0 cm. Attention! First, print out the paper patterns and lay them out on the fabric width (fabric width can be from 90 cm to 150 cm) to determine how much material you will need (don't forget to account for paired and symmetrical pieces).
When stitching pieces, pay attention to the notches - they must match!

#4656
Pleated Neckline Blouse with Lace Sleeves
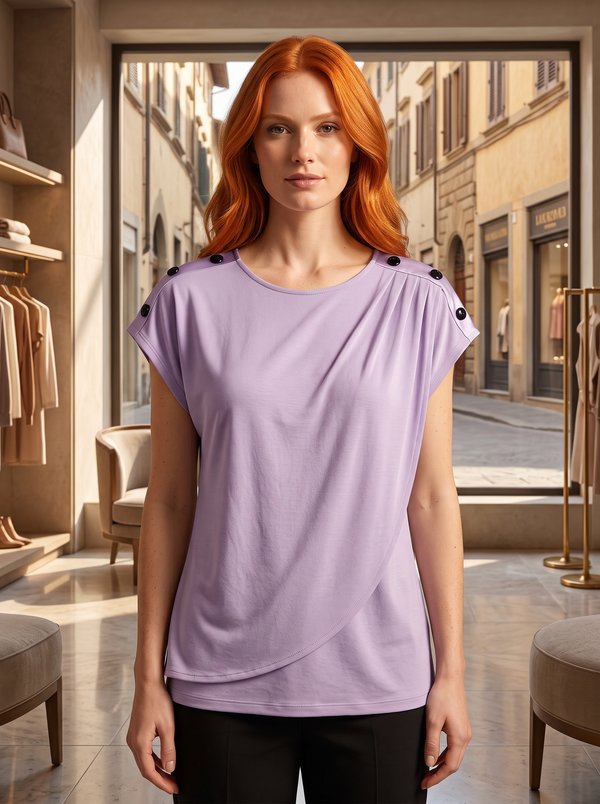
#4620
Draped Blouse With Buttoned Shoulders

#4608
Asymmetric Pleated Top
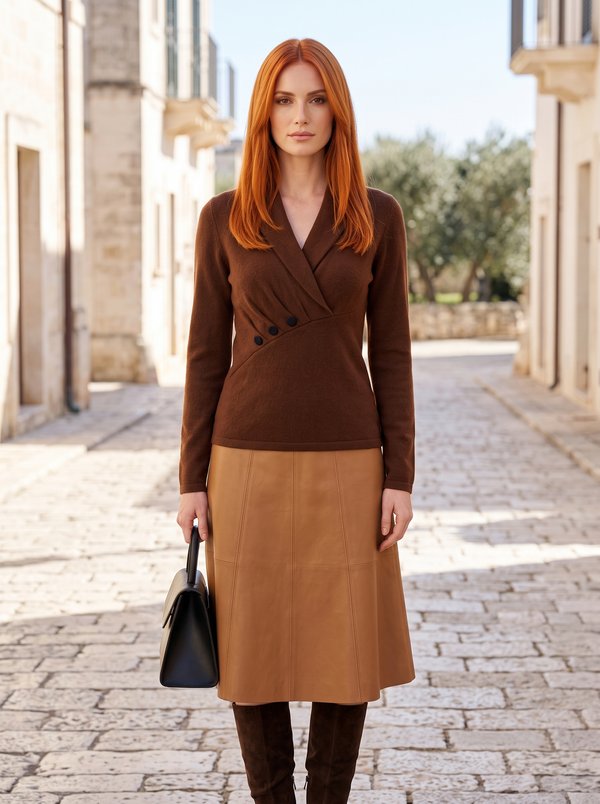
#4715
Crossover V-Neck Knit Top with Buttons
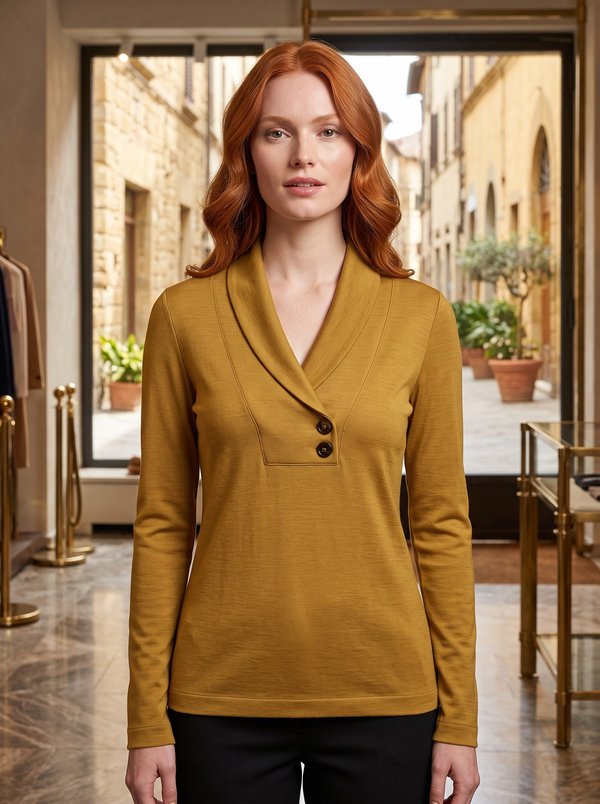
#4718
Fitted Shawl Collar Wrap Long Sleeve Top

#4737
Knit Top Asymmetric Button Balloon Sleeves
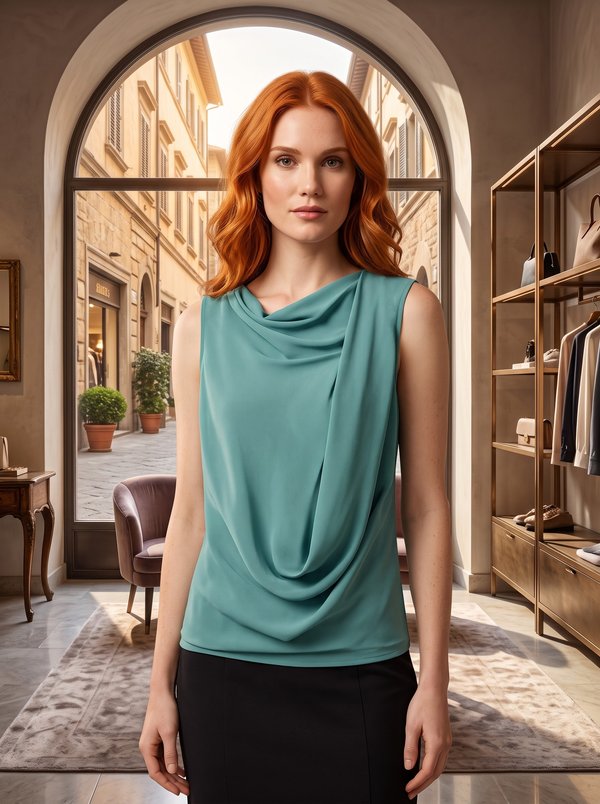
#4549
Sleeveless Draped Top

#4544
Sleeveless Lace Yoke Peplum Blouse

Minerva Support
Online