Professional made-to-measure digital sewing patterns — PDF · PLT · DXF AAMA
A women's above-the-knee dress for dense knit fabric, with three-quarter set-in sleeves, front shaped by neckline and side darts, and two decorative flaps with buttons on the skirt front. Drafted to your own measurements. Recommended fabric: dense knit with low to medium stretch, in natural or blended fibres.
A women's above-the-knee dress for dense knit fabric, with three-quarter set-in sleeves, front shaped by neckline and side darts, and two decorative flaps with buttons on the skirt front.
Silhouette: Slightly A-line, with shaping from darts at the front.
Length: Above the knee.
Neckline: Round neckline bound with a 4 cm bias strip folded in half and topstitched along the fold.
Sleeves: Set-in, three-quarter length, sewn in one pass with the side seams.
Front: One piece cut on the fold, with two darts from the neckline and side bust darts.
Pockets: No pockets; two lined, interfaced flaps with a shaped edge facing the centre are stitched to the front, turned towards the side and secured with a second line of stitching 1 cm away, each with a decorative button.
Back: Centre back seam.
Finishing: Seams sewn with a stretch or narrow zigzag stitch or on a 3- or 4-thread overlocker; 2 cm hems on dress and sleeves topstitched with a twin needle.
Beginner. Few pieces, darts, set-in sleeves and a bound neckline; the knit needs stretch stitches and a twin-needle hem.
Dense knit with low to medium stretch, in natural or blended fibres.
If the patterns have a double contour, seam allowances are included. If the contour is single, the patterns are without seam allowances. Seam allowances: 2 cm for the bottom edge of the garment and sleeve hem, 0.5 cm for flap facing allowance, 2 cm for flap attachment allowance, 1 cm for all other seams. Attention! First, print out the paper patterns and lay them out on the fabric width (fabric width can be from 90 cm to 150 cm) to determine how much material you will need. When stitching pieces, pay attention to the notches - they must match!
From main fabric:
From fusible interfacing:
Tip: Knit fabric pieces are stitched with a special elastic or narrow zigzag stitch. When serging, trim seam allowances to 0.8 cm. The hem allowance is topstitched with a twin needle to maintain elasticity. You can also stitch pieces directly on a 3- or 4-thread serger.

#4593
Cocoon Dress with Short Raglan Sleeves
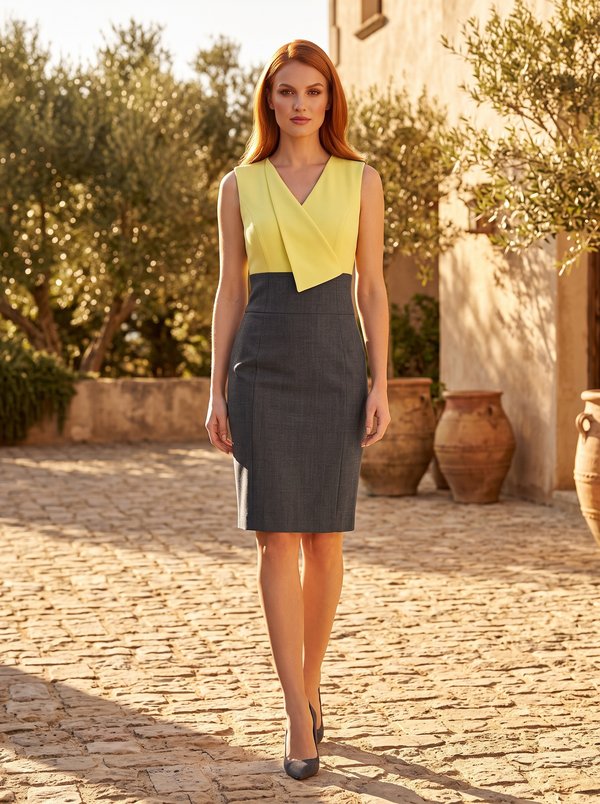
#4597
Two-Tone Wrap Bodice V-Neck Pencil Dress
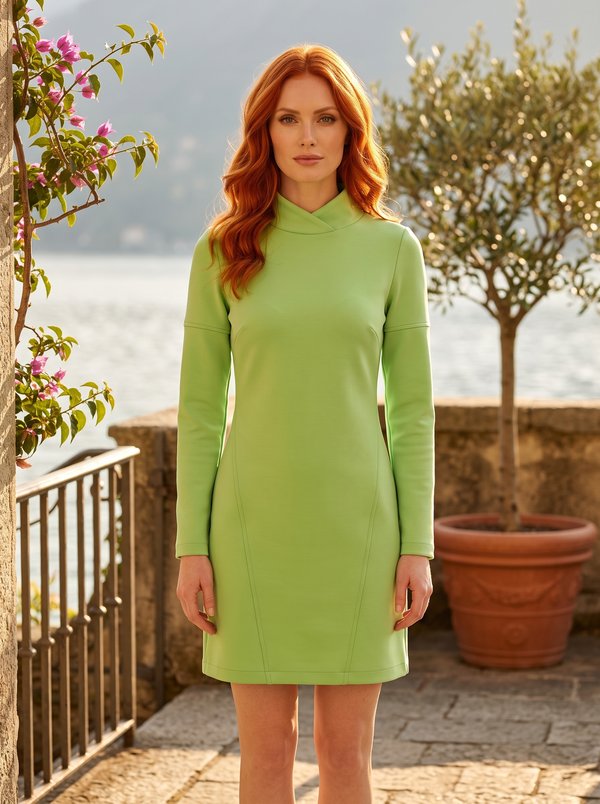
#4590
Knit Dress Overlapping Stand Collar
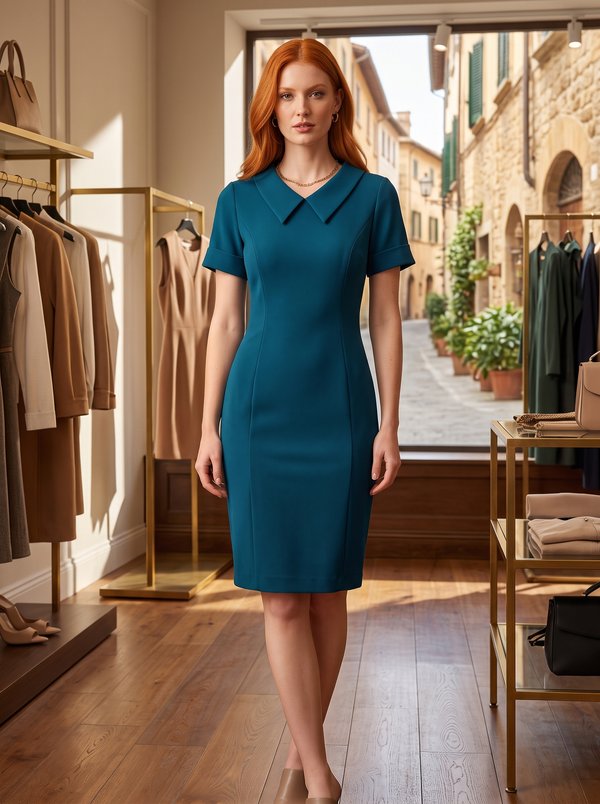
#4600
Collared Short Sleeve Sheath Dress
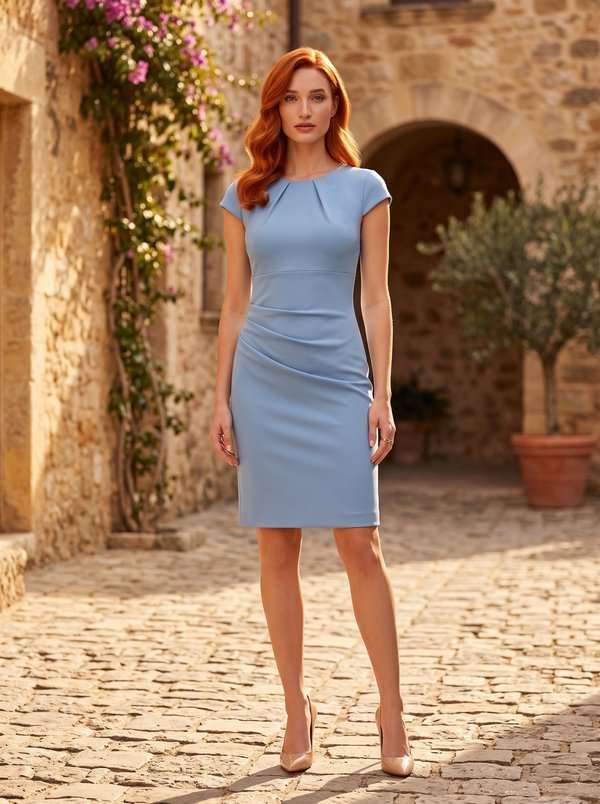
#4589
Dress with Pleated Neckline and Ruched Skirt
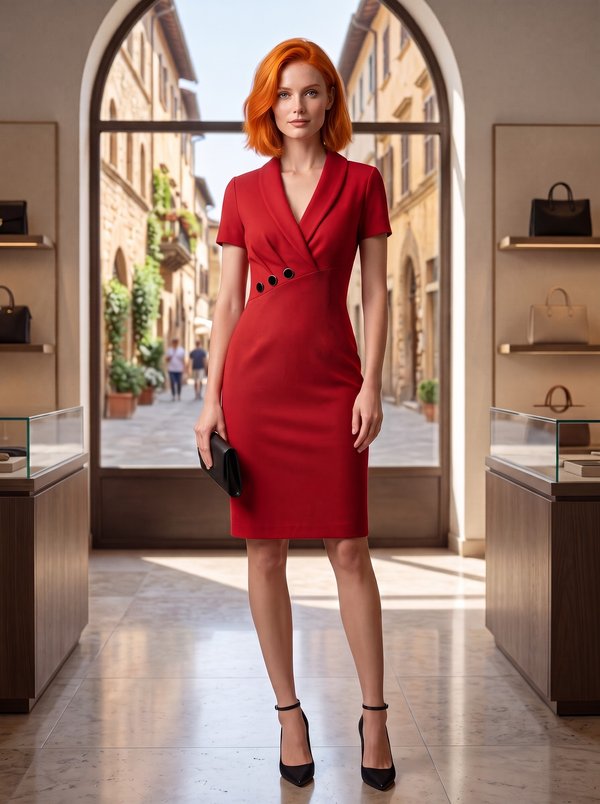
#4588
Overlap Lapel Collar Short Sleeve Dress
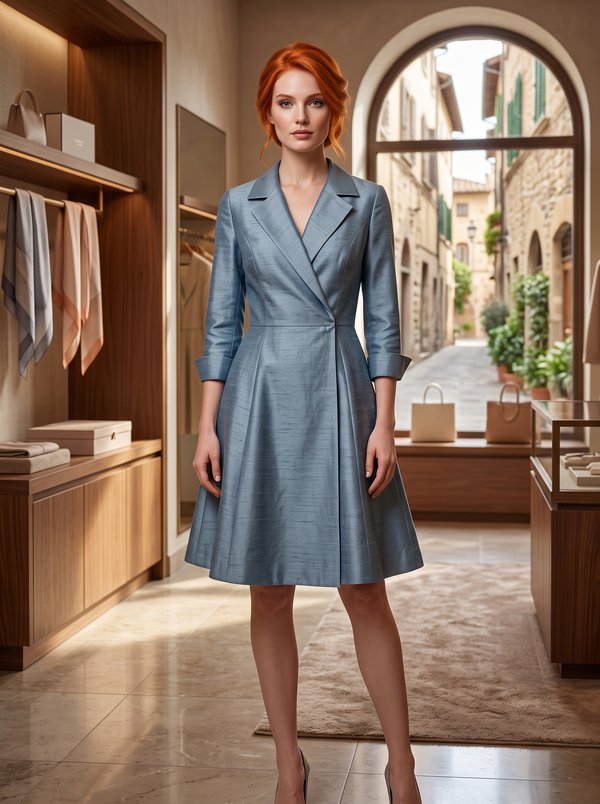
#4602
Tailored Notched Lapel Wrap Dress
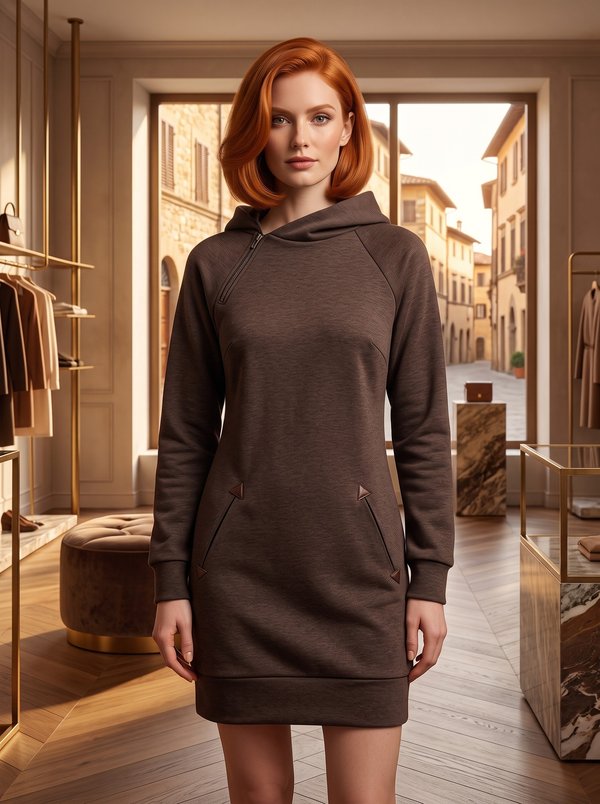
#4587
Hooded Dress With Pockets

Minerva Support
Online