Professional made-to-measure digital sewing patterns — PDF · PLT · DXF AAMA
A knee-length women's pencil skirt with a high, faced waist and a wrap front: the right front panel is pleated at the side and overlaps the left, both with lined free edges that form a curved hem. Darts, a centre back seam and a concealed zipper at the back. Drafted to your own measurements. Recommended fabric: suiting fabrics of natural or blended fibres that drape well.
A knee-length women's pencil skirt with a high, faced waist and a wrap front: the right front panel is pleated at the side and overlaps the left, both with lined free edges that form a curved hem. Darts, a centre back seam and a concealed zipper at the back.
Silhouette: Fitted pencil skirt, narrow through the hips.
Length: Knee length.
Waist: No waistband; high waist finished with interfaced outer facings sewn to the skirt, and inner facings stitched in the ditch of the outer facing seam.
Front: Separate right and left front panels. The right panel has pleats at the side with the pleat depths turned upwards, held at the upper edge. The free edges of both panels are faced with lining.
Back: Two back pieces with darts pressed towards the centre and a centre back seam.
Closure: Concealed zipper in the centre back seam.
Finishing: Hem allowance on the back 2 cm, hemmed with blind stitches; corners at the lower edges faced.
Lining: Only the front panels are lined, along their free edges.
Intermediate. Pleats on a draped panel, lined wrap panels, a concealed zipper and a two-layer faced waist.
Suiting fabrics of natural or blended fibres that drape well.
If the patterns have a double contour, seam allowances are included. If the contour is single, the patterns are without seam allowances. Seam allowances: all seams 1 cm. Hem allowance for the back bottom edge - 2 cm. Attention! First, print out the paper patterns and lay them out on the fabric width (fabric width can be from 90cm to 150cm) to determine how much material you will need. When stitching pieces, pay attention to the notches - they must match! All markings on the patterns are on the right side!
From main fabric:
From lining fabric:
From fusible interfacing:
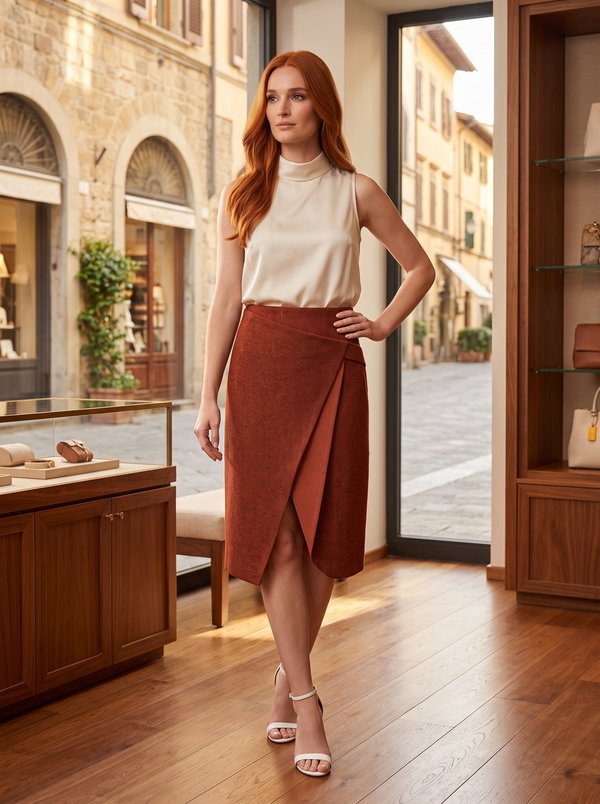
#4564
Asymmetrical Layered Skirt with Back Zip
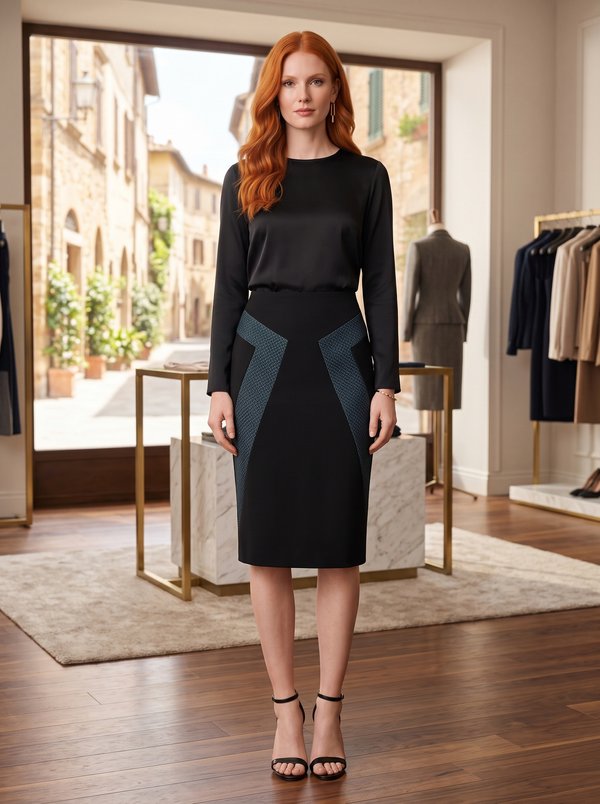
#4576
Pencil Skirt with Angled Contrast Inserts
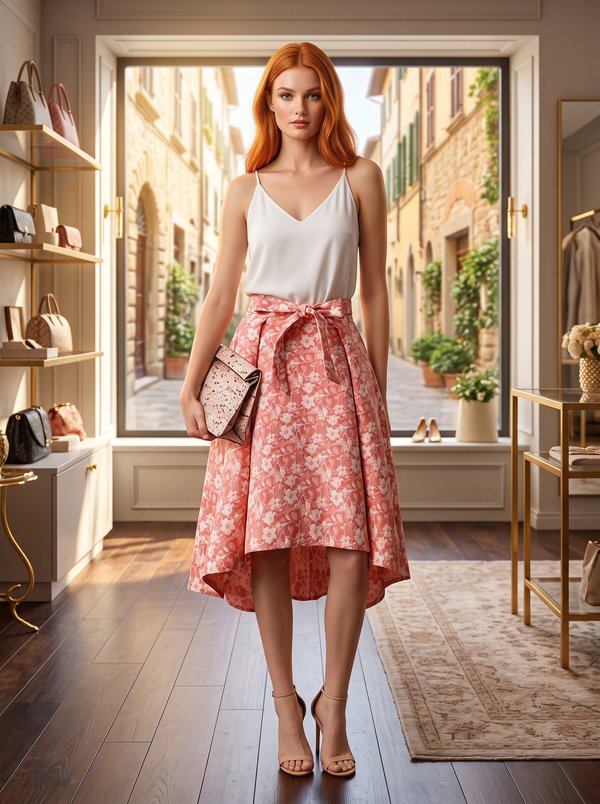
#4579
Flared High-Low Hem Skirt with Waist Tie

#4585
Asymmetric Bow Pencil Skirt
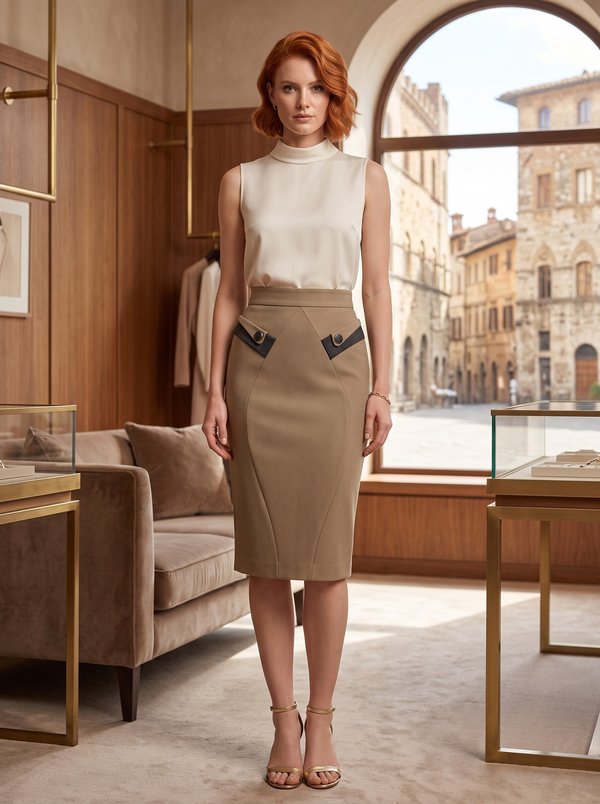
#4520
Yoked Skirt with Flaps and Back Vent
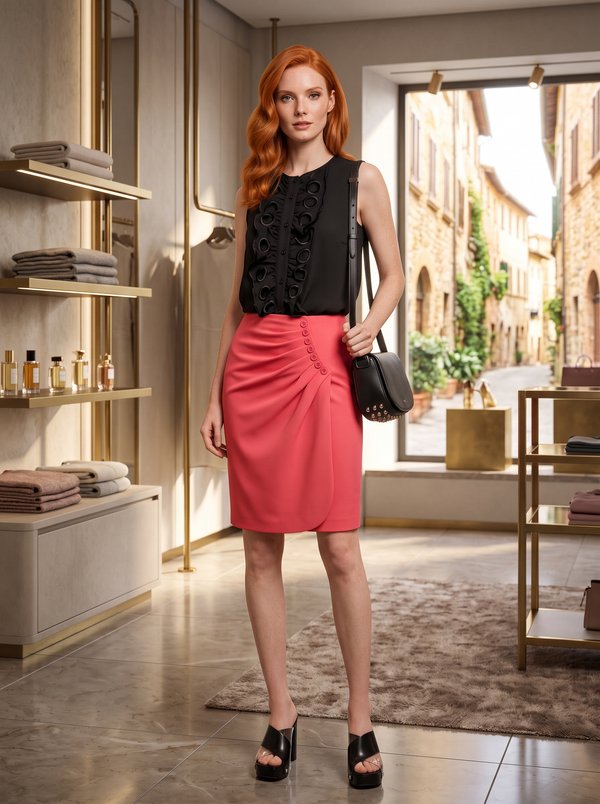
#4518
Fitted Skirt with Pleated Front Overlay
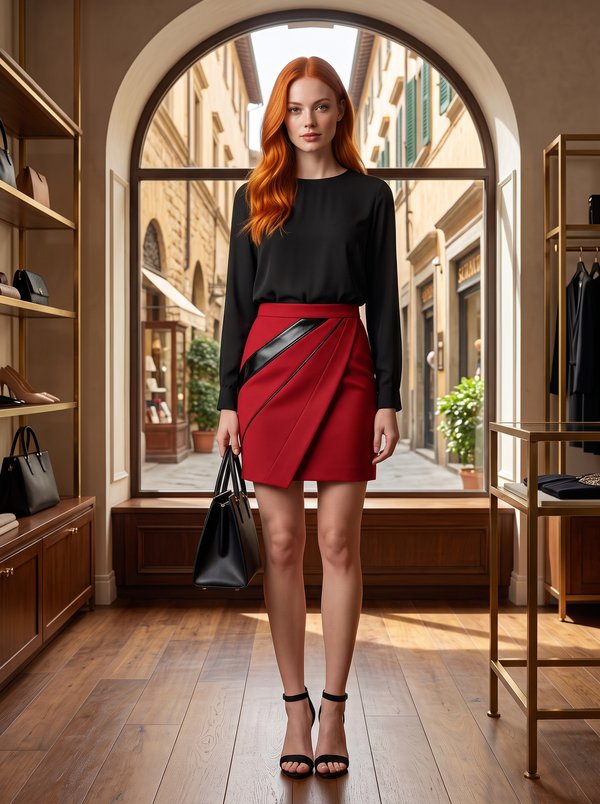
#4514
Skirt with Front Panel Seams
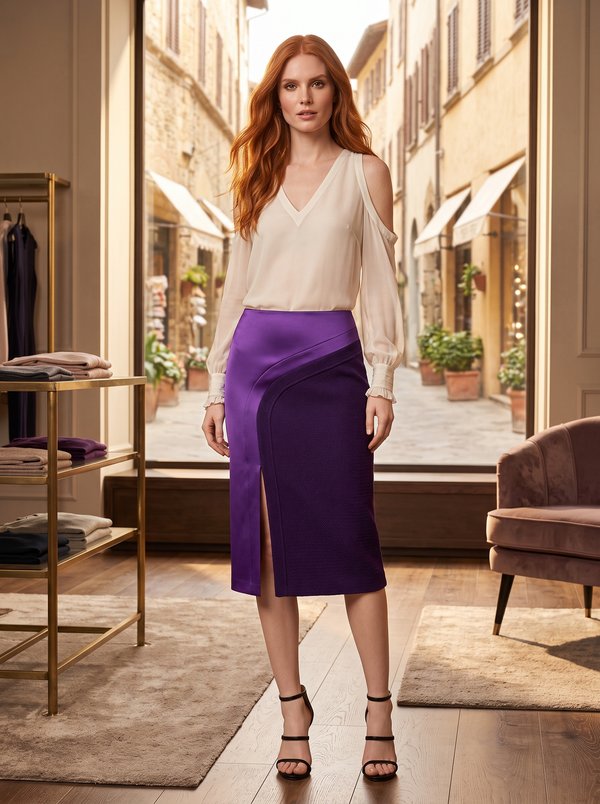
#4512
Paneled Skirt With Front Trim

Minerva Support
Online