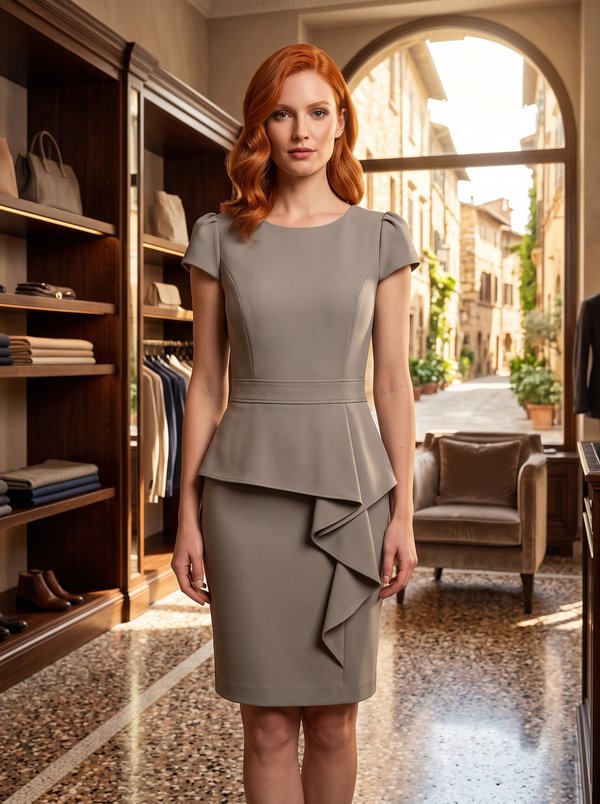
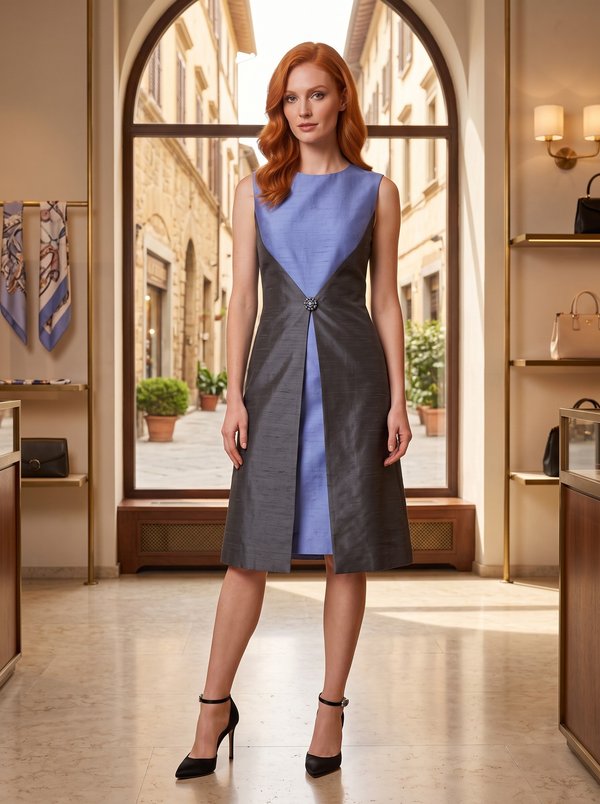
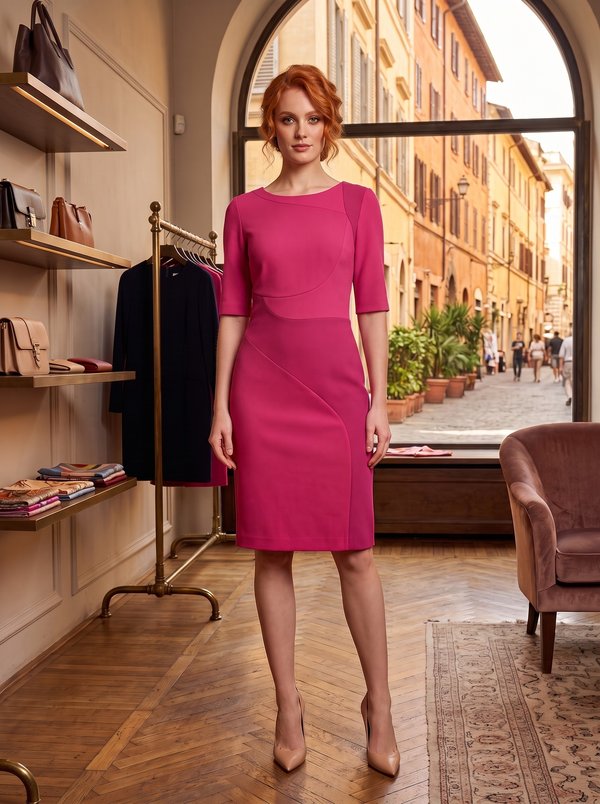
Tailored Peplum Wrap Dress
A sleeveless women's dress with a fitted wrap-over bodice, a notched collar and lapels, a pleated peplum set into the waist seam and a straight skirt with a centre back vent. Designed in two fabrics of contrasting or related colours.
When To Wear
- To the office and business meetings.
- For daytime events in spring and summer; with a fine knit or blouse underneath in cooler weather.
Key Design Features
Silhouette: Fitted bodice and straight, narrow skirt, joined by a waist seam.
Length: Knee length.
Collar: Notched collar with separate left and right lapels joined to the collar along the gorge line; the collar continues down the wrap edge to the waist.
Front: Wrap-over bodice: the right front crosses over the left, with separate left and right centre front pieces. Princess seams from the armhole on front and back.
Closure: Concealed zip in the left side seam.
Waist: Self-lined peplum (outer and inner layers) with pressed pleats, laid over the skirt and caught into the waist seam; the left front pleat is formed freely.
Skirt: Front and back shaped with darts, cut from the second fabric.
Back: Centre back seam through bodice and skirt; vent at the skirt hem.
Finishing: Armholes bound with 4 cm bias binding, folded in half and topstitched; hem turned up 3 cm and sewn with blind stitches.
Level Of Difficulty
Intermediate. Princess seams, a lapelled collar sewn into a wrap neckline, a lined pleated peplum, a back vent and a concealed zip in the side seam.
Fabric Recommendations
Dress fabrics of natural or blended fibres in two contrasting or related colours: one for the bodice, collar and peplum, the other for the skirt.
Additional Supplies
- Concealed zip
- Fusible interfacing (collar, lapels, vent)
- Bias binding 4 cm wide, or fabric to cut it
Cutter's Must
From Main Fabric 1:
- Center Upper Back – 2 pieces
- Side Upper Back – 2 pieces
- Back Peplum – 2 pieces on fold
- Front Peplum – 2 pieces
- Left Upper Front – 1 piece
- Right Upper Front – 1 piece
- Side Front – 2 pieces
- Left Lapel – 2 pieces
- Right Lapel – 2 pieces
- Collar – 2 pieces
From Main Fabric 2:
- Lower Back – 2 pieces
- Lower Front – 1 piece
From fusible interfacing:
- Left Lapel – 1 piece
- Right Lapel – 1 piece
- Collar – 1 piece
Sewing Instructions
- Fuse interfacing to the Collar, the Left Lapel and the Right Lapel.
- Stitch the princess seams of the upper back (Center Upper Back to Side Upper Back), press the seam allowances towards the centre and serge. Stitch the centre back seam of the upper back, press the seam allowances to the left side and serge. Stitch the princess seams of the upper front (Left Upper Front and Right Upper Front to Side Front), press the seam allowances towards the centre and serge.
- Stitch the darts on the Lower Back and Lower Front and press them towards the centre. On the left Lower Back, cut off 5 cm along the vertical edge of the vent. Interface the vent on both back pieces from the wrong side. On the right side, mark the centre back seam line (the vent fold line). On the left piece, press the vent along the fold line; on the right piece, press only the right vent allowance (6 cm) to the wrong side. Align the pieces along the centre back seam and baste them together across the top of the vent. Serge the centre back edges of each piece separately. Serge the vent allowances. Stitch the centre back seam of the lower back from the upper edge to the vent corner. Clip the corner of the vent seam allowance on the right piece. Press the centre back seam allowances open, press the vent allowances and secure them with machine stitching from the right side.
- Stitch the shoulder seams, press the seam allowances towards the back and serge.
- Stitch the Left Lapel and the Right Lapel to the Collar along the gorge line and press the seam allowances open. Place the two collar-and-lapel units right sides together and stitch along the outer edge, the ends and the lapel edges. Trim the seam allowances at the corners and clip them on the curves. Turn the collar right side out, ease out the edges and press.
- Place the collar on the wrong side of the dress and stitch its left part along the neckline edge up to the centre back; serge the seam allowances. Fold the left end over to the right side and baste it to the centre front edge. Place the left front between the right front and the collar and stitch the rest of the collar seam from the centre back down to the waist. Serge the seam allowances.
- Stitch the right side seam of the outer peplum and of the inner peplum (Front Peplum to Back Peplum) and press the seam allowances open. Place the outer and inner peplums right sides together and stitch along the lower edge. Turn the peplum right side out, ease out the edge and press. Fold the pleats at the markings and baste them. The left pleat of the front peplum is formed freely.
- Stitch the right side seam of the skirt (Lower Front to Lower Back), press the seam allowances towards the back and serge. Place the peplum on the skirt, baste along the upper and side edges and treat them as one piece from now on.
- Stitch the right side seam of the bodice, press the seam allowances towards the back and serge. Stitch the bodice to the skirt, press the seam allowances upwards and serge.
- Serge the left side seam edges of the back and front separately. Stitch the left side seam from the armhole to the upper mark and from the lower mark downwards; press the seam allowances open, pressing the zip opening allowances as well. Insert the concealed zip.
- Cut a bias strip 4 cm wide for finishing the armholes (unless you use ready-made binding). Fold the binding in half lengthwise, wrong sides together, and press. Place the binding on the armhole edge from the right side and stitch; turn the binding to the wrong side and topstitch along the fold onto the dress.
- Serge the lower edge of the dress. Turn the hem allowance to the wrong side, press and hem with blind stitches.