Sheath Dress Asymmetrical Flounce
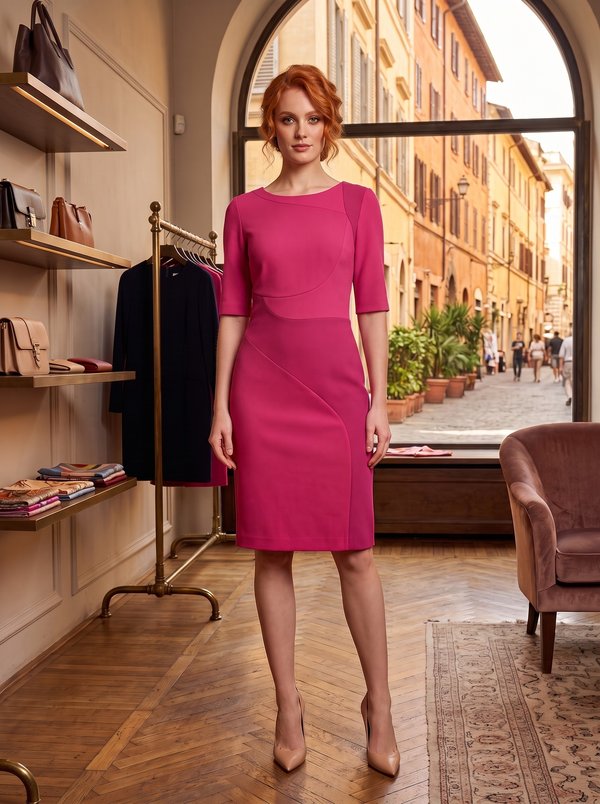
A fitted women's sheath dress with a round neckline, short pleated cap sleeves and a waist inset band. Below the band, an asymmetric peplum runs into a cascading flounce along the front princess seam, which opens into a slit.
When To Wear
- To the office or business events in spring and summer.
- For daytime celebrations and dinners, with heels and a small bag.
Key Design Features
Silhouette: Close-fitting sheath with a seam at the waist.
Length: Knee length.
Neckline: Round, finished with an interfaced facing.
Sleeves: Short cap sleeves with pleats at the sleeve head, set into the upper armhole; the lower armhole is bound with bias binding. Sleeve hem turned up and topstitched.
Front: Bodice with princess seams and a separate waist inset band. Skirt with a dart on the right front and a princess seam that ends in a slit at the hem.
Waist: Left and right flounces of different shape, caught into the skirt princess seam and the waist seam; on the right they fall in a cascade along the slit. Flounce edges finished with a narrow rolled hem, pleats pressed in place.
Back: Princess seams with darts on the centre panels in the bodice, a back inset band at the waist, princess seams in the skirt, and a centre back seam.
Closure: Concealed zip in the centre back seam.
Finishing: Hem blind-stitched by hand; facing ends attached to the zip tape.
Level Of Difficulty
Intermediate. Princess seams in bodice and skirt, inset waist bands, asymmetric flounces sewn into a seam with a slit, a concealed zip with a facing, and pleated cap sleeves combined with a bound underarm.
Fabric Recommendations
Dress fabrics of natural or blended fibres.
Additional Supplies
- Concealed zip
- Fusible interfacing (neck facings)
- Bias binding 4 cm wide, or fabric to cut it
Cutter's Must
From main fabric:
- 1. Center upper back - 2 pieces
- 2. Side upper back - 2 pieces
- 3. Back insert - 2 pieces
- 4. Center lower back - 2 pieces
- 5. Side lower back - 2 pieces
- 6. Center upper front - 1 piece
- 7. Side upper front - 2 pieces
- 8. Front insert - 1 piece
- 9. Right lower front - 1 piece
- 10. Left lower front — 1 piece
- 11. Left flounce - 1 piece
- 12. Right flounce — 1 piece
- 13. Sleeve - 2 pieces
- 14. Back neck facing – 2 pieces
- 15. Front neck facing – 1 piece
From fusible interfacing:
- 1. Back neck facing – 2 pieces
- 2. Front neck facing – 1 piece
Sewing Instructions
- Fuse fusible interfacing to the neck facing pieces.
- Stitch darts on the center upper back, press seam allowances towards the center. Stitch the princess seams on the upper back pieces. Press seam allowances towards the center and serge. Stitch the back insert to the back. Serge the seam allowance and press upwards.
- Stitch the princess seams of the front, serge seam allowances and press towards the center. Stitch the front insert to the front. Serge the seam allowance and press upwards.
- Stitch the side and shoulder seams of the upper bodice, press seam allowances towards the back and serge.
- Stitch the princess seams of the lower back. Press seam allowances towards the center and serge. Stitch the dart on the right front. Stitch the side seams of the lower section, press seam allowances towards the back and serge.
- Serge the lower seam allowances of the flounces with a narrow rolled hem. Place the right flounce on the lower right front, and secure along the princess seam of the front. Serge the princess seam. Align and secure the upper edges along the front and back. Prepare the left side similarly. Stitch the princess seam of the lower front from the top to the notch. Press seam allowances open. Arrange the flounce pleats. If necessary, press to secure the pleats. Stitch a securing seam along the slit 0.2 cm from the edge.
- Stitch the upper and lower parts of the dress. Serge the seam allowance and press upwards.
- Serge the center back seam separately on each piece. Stitch the center back seam from the zipper notch to the hem. Insert the zipper.
- Stitch the shoulder seams of the facings. Press seam allowances open and serge. Serge the outer edge of the facings. Place the dress and facing right sides together, aligning the neckline edges. Fold back the facing 5 mm from the edges of the concealed fastening and pin to the upper edge of the dress. On the right side of the dress, fold back the seam allowances along the zipper and pin to the neckline edge over the facing. Stitch the neckline edge. Clip the seam at the curves, turn the pieces right side out and press. Topstitch the seam allowances to the facing. Attach the facing to the zipper tape.
- Serge the lower edge of the sleeve, press to the wrong side and topstitch. Form and secure the pleats on the sleeve cap. The pleat depths are directed towards the bottom of the sleeve. Set the sleeves into the armholes, matching notches. Serge the seam allowance.
- Cut a bias binding 4 cm wide and a length equal to the length of the lower armhole + 6 cm. Fold the bias binding in half lengthwise, right side out, and press. Place the binding with the armhole edge on the right side, extending the tails, and stitch. Fold the binding to the wrong side, clip the seams, and topstitch along the fold to the main piece. Press the seam.
- Serge the hem allowance of the dress, press to the wrong side and hem with blind stitches.