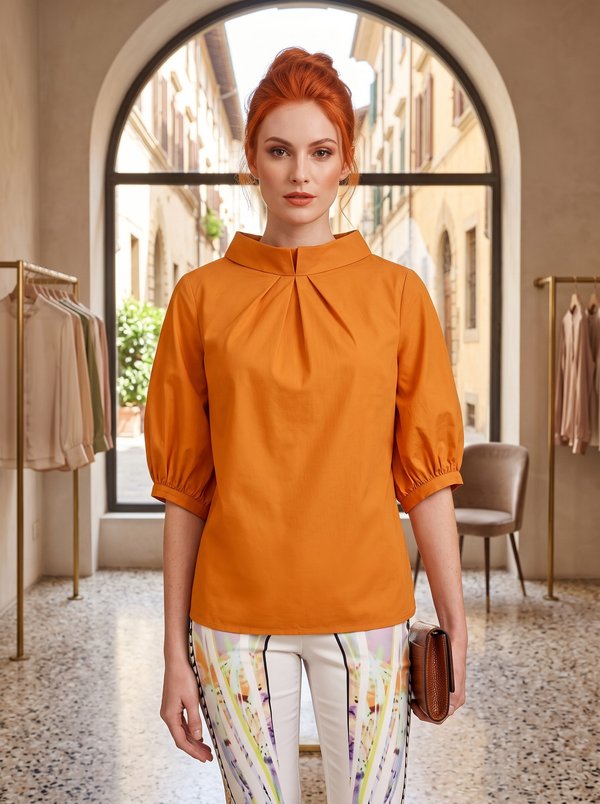
Fitted Collared Blouse With Lace
A fitted women's blouse with short sleeves, princess seams front and back, a front yoke edged with lace around a V-shaped opening, a stand collar and a button front with a cut-on placket.
When To Wear
- For the office in summer, with a pencil skirt or straight trousers.
- Tucked in or worn loose with a skirt for daytime events.
Key Design Features
Silhouette: Fitted, shaped by princess seams on the front and back.
Length: To the hip, with a straight hem.
Collar: Two-piece stand collar, interfaced; it ends at the edges of the V-shaped opening.
Front: Front yoke in two halves; lace is stitched to their centre edges, edging a V-shaped opening below the stand. Under the yoke the front closes with buttons on a cut-on, interfaced placket topstitched 0.2 cm from the edge.
Closure: Six buttons, buttonholes on the right front.
Sleeves: Short set-in sleeves, gathered at the cap, with lace stitched along the lower edge.
Back: Back yoke cut in one piece; below it, a centre back seam and two princess seams.
Finishing: Seams overlocked; hem allowance 1.5 cm, turned up and topstitched.
Level Of Difficulty
Intermediate. Princess seams, attaching lace to a yoke, a stand collar, a cut-on button placket and gathered sleeve caps.
Fabric Recommendations
Blouse fabrics of natural or blended fibres.
Additional Supplies
- 6 buttons
- Decorative lace trim, 5 cm wide (4 cm when sewn in)
- Fusible interfacing (placket, collar stand)
Cutter's Must
From main fabric:
- Center back – 2 pieces
- Side back – 2 pieces
- Back Yoke — 1 piece
- Center front – 2 pieces
- Side front – 2 pieces
- Front Yoke — 2 pieces
- Sleeve – 2 pieces
- Collar Stand — 2 pieces
From fusible interfacing:
- Placket – 2 pieces
- Collar Stand — 1 piece
Sewing Instructions
- Fuse interfacing to the collar stand and the integrated placket.
- Stitch the princess seams on the front and back. Overlock seam allowances and press towards the center. Stitch the center back seam. Overlock seam allowances and press to the left side. Attach the back yoke. Overlock the seam allowance and press towards the yoke.
- Overlock the center edge of the front yoke. Attach lace trim to the yoke. Press seam allowances towards the yoke. Attach the yoke to the front. Overlock the seam allowance and press towards the yoke. Turn the integrated placket to the wrong side and stitch the upper straight section. Turn the placket to the right side and press. Fold the long edge of the placket to the wrong side, fold the seam allowance inwards and topstitch 0.2 cm from the edge.
- Stitch shoulder and side seams. Overlock seam allowances and press towards the back.
- Place collar stand pieces right sides together and stitch along the upper edge and corners. Trim seam allowances, turn to the right side and press. Attach the upper collar stand to the neckline. Fold the seam allowance of the lower collar stand inwards and topstitch along the seam of the upper collar stand attachment.
- Overlock the lower edge of the sleeve. Sew trim strip to the sleeve. Press the seam allowance towards the sleeve. Along the upper edge of the sleeve cap, stitch with a loosened upper thread and gather. Set the sleeve into the armhole. Overlock armhole seam allowances. In the lower of the armhole, fold the seam allowance inwards and topstitch.
- Overlock the bottom edge of the garment. Fold the seam allowance to the wrong side, press and topstitch.
- On the right side, make buttonholes; on the left side, sew on buttons.