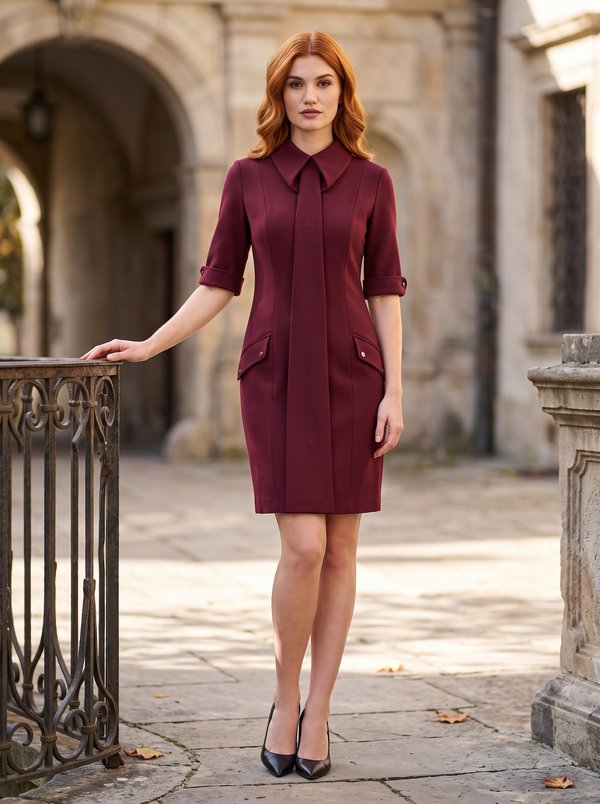
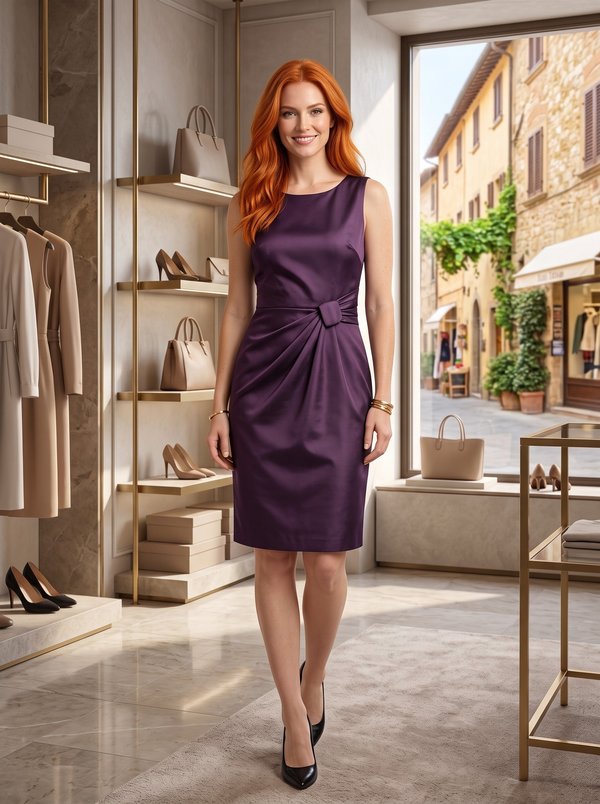
Bow-Detail Sheath Dress
A knee-length women's sheath dress with a waist seam, princess seams, short cap sleeves and a pleated self-fabric bow at the round neckline, held by a narrow band that wraps over the neckline edge. Invisible zipper at the centre back.
When To Wear
- At the office in warm weather, or under a cardigan or jacket in cooler months.
- For daytime receptions, lunches and family celebrations.
Key Design Features
Silhouette: Fitted sheath with a seam at the natural waist.
Length: Knee length.
Neckline: Round neckline finished with an interfaced facing.
Sleeves: Short cap sleeves set into the upper armhole; the lower armhole is finished with a 4 cm bias binding.
Front: Upper front with princess seams to the side fronts. The bow is made of two doubled trim pieces caught in the waist seam, laid in loose pleats and held by a narrow band that wraps over the neckline; the top of the bow is hand-tacked to the front.
Back: Upper back with darts and princess seams, a waist seam, princess seams continuing on the lower back to the hem, and a centre back seam with an invisible zipper.
Skirt: Straight, cut in one piece at the front.
Finishing: Sleeve hems and dress hem turned up and topstitched; facing attached to the zipper tape and shoulder seams.
Level Of Difficulty
Intermediate. Princess and waist seams, a pleated bow with a wrapped band and hand finishing, an invisible zipper, and bias binding at the armholes.
Fabric Recommendations
Dress fabrics made from natural or blended fibres.
Additional Supplies
- Invisible zipper
- Fusible interfacing (neckline facings)
- Bias binding, 4 cm wide (or cut from the main fabric)
Cutter's Must
From main fabric:
- 1. Upper center back - 2 pieces
- 2. Lower center back - 2 pieces
- 3. Upper side back – 2 pieces
- 4. Lower side back – 2 pieces
- 5. Upper front - 1 piece
- 6. Lower front - 1 piece
- 7. Upper side front - 2 pieces
- 8. Sleeve — 2 pieces
- 9. Front Trim — 2 pieces
- 10. Connecting piece — 1 piece
- 11. Back neckline facing - 2 pieces
- 12. Front neckline facing — 1 piece
From fusible interfacing:
- 1. Front neckline facing — 1 piece
- 2. Back neckline facing - 2 pieces.
Sewing Instructions
- Fuse fusible interfacing to the designated pieces.
- Fold the trim pieces right sides together and stitch along the contour, leaving the bottom section unstitched. Trim seam allowances at corners, clip at curves, turn right side out and press.
- Serge the long sides of the connecting piece, press seam allowances to the wrong side and topstitch.
- Stitch darts on the upper back PANELs and press towards the center. Stitch the princess seams of the upper and lower back PANELs. Serge seam allowances and press towards the center. Stitch the upper and lower back PANELs together. Serge the seam allowance and press downwards. Serge the center back seams separately. Stitch the center back seam from the zipper mark to the bottom edge, press seam allowances open. Insert the zipper.
- Stitch the princess seam of the front. Serge the seam allowance and press towards the center. Place the front trim on the upper front and align the bottom edges. Stitch the upper and lower parts. Serge the seam allowance and press downwards.
- Stitch the side and shoulder seams. Serge seam allowances and press towards the back.
- Serge the bottom edge of the sleeve, fold inwards and topstitch. Set the sleeve into the armhole. Serge the seam allowance. Cut a bias binding (if not pre-made) 4 cm wide and with a length equal to the length of the lower armhole + 5 cm. Fold the bias binding in half lengthwise right side out and press. Place the binding on the armhole edge, right sides together, and stitch. Clip seam allowances. Fold the binding to the wrong side and topstitch along the fold to the main piece. Press the seam.
- Stitch the shoulder seams of the FACINGs. Press seam allowances open. Serge the outer edge. Place the facing on the neckline and stitch. Clip seam allowances, turn the facing to the wrong side and press. Attach the facing to the zipper tape and to the shoulder seams.
- Align the longitudinal marks on the front and the trim. Place the connecting piece right side down on the mark, directing the short seam allowance towards the neckline and topstitch. Create arbitrary pleats on the trim, wrap the connecting piece around the neckline and hand-stitch the edge of the connecting piece to the wrong side.
- Serge the bottom edge of the dress, press to the wrong side and topstitch. Hand-attach the top of the decorative bow to the front mark.