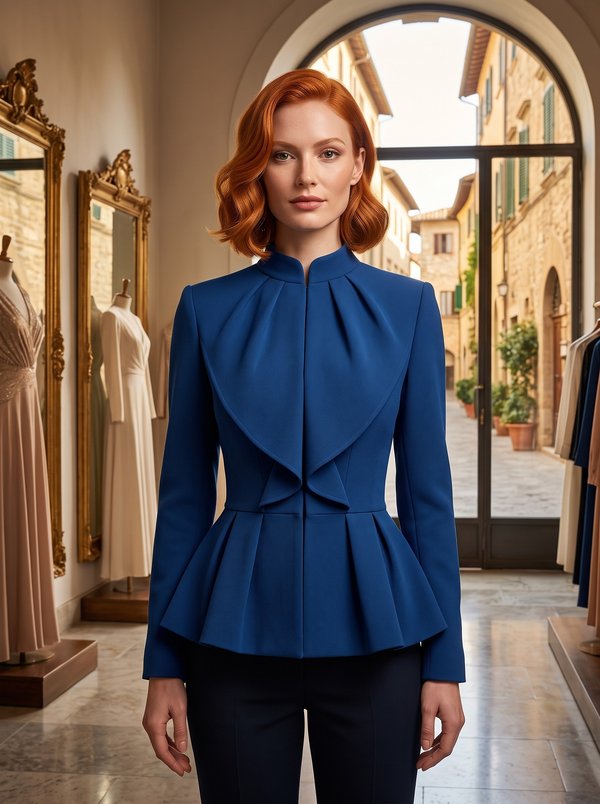
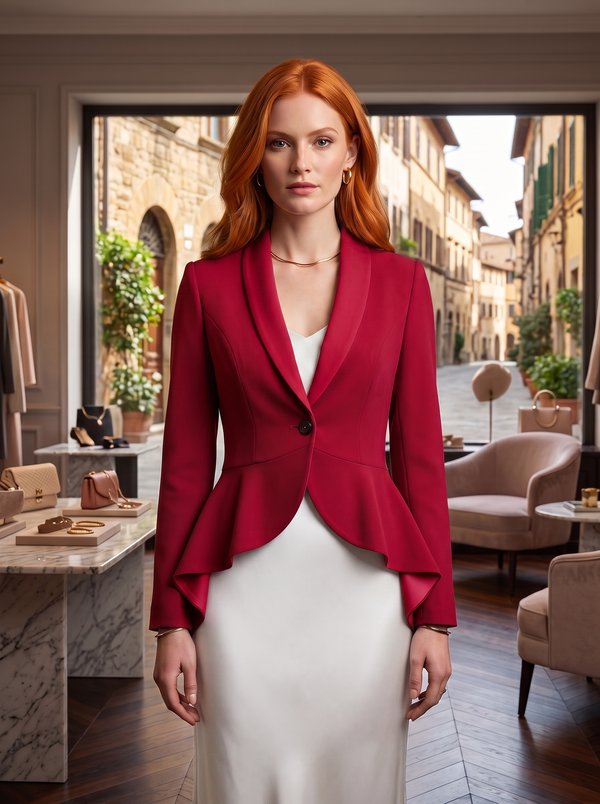
Tailored Collared Single Button Jacket
A fitted, fully lined women's jacket with short cap sleeves, princess seams front and back, a collar along the V-neck and a single-button front that opens into cutaway hems. Jetted pockets sit on the fronts.
When To Wear
- Over blouses, tops and sleeveless dresses at the office in the warmer months.
- With a matching skirt or trousers as a lightweight suit.
Key Design Features
Silhouette: Close-fitting, shaped by princess seams on the front and back.
Length: Below the waist, at the upper hip.
Collar: A collar cut on the fold (upper and under collar), set into the neckline and lying along the V-neck down to the button.
Sleeves: Short cap sleeves, lined to the edge, with small sleeve heads in the cap.
Closure: One button and buttonhole at the end of the V-neck; below the button the fronts curve away to angled points.
Front: Centre front and side front panels; the bust dart is closed into the pocket line. Front facings with the edges and lower corners faced.
Pockets: Jetted pockets with two welts and an underlay on each front.
Back: Centre back seam, princess seams and darts at the shoulders; the hem is cut away at the centre back.
Lining: Full lining, including the sleeves, attached to the front facings and back neck facing; the jacket is turned through an opening in the left side lining seam.
Level Of Difficulty
Intermediate. Jetted pockets with a dart closed into the pocket opening, a faced collar, princess seams and a fully bagged lining.
Fabric Recommendations
Lightweight suiting in natural or blended fibres.
Additional Supplies
- Lining fabric
- Fusible interfacing (centre fronts, front facings, back neck facing, upper collar, pocket welts, hem allowance)
- 1 button
- Small shoulder pads
- Sleeve heads
- Stay tape for the pocket openings
Cutter's Must
If the patterns have a double contour, they include seam allowances. If the contour is single, the patterns do not include seam allowances. Seam allowances: all seams 1 cm. Hem allowance - 3.5 cm. Attention! First, print out the paper patterns and lay them out on the fabric width (fabric width can be from 90 cm to 150 cm) to determine how much material you will need (do not forget to account for paired and symmetrical pieces).
- From main fabric:
- Center back – 2 pieces
- Side back – 2 pieces
- Side front – 2 pieces
- Center front – 2 pieces
- Collar - 2 pieces on fold
- Front facing – 2 pieces
- Back neckline facing – 1 piece
- Sleeve – 2 pieces
- Pocket facing - 4 pieces
- Pocket underlay - 2 pieces
- From lining fabric:
- Center front – 2 pieces
- Side front - 2 pieces
- Center back – 2 pieces
- Side back – 2 pieces
- Sleeve – 2 pieces
Lining pieces for the center back and front are cut by subtracting the width of the back neckline facing and front facing, respectively. From fusible interlining: center front, front facing, back neckline facing, upper collar, pocket facing, jacket hem allowance.
Sewing Instructions
When stitching pieces, pay attention to the notches - they must match!
- Fuse interlining to the designated pieces.
- On the back, stitch and press darts towards the center. Stitch and press open the back princess seams. Stitch and press open the center back seam.
- Cut the center front piece along the pocket line, stopping 1.5 cm before the cross mark. Even out the dart sides. Trim the seam allowance between the round marks. Stitch the dart and trim the bulk. Press open the bust dart. Secure the pocket opening with a stay tape or basting. Stitch and press open the front princess seams, pressing allowances open.
- Mark the pocket placement. Fold pocket facings in half with wrong sides together and press. Mark auxiliary lines on the facings. Mark auxiliary lines parallel to the pocket opening. Stitch the facings to the front piece. The ends of the stitching should stop at the parallel pocket marking lines. Check the accuracy of the stitching from the wrong side (stitches should be parallel). Cut the pocket opening area on the side front piece. Make diagonal cuts 1-1.5 cm from the end of the pocket. Turn the facings through the opening to the wrong side, straighten the edges. Secure the pocket ends from the wrong side with a double backstitch at the base of the corners. Place the pocket underlay on the facings from the wrong side and topstitch into the facing attachment seam.
- Stitch and press open the shoulder and side seams of the jacket.
- Fold collars with right sides together and stitch the ends and outer edge. Trim seam allowances at corners, clip curves. Turn the collar right side out, shape and press. Attach the collar to the neckline.
- Stitch and press open the shoulder seams of the back neckline facing and front facing. Place the front facings and back neckline facing right sides together with the front piece and stitch the front edge, neckline, and lower corner, stopping 1.5 cm before the edge of the front facing. Trim seam allowances at corners, clip curves. Turn the front edges right side out, straighten seams.
- Fold the sleeve with the lining right sides together and stitch the lower edge. Clip seam allowances, turn the sleeve right side out. Attach a small sleeve head to the sleeve from the wrong side. Secure the sleeve to the lining at the cap. Set the sleeves into the armholes.
- On the lining fabric pieces, stitch the seams, leaving an opening in the left side seam. Attach the lining to the inner edges of the front facings and the back neckline facing.
- Finish the armhole in two steps: first the front, then the back. Attach the lining to the bottom of the jacket. Turn the jacket through the opening in the side seam. Stitch the opening closed.
- On the right front, make a buttonhole, and on the left front, sew on a button.
- Sew shoulder pads to the lining. They can be covered with fabric beforehand.