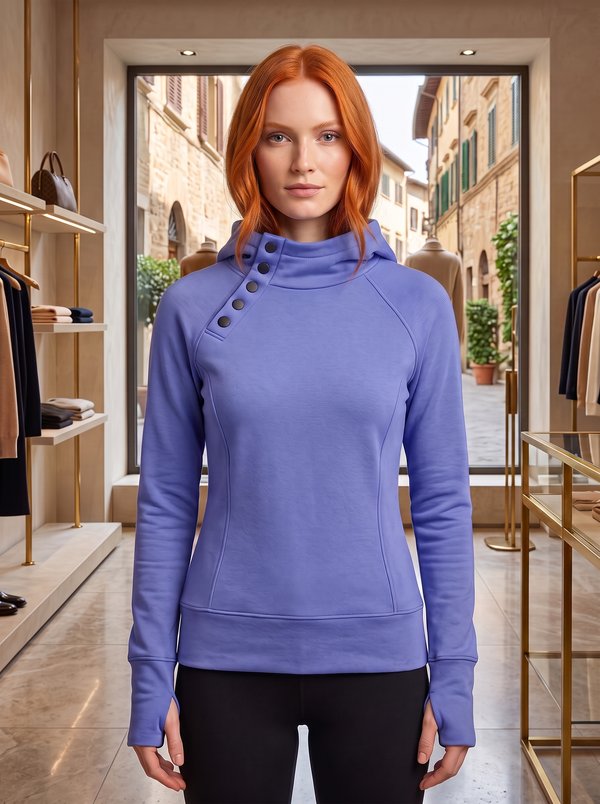
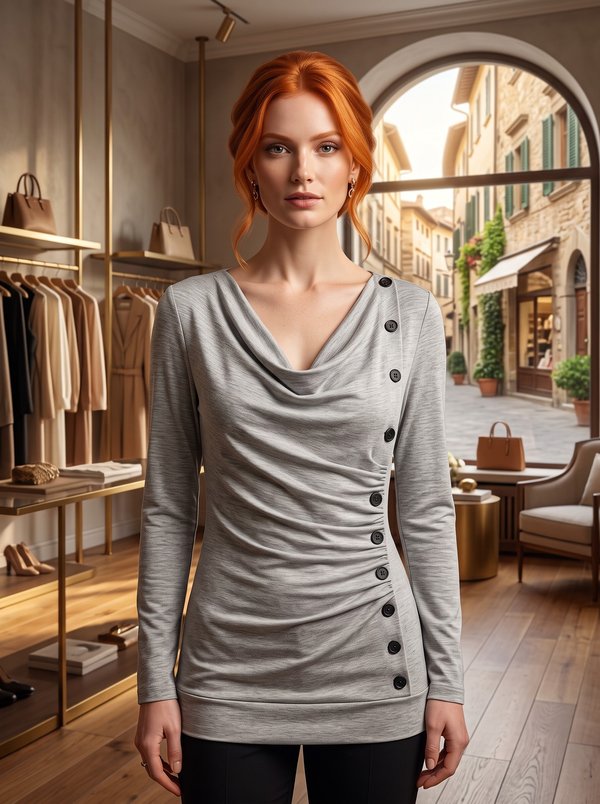
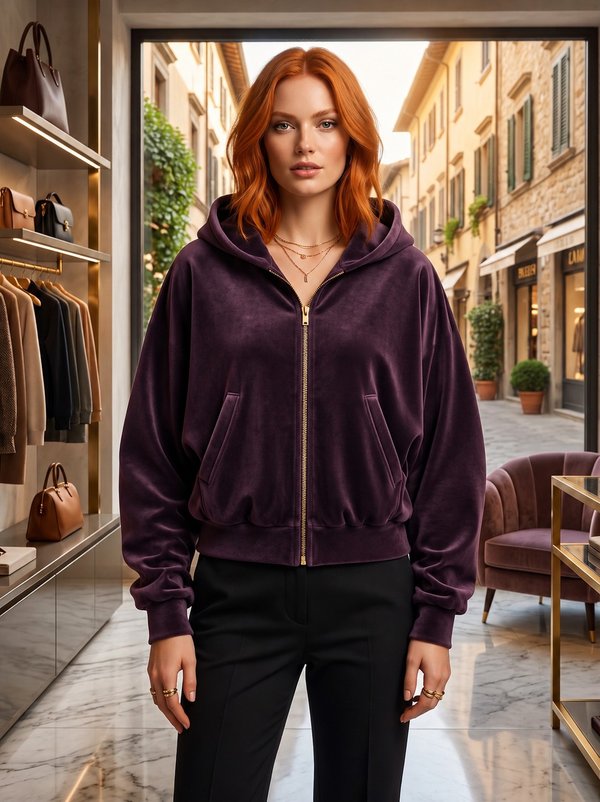
Professional made-to-measure digital sewing patterns — PDF · PLT · DXF AAMA
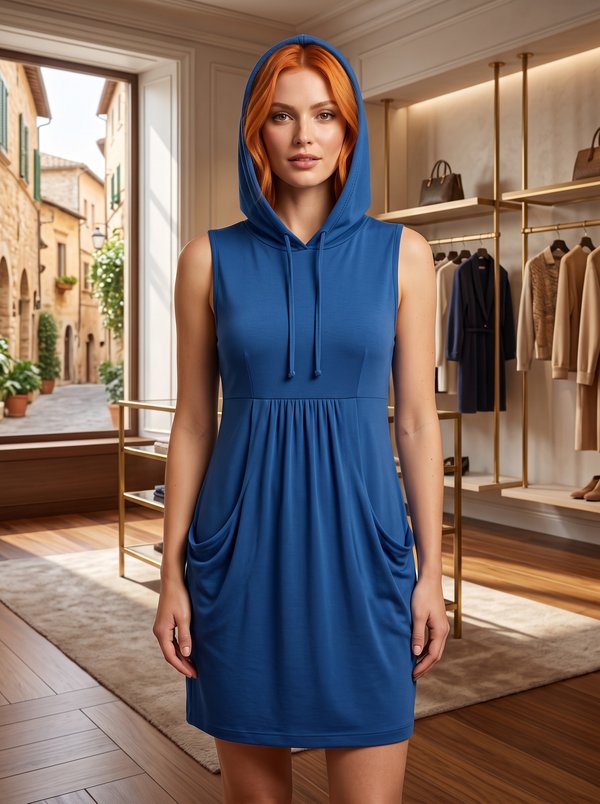
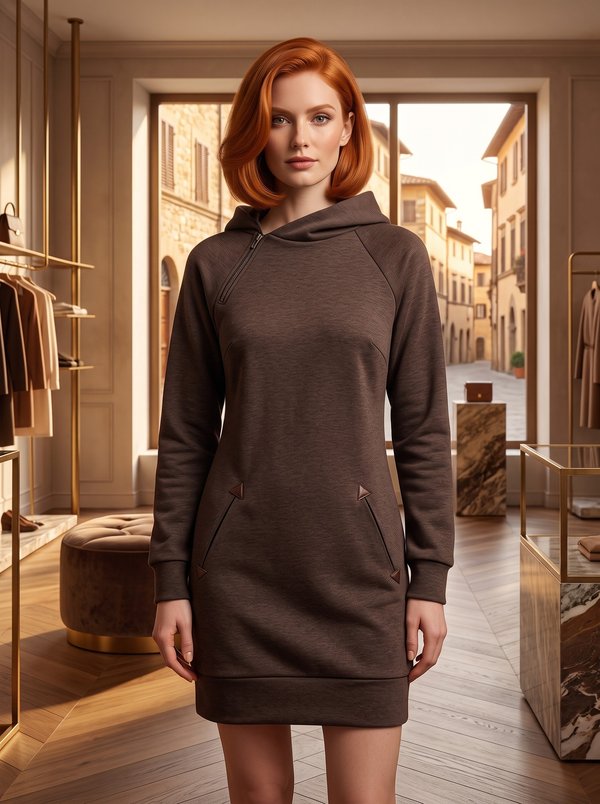
A women's hip-length pullover in medium-stretch knit, with a deep V opening at the front, a two-piece hood and a horizontal empire seam that forms a casing for a decorative cord tied at the centre front. Drafted to your own measurements. Recommended fabric: medium-stretch knit of natural or blended fibres.
A women's hip-length pullover in medium-stretch knit, with a deep V opening at the front, a two-piece hood and a horizontal empire seam that forms a casing for a decorative cord tied at the centre front.
Silhouette: Close-fitting upper body above the empire seam, straight below it.
Length: Hip length.
Neckline: Deep V opening formed by the two upper front pieces, running down to the empire seam; the front edges are turned and topstitched together with the hood edge.
Collar: Hood in two pieces with a centre seam, sewn to the neckline; the outer edge is turned to the inside and topstitched.
Sleeves: Long set-in sleeves, sewn into the open armhole; the underarm and side seams are stitched in one pass.
Front: Lower front cut on the fold, with two buttonholes for the cord.
Back: Centre back seam on the upper and lower back.
Waist: Empire seam pressed downwards and stitched 0.5 cm from the edge of the allowance to make a casing for the cord.
Finishing: Hem and sleeve hems turned and topstitched, preferably with a twin needle or a coverstitch machine.
Beginner. Knit seams, a hood sewn into the neckline, sleeves set in flat, a casing made from the seam allowance.
Medium-stretch knit of natural or blended fibres.
If the patterns have a double contour, seam allowances are included. If the contour is single, seam allowances are not included. Seam allowances: upper edges of front and back lower parts – 2 cm; lower edges of front and back upper parts – 2 cm; center front edge – 0 cm; outer edge of hood – 3 cm; bottom edges and sleeve edges – 2 cm; all other edges – 0.7 cm. Attention! First, print out the paper patterns and lay them out on the fabric width (fabric width can be from 90 cm to 150 cm) to determine how much material you will need (don't forget to account for paired and symmetrical pieces). When stitching pieces, pay attention to the notches - they must match! Tip: Knit fabric pieces are stitched with a special elastic or narrow zigzag stitch. The hem allowance is topstitched with a twin needle or on a coverstitch machine to maintain elasticity. You can also stitch pieces directly on a 3- or 4-thread overlocker. Attention! Markings on the patterns are on the right side.

Minerva Support
Online