Professional made-to-measure digital sewing patterns — PDF · PLT · DXF AAMA
A women's long dress with a fitted bodice joined to a flared skirt at the waist. Bias tape covers the centre front seam and the sleeve flounce seams, decorative trim runs along the waist seam and in two rows across the skirt, and a concealed zip closes the centre back. Drafted to your own measurements. Recommended fabric: dress fabrics of natural or blended fibres.
A women's long dress with a fitted bodice joined to a flared skirt at the waist. Bias tape covers the centre front seam and the sleeve flounce seams, decorative trim runs along the waist seam and in two rows across the skirt, and a concealed zip closes the centre back.
Silhouette: Fitted bodice shaped with darts on the front and back; flared skirt.
Length: Below mid-calf.
Neckline: Round neckline bound with bias tape, folded to the right side and topstitched.
Sleeves: Set-in sleeves to just below the elbow, finished with a flared cuff; bias tape is topstitched over the cuff seam and binds the cuff edge.
Front: Upper front with a centre seam covered by topstitched bias tape; lower front cut in one piece on the fold.
Closure: Concealed zip in the centre back seam.
Back: Upper and lower back joined at the waist, with a centre back seam.
Waist: Waist seam covered with topstitched decorative trim.
Skirt: Flared, with decorative trim stitched on along marked lines to give a tiered look.
Finishing: Skirt hem bound with bias tape, no hem allowance.
Beginner. Darts, a concealed zip, bias binding and topstitching trim along marked lines; the bodice and skirt seams are straightforward.
Dress fabrics of natural or blended fibres.
From main fabric:
First of all, print the paper patterns and lay them out on the fabric width (fabric width may be from 90 cm to 150 cm) in order to determine how much material you will need (do not forget to consider paired and symmetrical pieces).
When stitching pieces, pay attention to the notches – they must match.
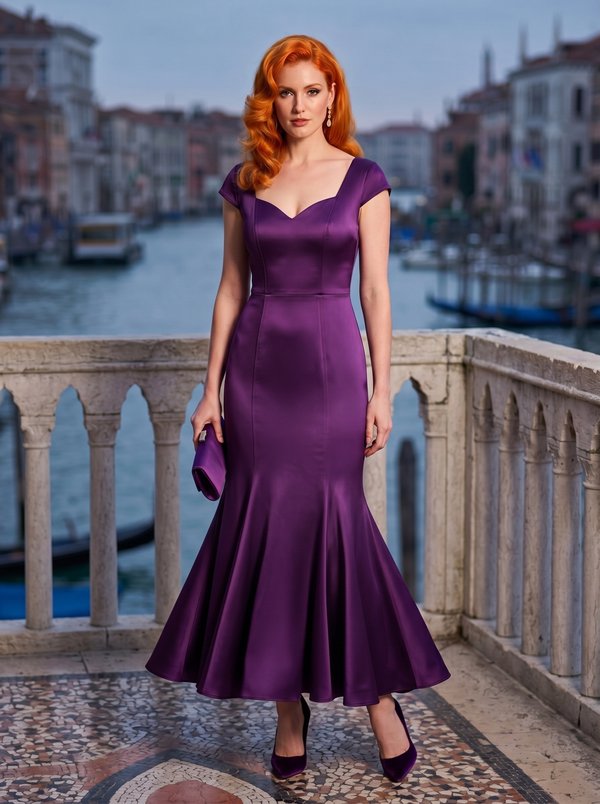
#2892
Sweetheart Neck Cap Sleeve Long Mermaid Dress
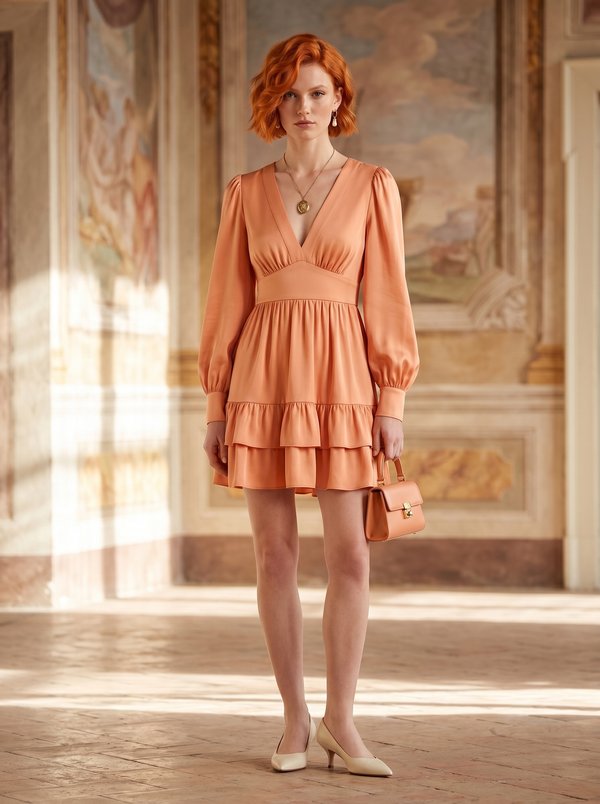
#2894
Dress with Cuffed Sleeves and Tiered Flounces
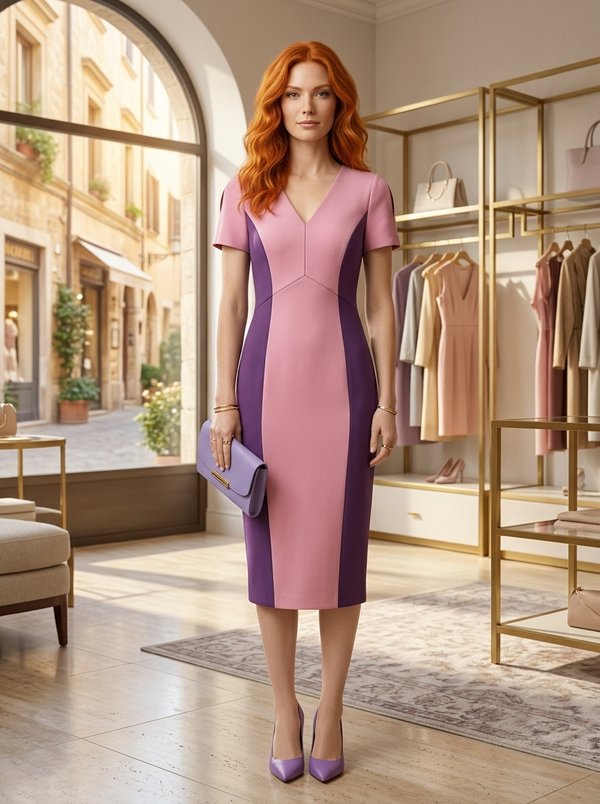
#2885
Colorblock Sheath Dress with Contour Panel Seams

#2895
Ruffled V-Neck Button-Front Tiered Dress

#2883
Sleeveless Princess Seam Diagonal Button Dress
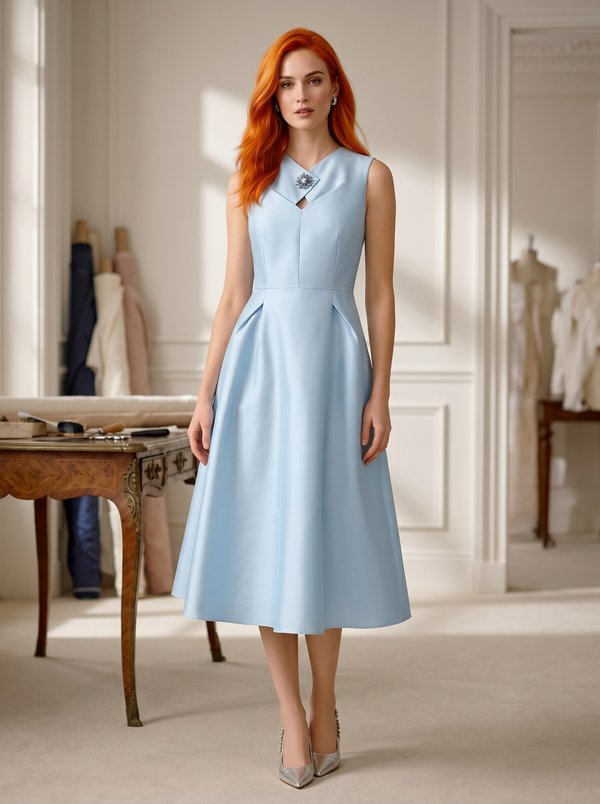
#2882
Fit-and-Flare Dress with Folded Neck Tab

#2881
Collared Dress with Cuffs and Back Zip

#2899
Fitted Dress with Stand Collar

Minerva Support
Online