Professional made-to-measure digital sewing patterns — PDF · PLT · DXF AAMA
A women's hip-length blouse with extended cap sleeves cut in one with the bodice, a deep V-neckline framed by an insert in a second, contrasting fabric, and a stand collar cut in one with the fronts. No fastening: the back is one piece cut on the fold. Drafted to your own measurements. Recommended fabric: blouse fabrics of natural or blended fibres in two contrasting colours: one for the blouse, one for the V-neck insert.
A women's hip-length blouse with extended cap sleeves cut in one with the bodice, a deep V-neckline framed by an insert in a second, contrasting fabric, and a stand collar cut in one with the fronts. No fastening: the back is one piece cut on the fold.
Silhouette: Close to the body, with lightly shaped side seams.
Length: Hip length.
Neckline: Deep V at the front. The outer insert, in the contrast fabric, is stitched to the front; an interfaced inner insert faces the V edge and is stitched into the seam of the outer insert.
Collar: Stand collar cut in one with the fronts, joined by a seam at the centre back, folded along the fold line and set into the back neckline. The fronts are clipped at the corner where the shoulder seam meets the stand.
Sleeves: Extended cap sleeves cut in one with the front and back; armholes finished with a 4 cm bias strip folded in half, turned to the inside and topstitched.
Front: Two pieces with a centre front seam running down from the point of the V.
Back: One piece cut on the fold.
Finishing: Hem overlocked, turned to the inside and topstitched.
Intermediate. A faced V-neck insert, a cut-on collar stand that needs a clipped corner at the shoulder, bias-bound armholes.
Blouse fabrics of natural or blended fibres in two contrasting colours: one for the blouse, one for the V-neck insert.
If the patterns have a double contour, they include seam allowances. If the contour is single, the patterns do not include seam allowances. Seam allowances: all seams 1 cm. Hem allowance – 2 cm. Attention! First of all, print out the paper patterns and lay them out on the fabric width (fabric width can be from 90cm to 150cm) to determine how much material you will need (do not forget to account for paired and symmetrical pieces).
When stitching pieces, pay attention to the notches - they must match!

#2844
Gathered Waist Shirt with Pointed Hem

#2845
Puffed Sleeve Blouse with Looped Front Tie

#2838
Asymmetrical Color Blocked Cutout Blouse
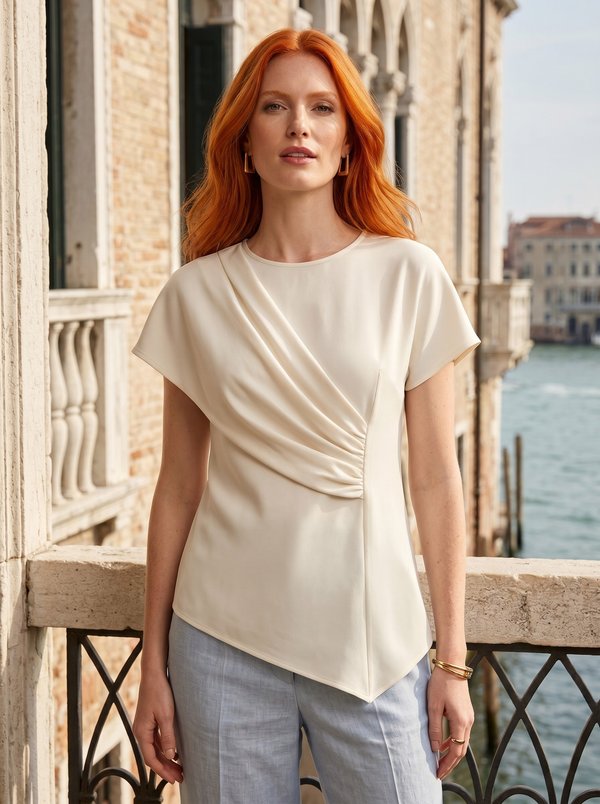
#2847
Draped Front Asymmetrical Hem Blouse

#2848
Asymmetrical Wrap Front Short Sleeve Top
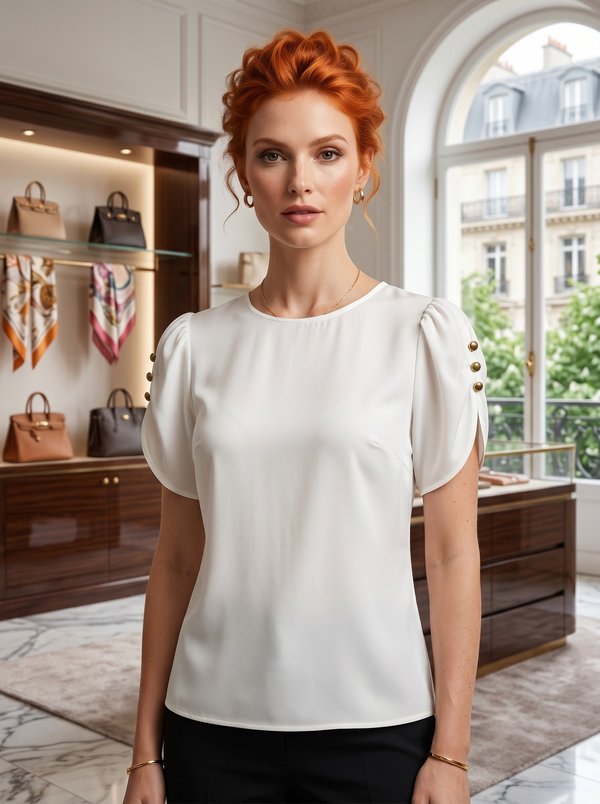
#2835
Blouse with Decorative Sleeves
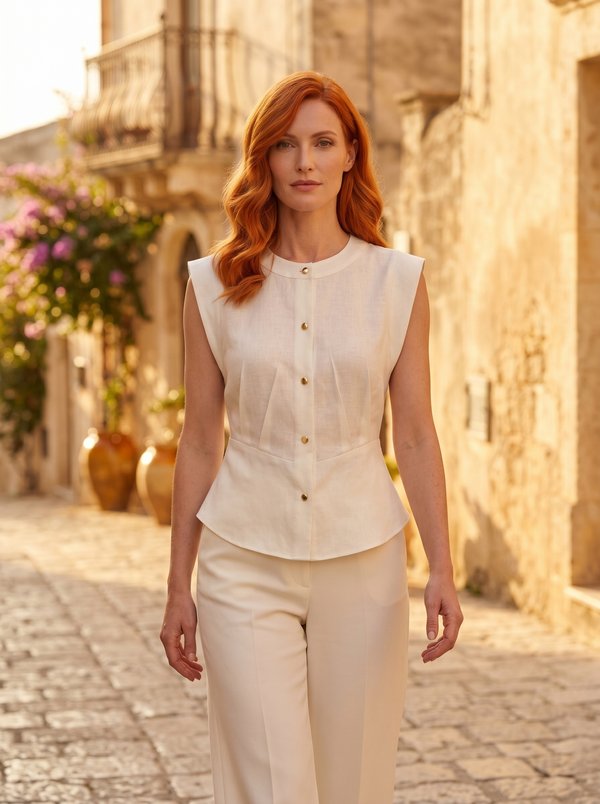
#2834
Blouse with Curved Waist Yoke
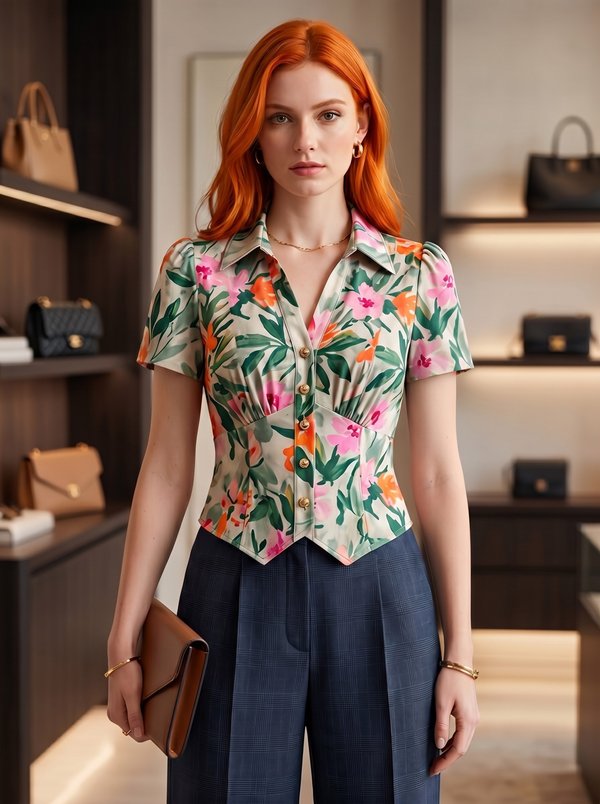
#2833
Collared Blouse with Puff Sleeves and Shaped Hem

Minerva Support
Online