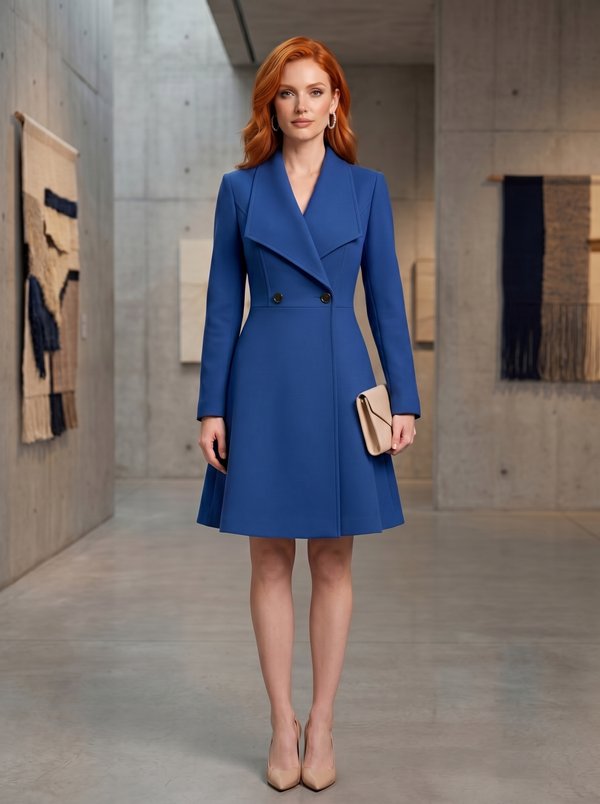
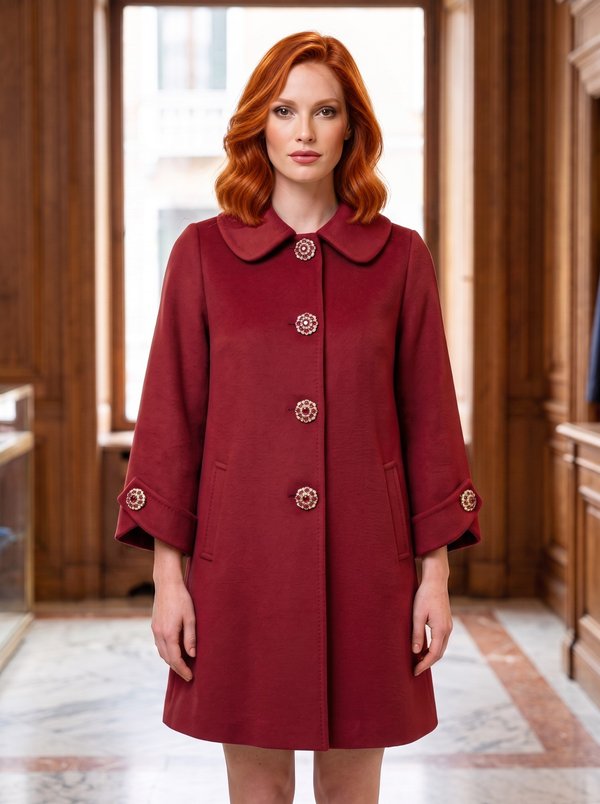
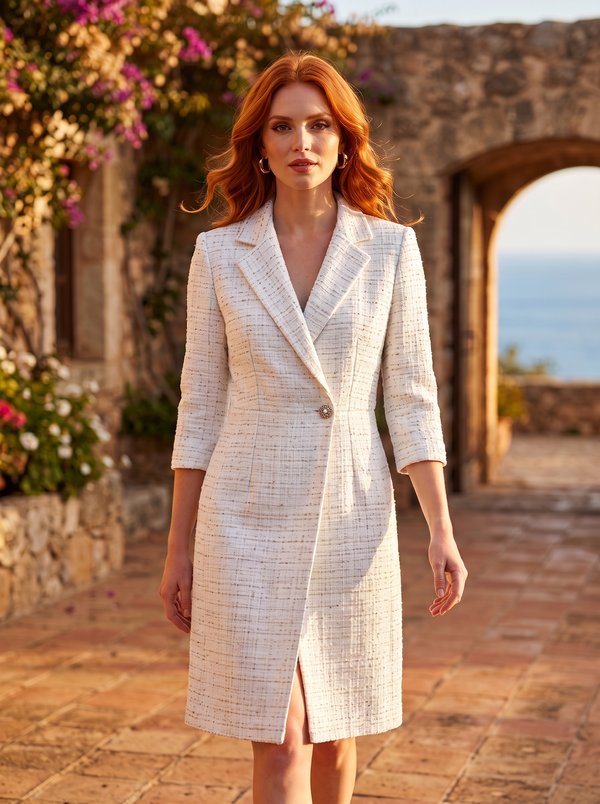
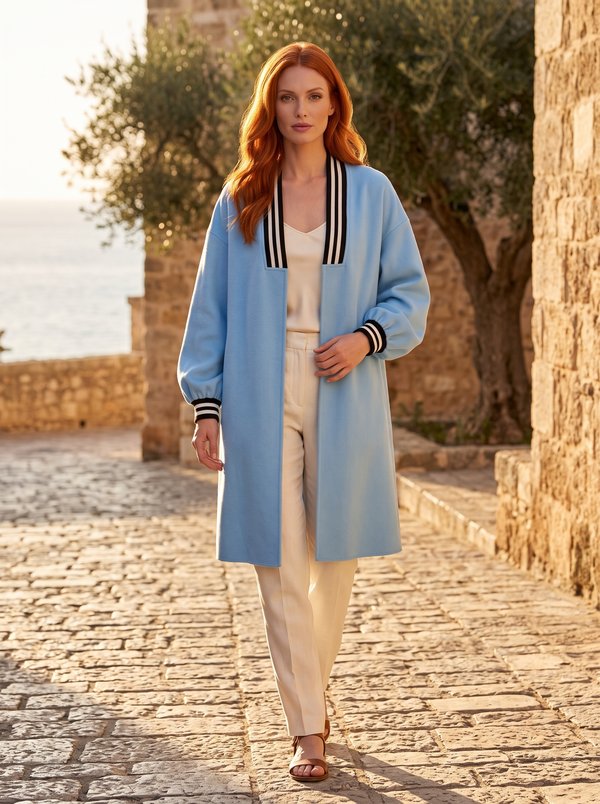
Stand Collar Buckle Asymmetrical Jacket
A women's lined jacket below hip length, with a stand collar and an off-centre front edge that closes with a decorative buckle fastening and an inner button. It has single-welt pockets on the fronts and side slits.
When To Wear
- In spring and autumn over a sweater, a blouse or a fine knit top.
- With trousers, jeans or a straight skirt for work and everyday wear.
Key Design Features
Silhouette: Straight, slightly widening towards the hem.
Length: Below the hip.
Collar: Stand collar cut double, with the outer stand sewn to the jacket neckline and the inner stand to the facings.
Closure: Asymmetric front: the right front overlaps to the left of centre. A decorative buckle fastening is stitched on at the upper chest; inside, a buttonhole in the right front facing closes on a button on the left front.
Sleeves: Long, one-piece set-in sleeves, faced with the lining at the hem.
Pockets: Single-welt pockets on both fronts; welts topstitched along three sides, pocket bags cut from lining.
Back: One piece cut on the fold, with a back neck facing.
Finishing: Side seams open at the hem into slits topstitched 0.5 cm from the edge; hem and sleeve hem allowances 3 cm.
Lining: Full lining of the body and sleeves, sewn to the facings.
Level Of Difficulty
Intermediate. Single-welt pockets, an asymmetric faced front edge, a double stand collar and a full bagged lining.
Fabric Recommendations
Lightweight coating or suiting fabrics of natural or blended fibres.
Additional Supplies
- Lining fabric
- Fusible interfacing (pocket area)
- Decorative buckle fastening
- 1 button
Cutter's Must
When stitching pieces, pay attention to the notches - they must match!
- From main fabric:
- Back – 1 piece on fold
- Front – 2 pieces
- Sleeve – 2 pieces
- Front facing – 2 pieces
- Back neckline facing – 1 piece
- Collar stand – 2 pieces
- Welt – 2 pieces
- From lining fabric:
- Front lining – 2 pieces
- Back lining – 1 piece on fold
- Sleeve – 2 pieces
- Large pocket bag – 2 pieces
- Small pocket bag – 2 pieces
Sewing Instructions
- Fold the welt piece in half lengthwise, right sides together, and stitch along the short sides. Trim seam allowances at corners, turn the welt right side out, and press. Topstitch along the short sides and one long side.
- Reinforce the pocket area with fusible interlining. Stitch the small pocket bag to the welt. Place the welt face down on the right side of the front piece, aligning with the marked line (closer to the center). Stitch the welt. Stitch the large pocket bag to the other marked pocket line. Cut the pocket opening in the middle between the marked lines, making diagonal cuts towards the pocket marking corners. Turn the lining to the wrong side. Straighten and press the seam allowances. Stitch the pocket bag edges, securing the pocket corners. Topstitch the welt to the front piece along the short edges from the right side.
- Stitch shoulder seams, press allowances open.
- Stitch side seams from armhole to slit mark, overlock and press allowances open. Along the slit, topstitch at 0.5 cm from the edge to secure.
- Make the buttonhole on the right front facing. Stitch shoulder seams of front facings and back neckline facing, press allowances open. Place the front facing on the front piece, right side down, and stitch the front edges and the front neckline edge up to the center line. Clip the allowance at the mark, trim at the corner, turn the front edges right side out, and press.
- Fold the collar stand pieces right sides together and stitch along the ends and the outer edge. Start and end stitching strictly at the marked attachment line. Clip allowances, trim at corners. Turn the collar stand right side out, straighten, and press. Stitch the outer collar stand to the back and front neckline. Stitch the inner collar stand to the facing and front facings neckline. Press allowances open and secure close to each other.
- Stitch the sleeve seam, press allowances open. Set sleeves into armholes, matching notches.
- On the lining fabric pieces, stitch seams and set sleeves. Press up the bottom hem allowances of the lining to the wrong side by 1 cm, then another 1 cm, and topstitch.
- Stitch the lining to the front facings and facing, press allowances. Overlock the front facing and lining from armhole level to the bottom. Stitch the sleeve hem with the lining. Turn the garment right side out, straighten seams.
- Overlock and press up the bottom edge of the jacket. Stitch the corner of the front edge with the front facing. Topstitch the bottom edge.
- Stitch on the decorative closure. Sew the inner button to the left front piece according to the buttonhole.