Professional made-to-measure digital sewing patterns — PDF · PLT · DXF AAMA
A fitted women's blouse with princess seams front and back, a flared peplum joined below the waist, a small rounded collar on a stand, and set-in sleeves ending in a flared flounce. Drafted to your own measurements. Recommended fabric: blouse fabrics from natural or blended fibres.
A fitted women's blouse with princess seams front and back, a flared peplum joined below the waist, a small rounded collar on a stand, and set-in sleeves ending in a flared flounce.
Silhouette: Fitted bodice shaped by princess seams from the armholes, with a flared peplum sewn on at the lower edge.
Length: Hip length including the peplum.
Collar: Small rounded collar with an upper and under collar, set into a separate interfaced stand.
Sleeves: Set-in, about three-quarter length; the upper sleeve is joined to a flared lower sleeve that forms the flounce.
Closure: Centre front button placket, folded and interfaced, attached to the upper centre front; seven buttons in total including one on the stand.
Back: Centre back seam and princess seams on the upper back; lower back peplum cut in one piece on the fold.
Finishing: Seams overlocked; hems of the blouse and sleeves turned up 1.5 cm and topstitched.
Intermediate. Princess seams, a horizontal peplum seam, a collar on a stand and a sewn-on button placket.
Blouse fabrics from natural or blended fibres.
From Main Fabric:
From Fusible Interfacing:
Before cutting your fabric:
Apply fusible interfacing to the Placket, Stand Collar, and Collar pieces.
Stitch the center seam of the Upper Center Back pieces.
Press the seam allowances toward the left side and overlock the raw edges.
Stitch the princess seams between the Upper Center Back and Upper Side Back pieces.
Press the seam allowances toward the center and overlock the raw edges.
Attach the Lower Back to the assembled upper back.
Press the seam allowances upward and overlock the raw edges.
Stitch the Princess seams between the Upper Center Front and Upper Side Front pieces.
Press the seam allowances toward the center and overlock the raw edges.
Attach the Lower Front pieces to the assembled upper front.
Press the seam allowances upward and overlock the raw edges.
Fold the Placket lengthwise along the center wrong sides together and press.
Attach the outer side of the Placket to the Upper Center Front.
Press the seam allowances toward the Placket.
Turn the seam allowance of the inner side of the Placket inward and topstitch in the seam of attachment.
Stitch the shoulder seams and side seams.
Press the seam allowances toward the Back and overlock the raw edges.
Place the Collar pieces right sides together and stitch along the outer edges and ends.
Trim the seam allowances, turn the Collar right side out, shape, and press.
Place the Stand Collar pieces right sides together, inserting the finished Collar between them.
Align the notches and stitch, simultaneously finishing the ends of the Stand Collar.
Begin and end the stitching precisely at the marked seam line for attaching the Stand Collar.
Turn the assembled Stand Collar with Collar right side out and press.
Attach the upper Stand Collar to the neckline.
Turn the seam allowance of the inner Stand Collar inward and topstitch in the seam of attachment.
Stitch the seam of the Upper Sleeve pieces.
Press the seam allowances toward the back and overlock the raw edges.
Stitch the seam of the Lower Sleeve (Ruffle) pieces.
Press the seam allowances toward the back and overlock the raw edges.
Join the Upper Sleeve to the Lower Sleeve (Ruffle).
Press the seam allowances upward and overlock the raw edges.
Set the sleeves into the armholes.
Press the seam allowances and overlock the raw edges.
Overlock the hem allowances of the blouse and sleeves, turn to the wrong side, and topstitch.
Work buttonholes on the right-side Placket.
Sew buttons on the left-side Placket.
Work buttonholes and sew buttons on the Stand Collar.

#2777
Western Yoke Button Down Blouse
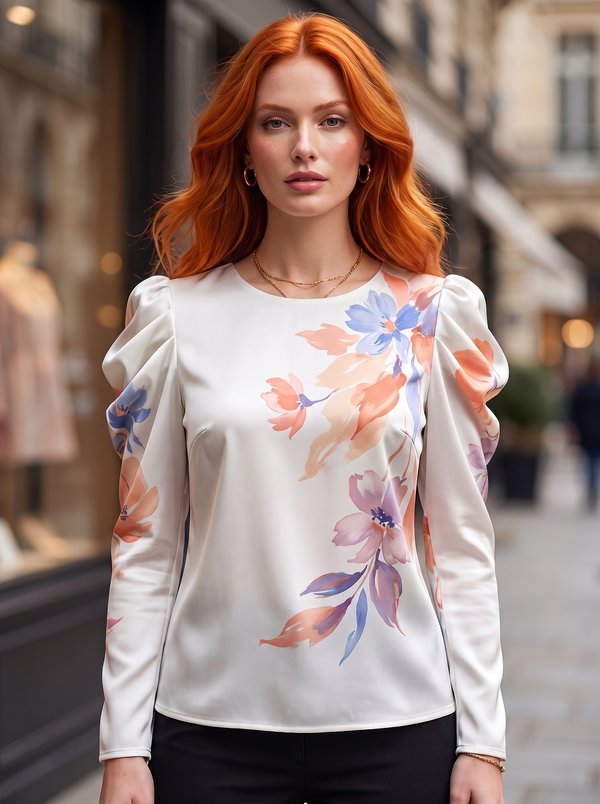
#2780
Puff Sleeve Round Neck Blouse

#2775
Flutter Sleeve Blouse

#2773
Ruffled Princess Seam Blouse

#2768
Ruffled Yoke Blouse with Shirred Cuffs

#2788
Asymmetric Draped Long Sleeve Top
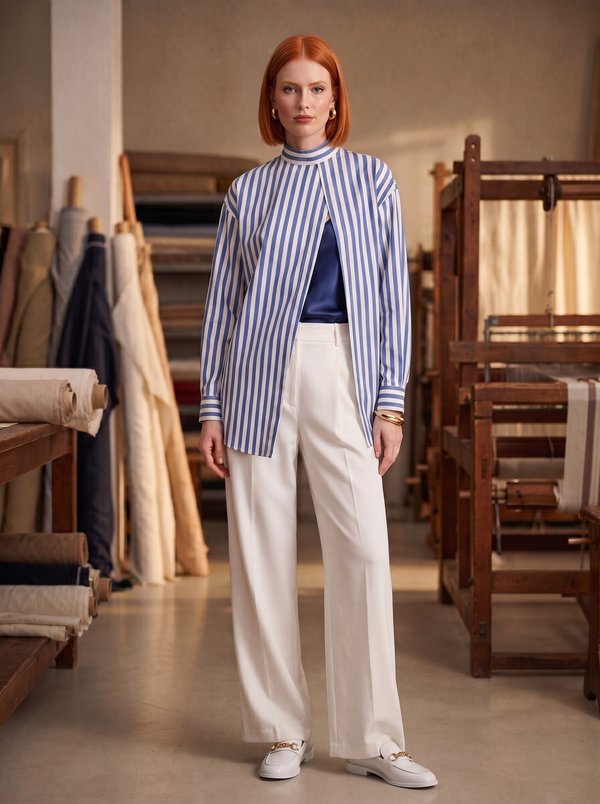
#2766
Asymmetrical Overlap Blouse with Stand Collar

#2791
Bubble Sleeve Collared Button-Front Blouse

Minerva Support
Online