Professional made-to-measure digital sewing patterns — PDF · PLT · DXF AAMA
A women's fully lined, collarless wrap jacket with an asymmetric front that ends in a point at the hem. Princess seams front and back, set-in sleeves with shoulder pads, and a belt sewn into the right front edge that buttons at the left side. Drafted to your own measurements. Recommended fabric: suiting fabrics of natural or blended fibres.
A women's fully lined, collarless wrap jacket with an asymmetric front that ends in a point at the hem. Princess seams front and back, set-in sleeves with shoulder pads, and a belt sewn into the right front edge that buttons at the left side.
Silhouette: Fitted, shaped by princess seams; the belt marks the waist.
Length: Hip length, with a pointed asymmetric front hem.
Neckline: Collarless V-neck formed by the wrap, finished with front facings and a back neck facing.
Closure: The right front wraps over the left; a hidden button inside holds the left front. The belt is caught in the right front edge seam, passes around the back and fastens with a button and buttonhole at the left side.
Sleeves: Long set-in sleeves cut in one piece, with darts at the sleeve cap and an elbow dart; the cap is eased in.
Back: Centre back seam and princess seams.
Finishing: Front edge seam allowance understitched to the facing 0.2 cm from the seam; 3 cm hem allowances at the hem and sleeves.
Lining: Full lining including the sleeves, cut from the main pieces minus the facings, bagged out through an opening in the left sleeve seam.
Intermediate. Princess seams, an asymmetric faced front edge with the belt caught in it, a bagged lining, sleeve caps with darts and shoulder pads.
Suiting fabrics of natural or blended fibres.
If the patterns have a double contour, seam allowances are included. If the contour is single, seam allowances are not included. Seam allowances: all seams 1 cm. Hem allowance for the bottom of the garment and sleeve hem - 3 cm. Attention! First, print out the paper patterns and lay them out on the fabric width (fabric width can be from 90 cm to 150 cm) to determine how much material you will need (do not forget to consider paired and symmetrical pieces). When stitching pieces, pay attention to the notches - they must match!
From main fabric:
From lining fabric:
Attention: Back and front lining pieces are cut according to the main pattern pieces, subtracting the width of the back neckline facing and front facing, respectively.
From fusible interlining:
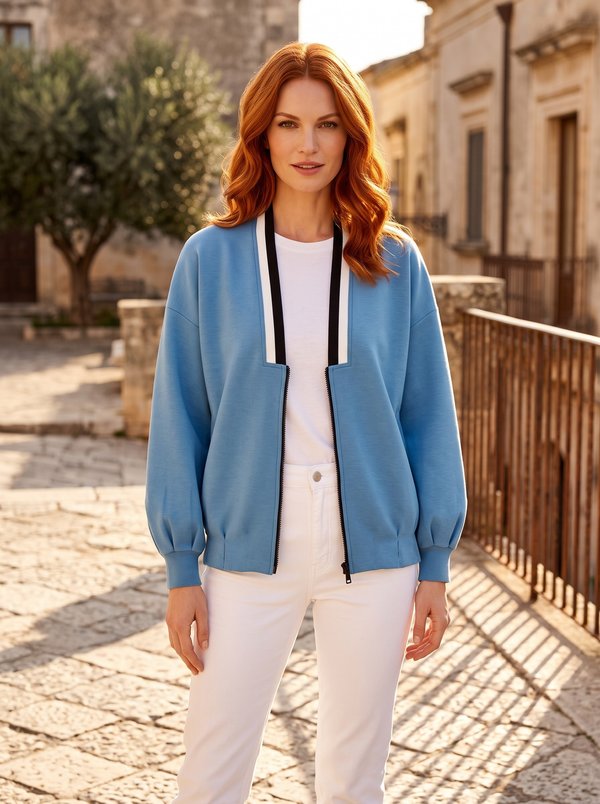
#2573
Relaxed Zippered V-Neck Puff Sleeve Jacket

#2586
Fitted Asymmetrical Contrasting Panel Blazer

#2601
Fitted Jacket with Rounded Collar
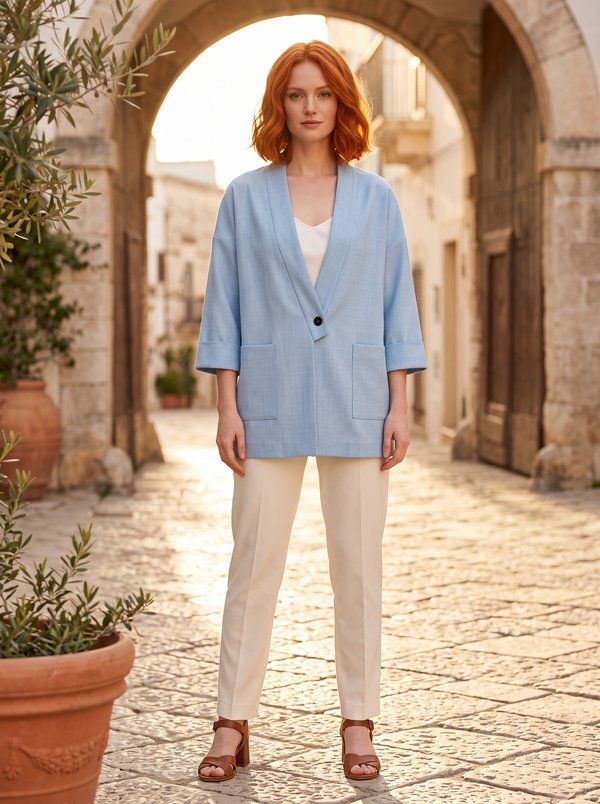
#2531
Relaxed One-Button V-Neck Jacket

#2616
Cropped Gathered Yoke Jacket
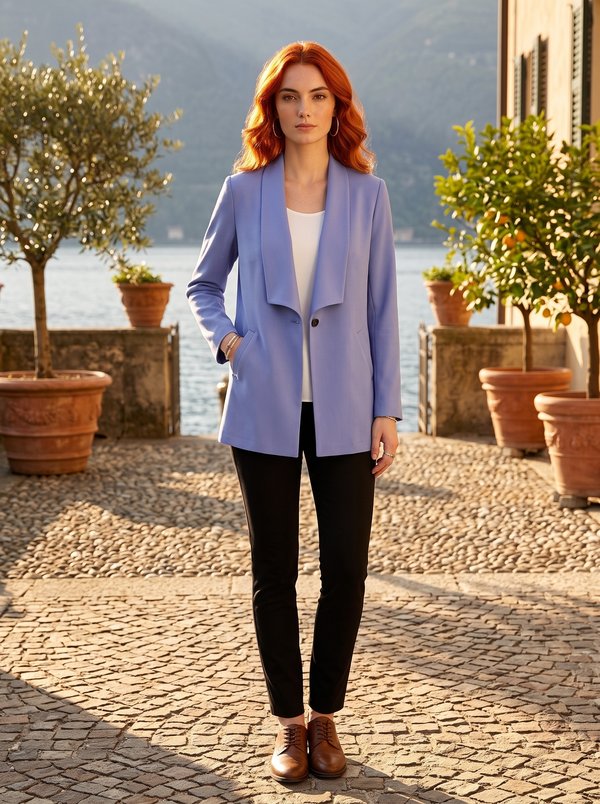
#2511
Straight Shawl Collar Single Button Blazer
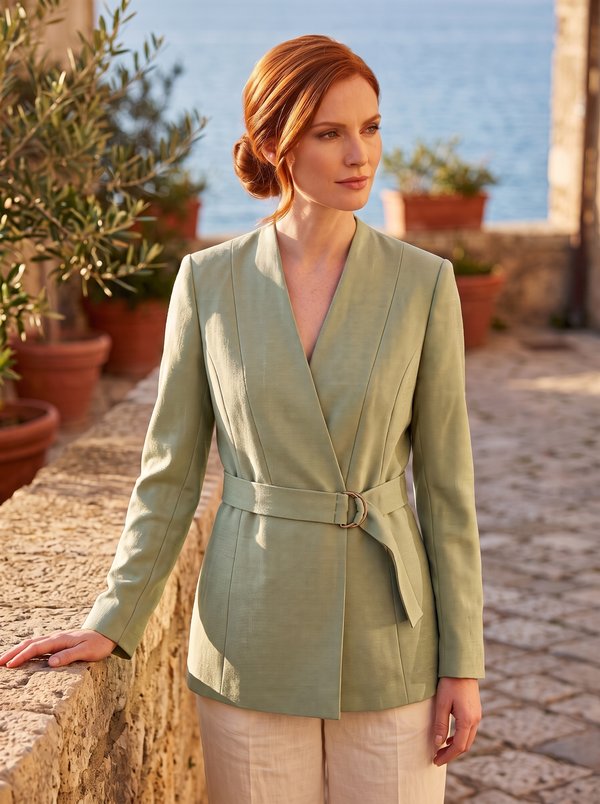
#2510
Wrap Blazer with Buckle Belt
#2507
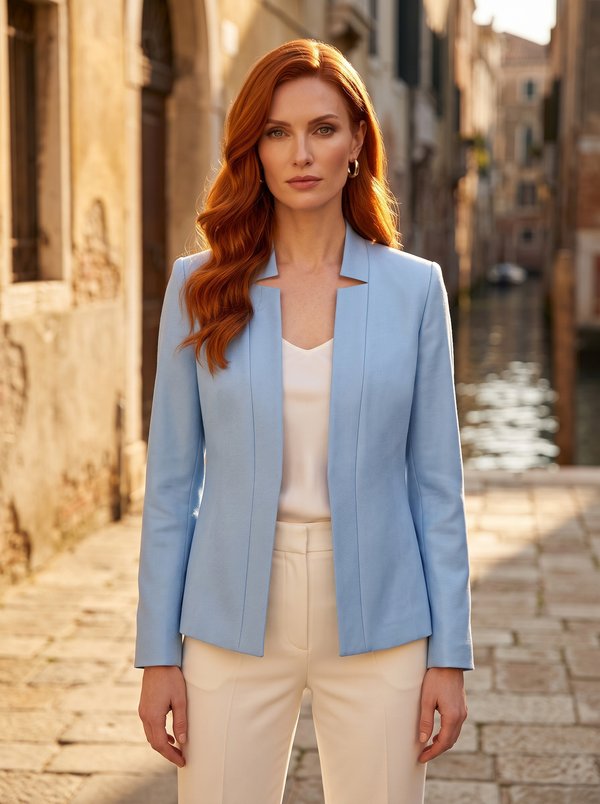
Tailored Stand Collar Open Front Blazer

Minerva Support
Online